This post may contain affiliate links. Please read our disclosure policy.
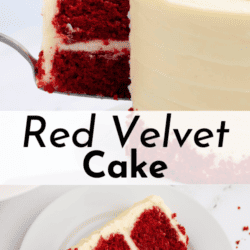
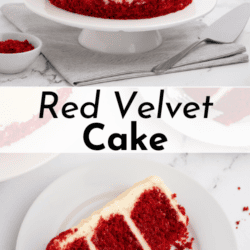
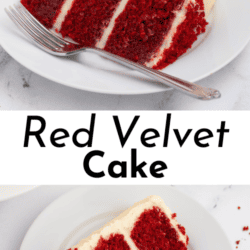
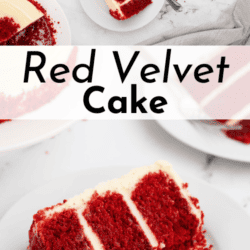
This is the moist red velvet cake recipe that you’ll fall in love with and save as your go-to recipe to seriously impress a crowd.
Layers of perfect red velvet cake with homemade cream cheese frosting assembled into an impressive display, all made easily when you follow my step-by-step guide and tips below.
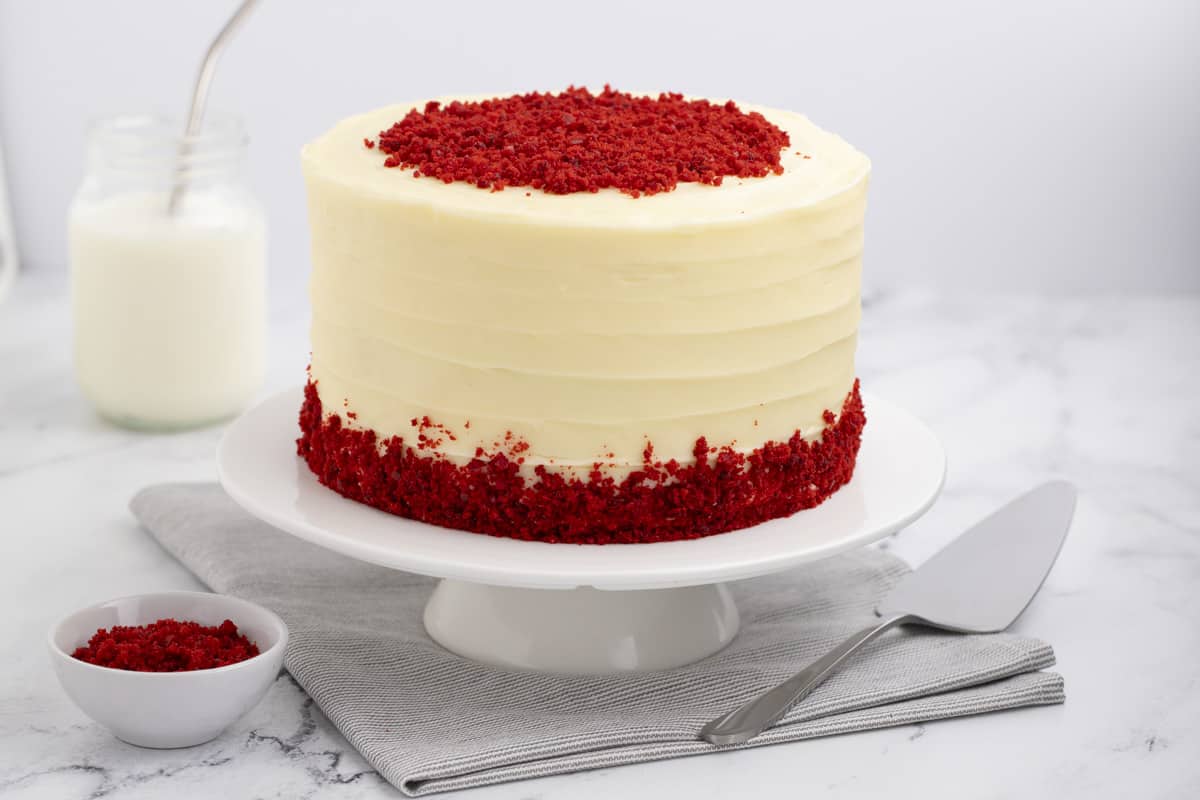
I made this for my 3 boys for Valentine’s day this year they devoured it. Another win from this website!! Go make it!!!
-Heather
This is the Best Red Velvet Cake Recipe
You may look at layered cakes like this red velvet cake and think they are reserved for only professional bakers to make. Not now that you’ve found this recipe!
My easy steps below are detailed with tips and tricks so you can make this delicious and beautiful cake without the guesswork and mistakes. It’s like having me in your kitchen with you, walking you through the steps.
We’ll start with the cake batter, ensuring we mix everything just right to ensure a moist cake with a perfectly tender crumb. Next we’ll make the cream cheese icing, ridiculously easy and addictive. Finally, we’ll assemble it all into a red velvet cake masterpiece!
Keep reading to get all my extra tips and tricks for easy cake perfection!
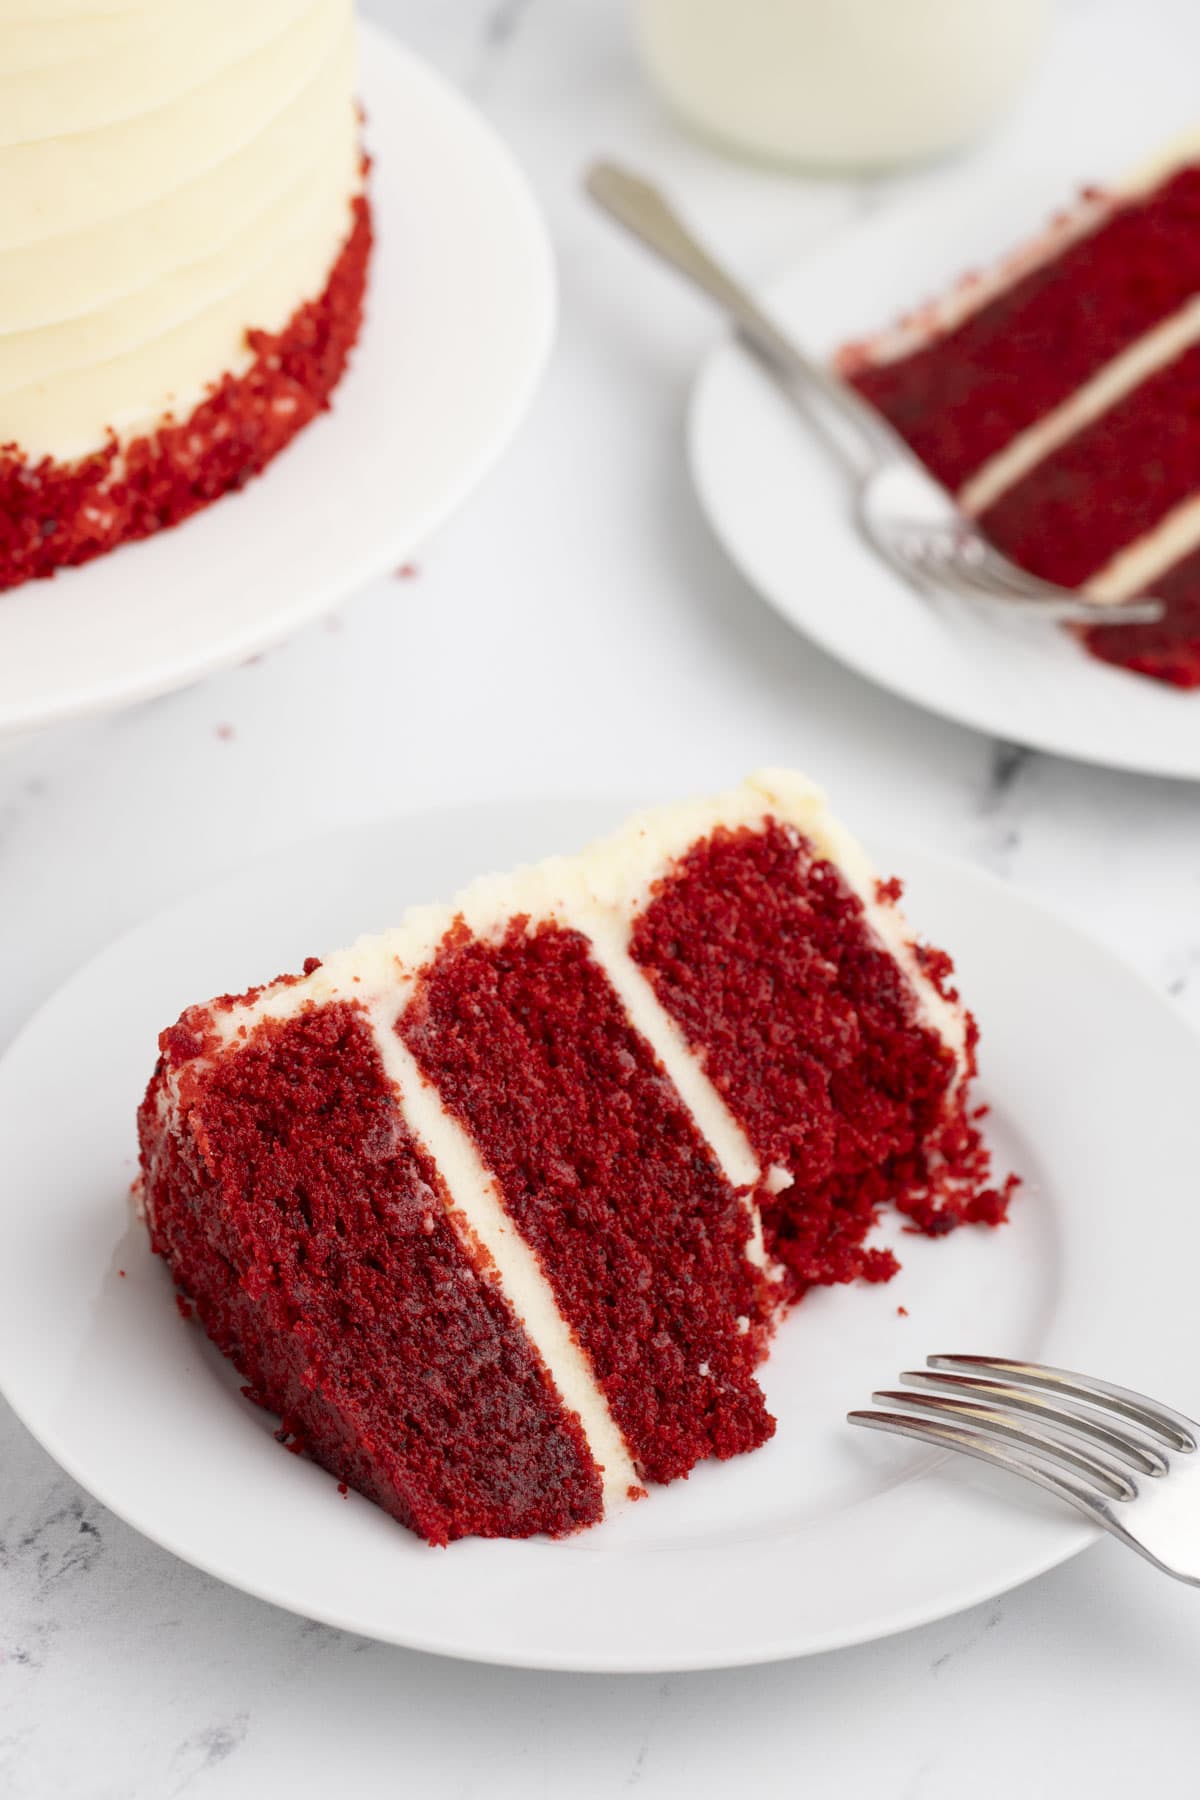
Why you’ll love this Simple Red Velvet Cake Recipe
This stunning cake is perfect for Valentine’s Day, Christmas, or any party or special occasion where you need a show-stopping dessert that tastes delicious too!
Here are a few reasons why you’ll love this red velvet recipe:
- Perfectly moist texture with a velvety crumb
- Addictive mild cocoa and sweet vanilla flavor
- Impressive display for a special occasion
- Easy homemade sweet and tangy cream cheese frosting
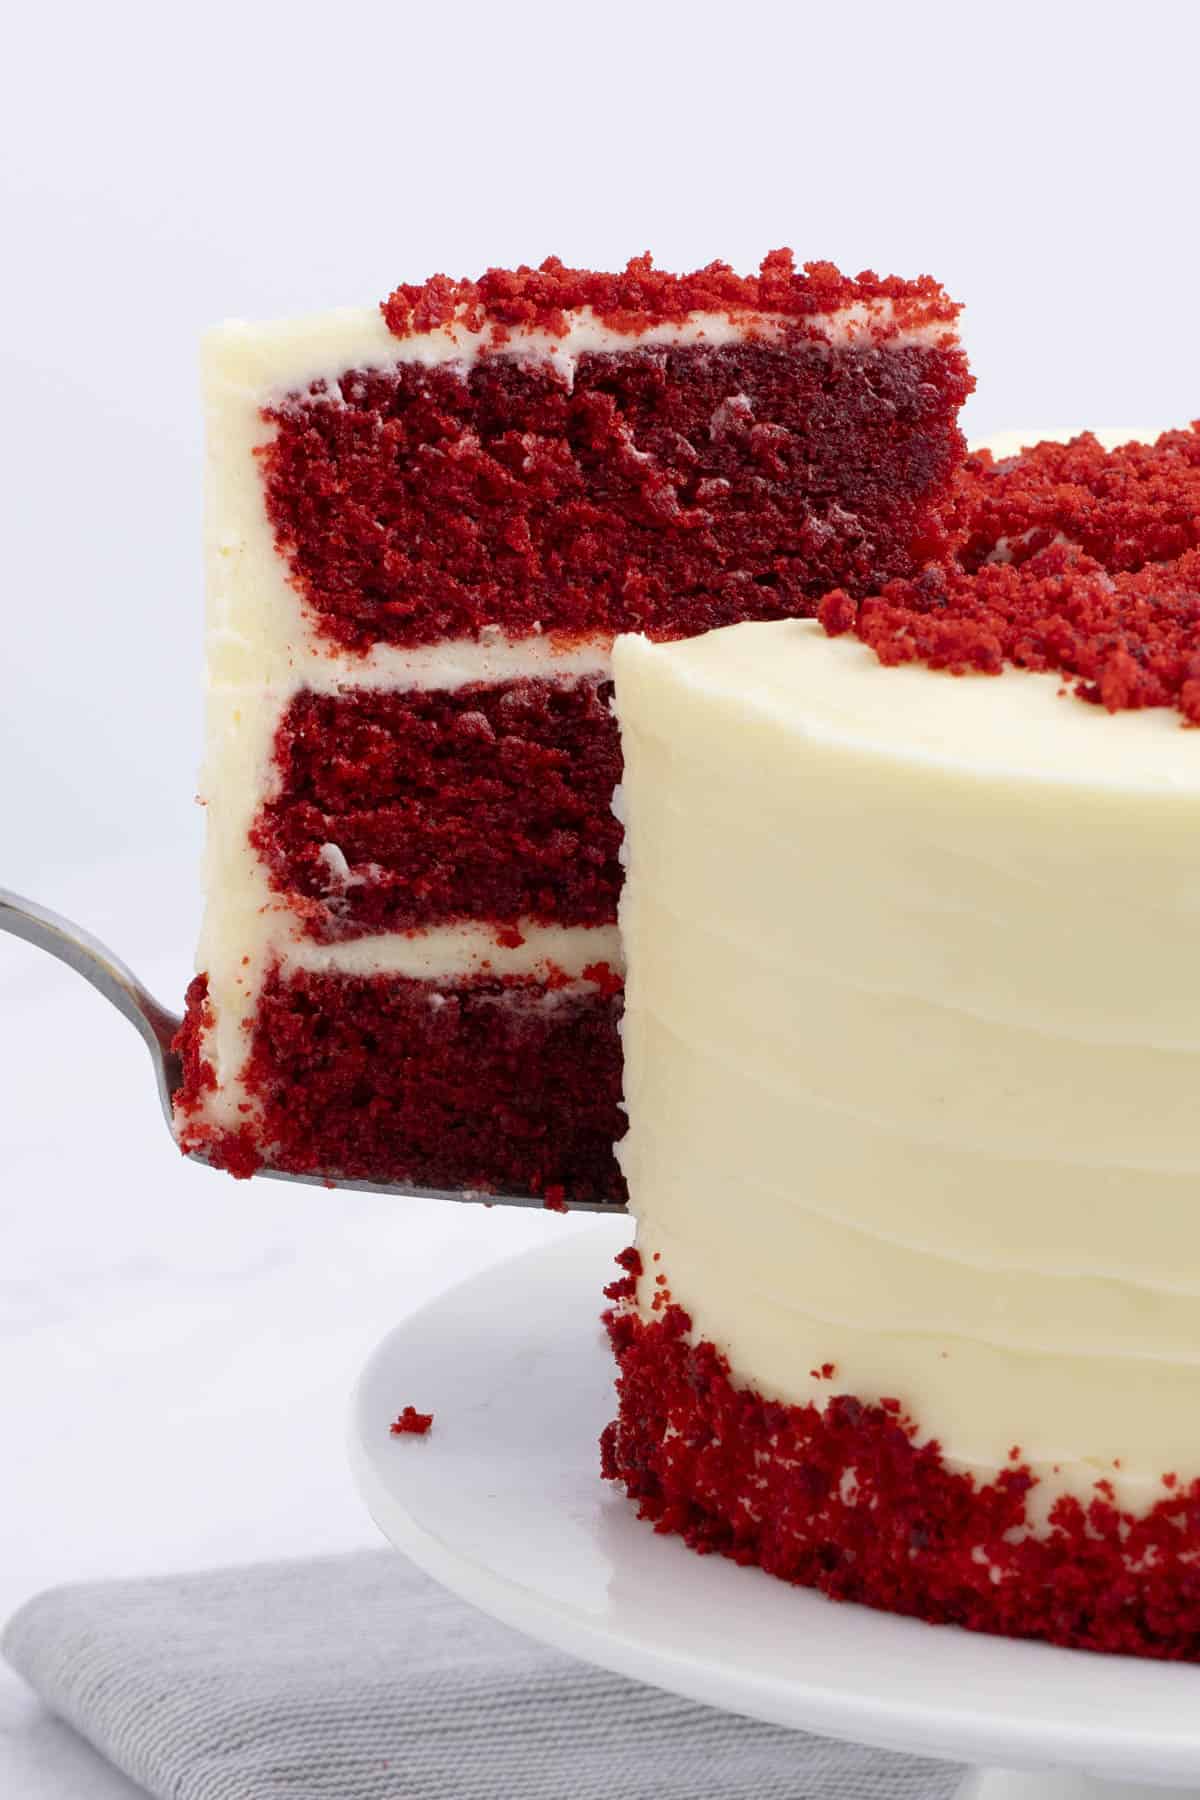
What is Red Velvet Cake?
Classic red velvet cake is typically a layer cake, made with a base of buttermilk-flavored cake flavored with a bit of cocoa powder and distilled vinegar. Red food coloring is added to achieve a vibrant red color. It’s often layered with a sweet cream cheese frosting that complements the slightly tangy flavor of the cake.
What makes Red Velvet red?
Food coloring is used to achieve the red color of this cake. The shades of red can vary in different recipes as different amounts of food coloring are used. In this recipe, I use gel food coloring to achieve a deep, vibrant red.
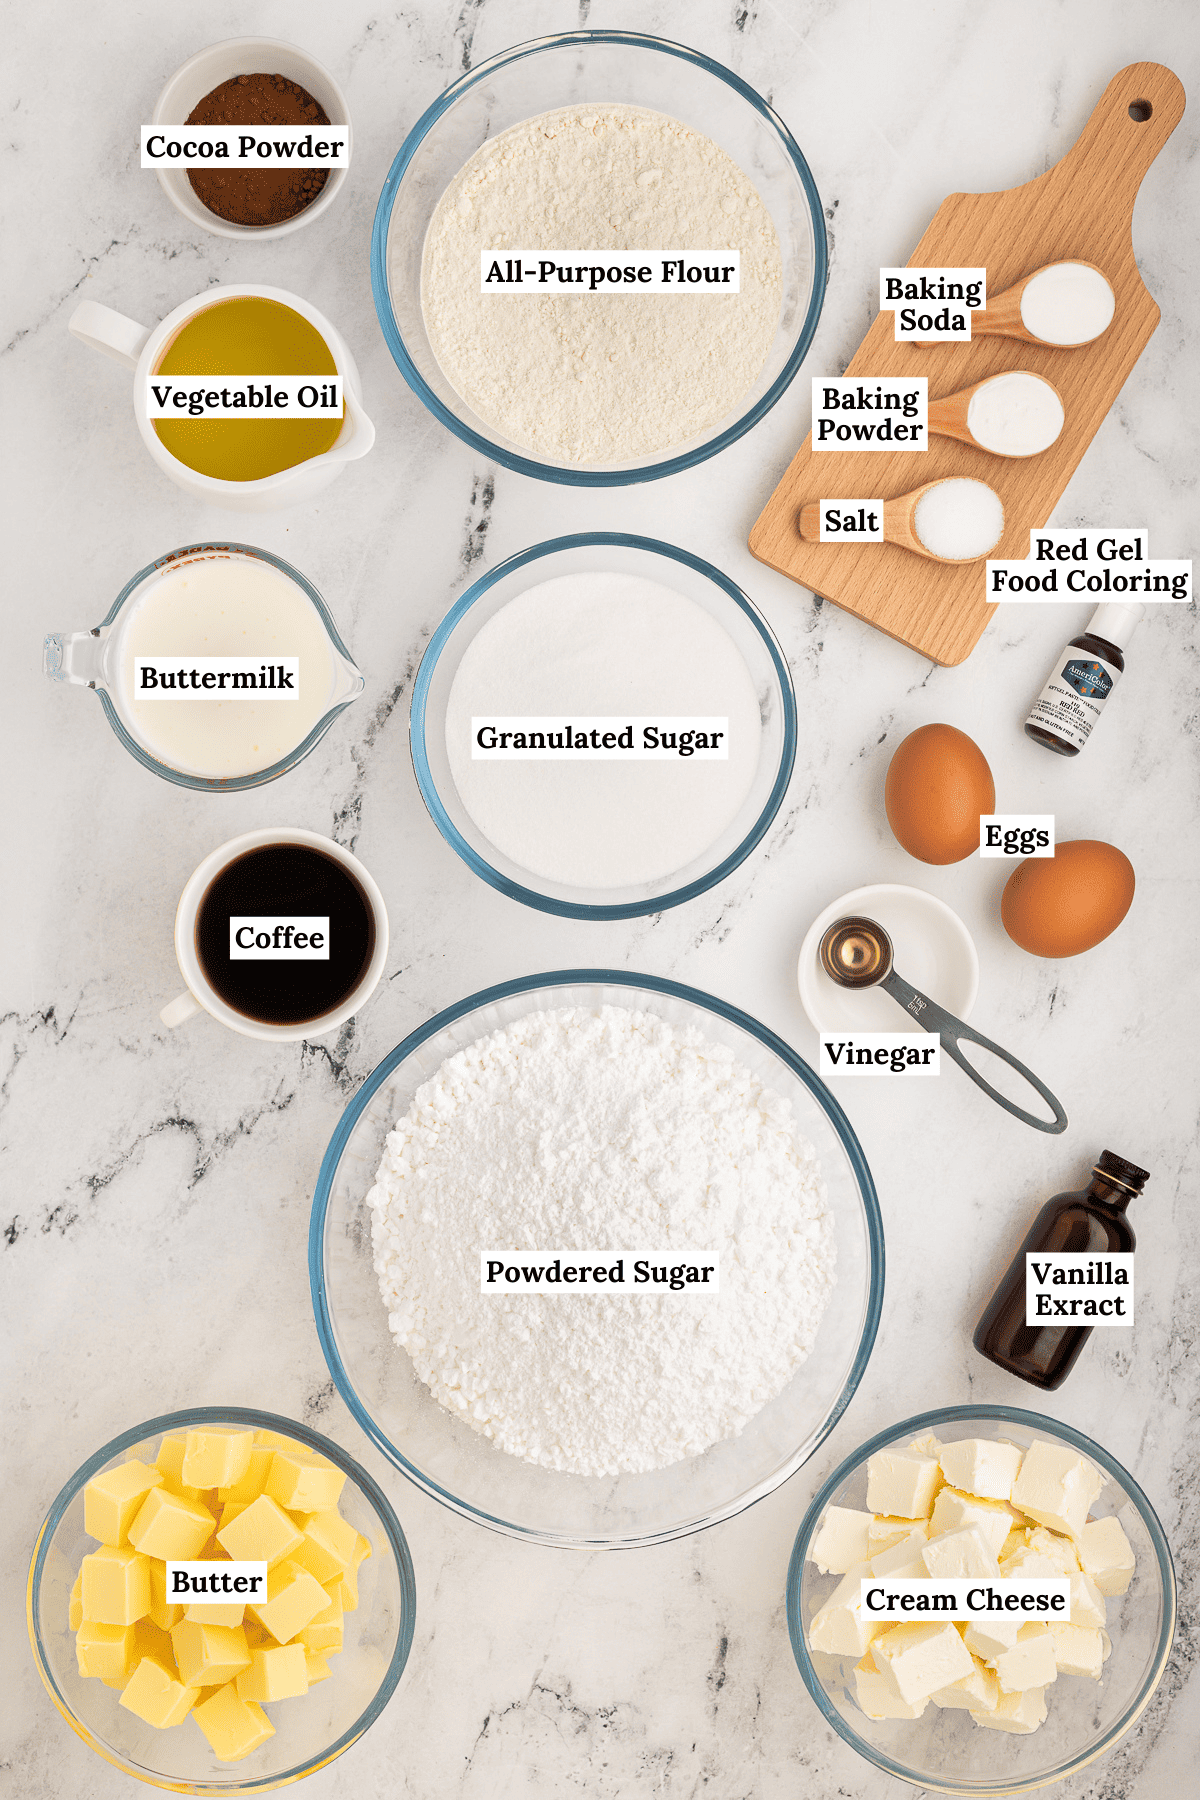
Homemade Red Velvet Cake Ingredients
Simple ingredients come together to make the perfect cake with a stunning red color and addictive taste. Get the full recipe with measurements and instructions in the recipe card below.
Red Velvet Cake
- All-purpose flour
- Dutch-processed cocoa powder
- Baking soda
- Baking powder
- Salt
- Granulated sugar
- Eggs
- Buttermilk
- Vegetable oil
- Vanilla extract
- Red food coloring
- Distilled vinegar
- Instant coffee granules: dissolved in ½ cup hot water
Cream Cheese Frosting
- Unsalted butter: room temperature, diced and softened
- Powdered sugar: sifted
- Vanilla extract
- Cream cheese: diced and chilled
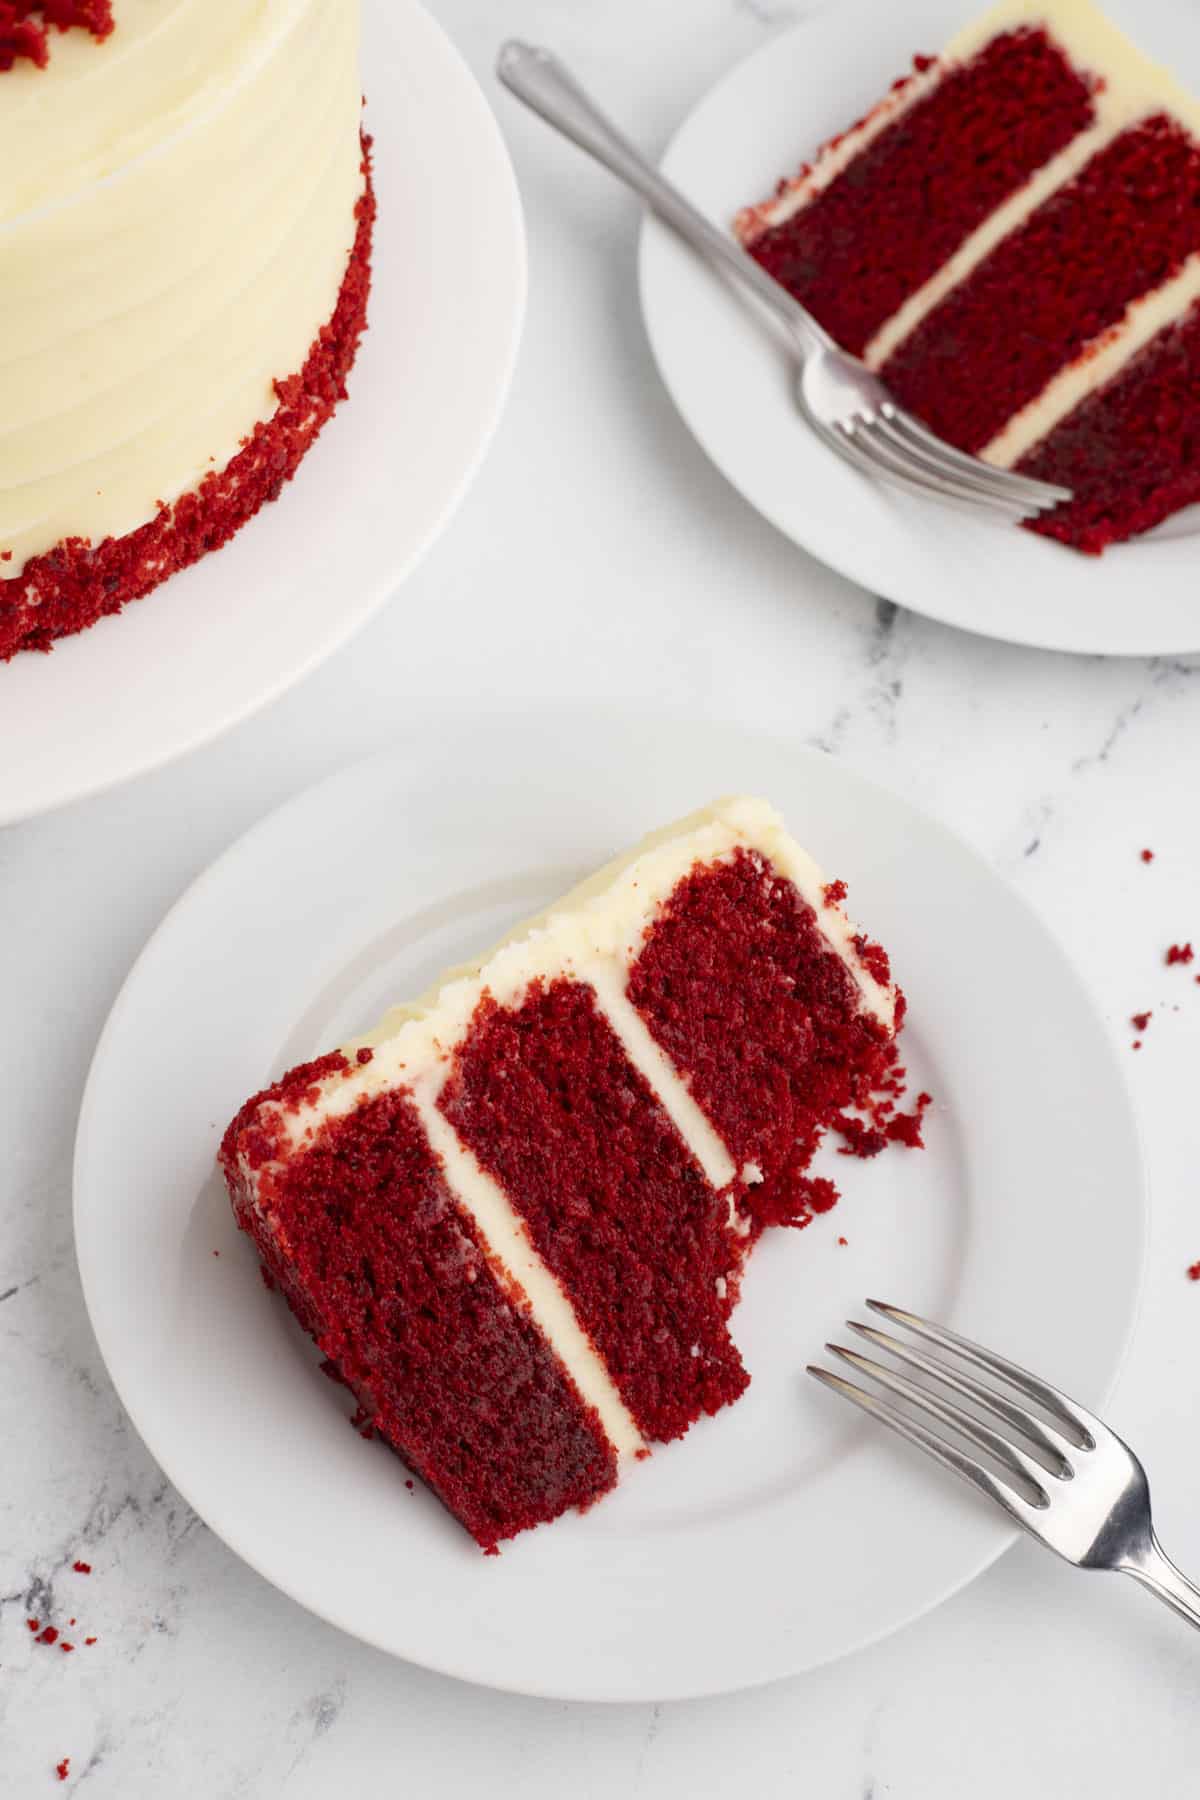
How to make Southern Red Velvet Cake
I’ve detailed the steps to make this classic cake with zero guesswork, so you can feel confident that your red velvet cake will be a success! Get the full recipe with ingredients in the recipe card below.
Red Velvet Cake
- Prep oven and pans. Preheat the oven to 325º F. Grease the sides and bottom of three 7-inch or two 9-inch pans with butter. Line the base of each pan with a parchment paper circle and a strip around the sides for easy cake removal. Set aside.
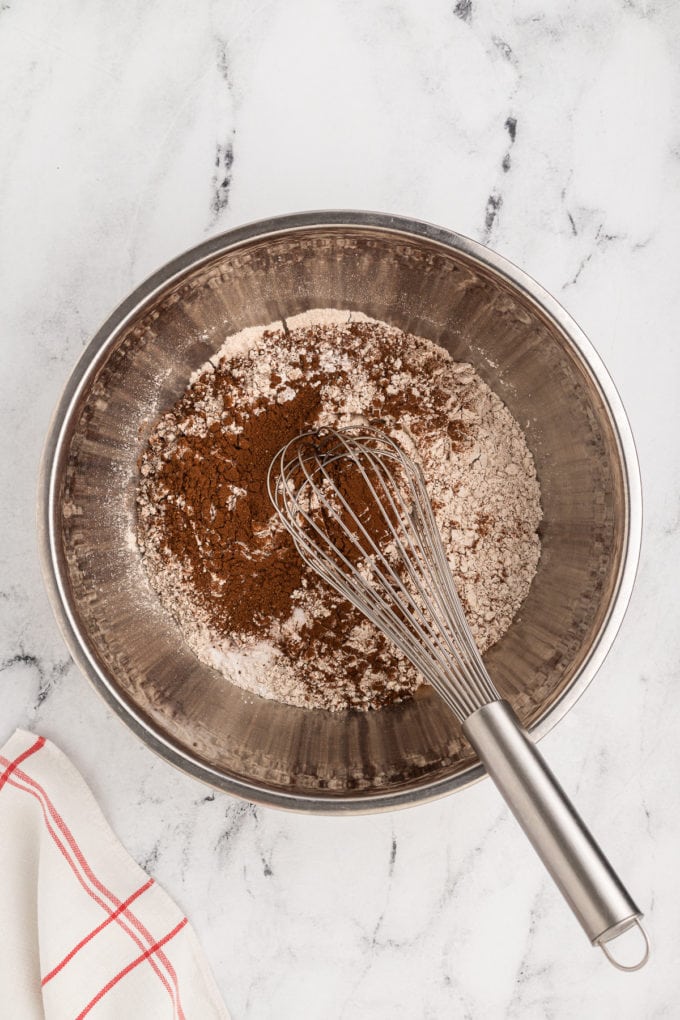
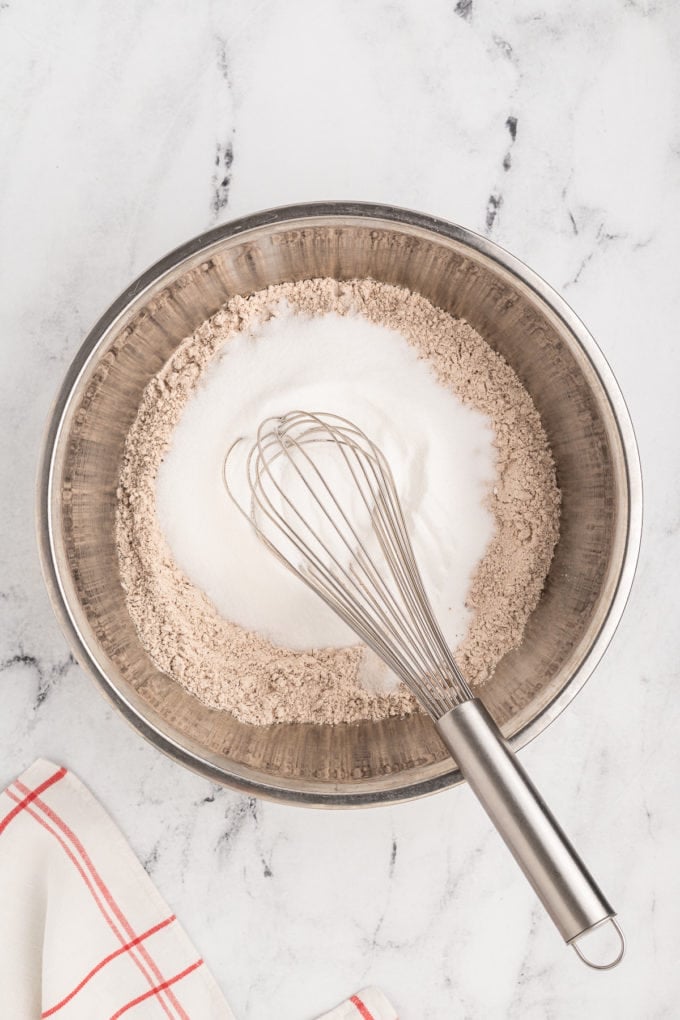
- Combine dry ingredients. Sieve the all-purpose flour and unsweetened natural cocoa powder into a mixing bowl and add the baking soda, baking powder, salt, and sugar. Mix well then set aside.
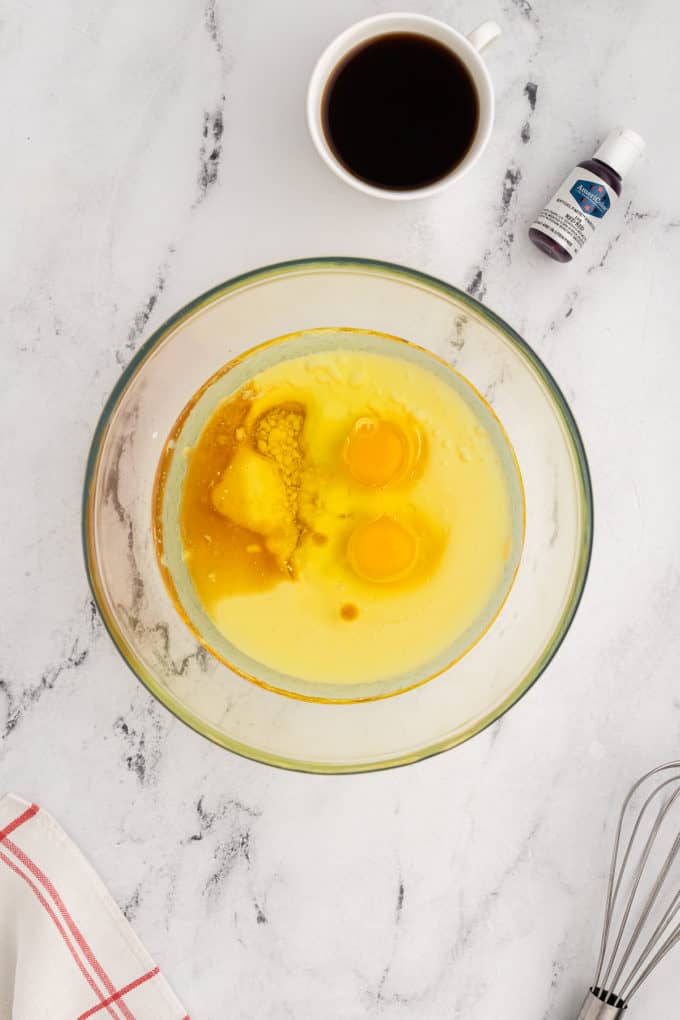
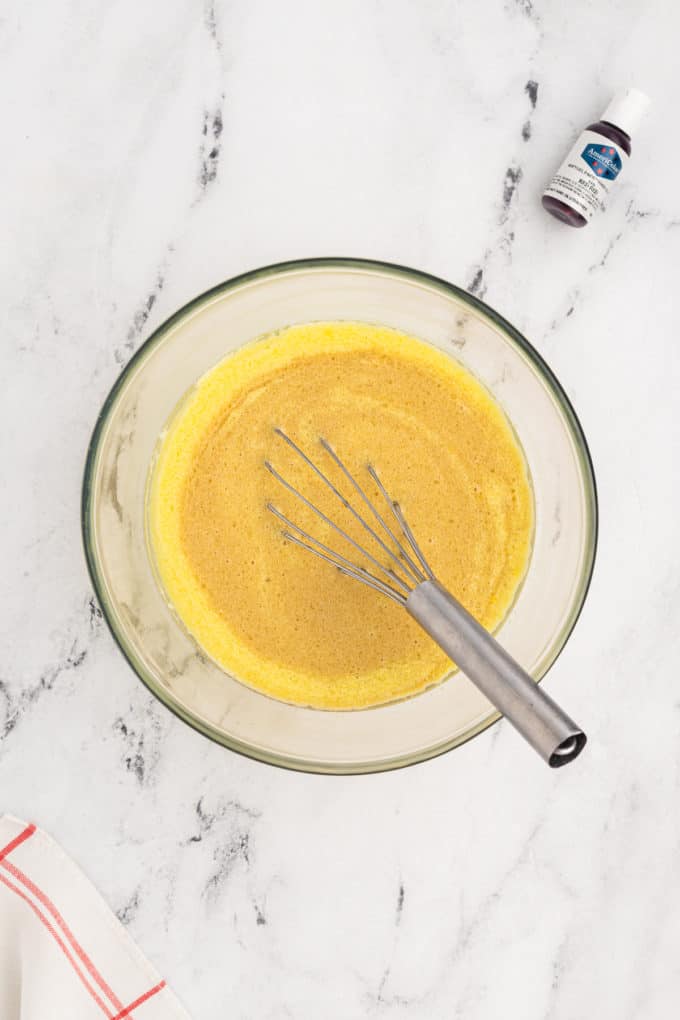
- Combine wet ingredients. In a separate mixing bowl whisk together the eggs, vegetable oil, buttermilk, vanilla extract, red food color, vinegar, and diluted coffee. Top tip: if the red food color is lumpy, use a hand blender to fully emulsify the ingredients.
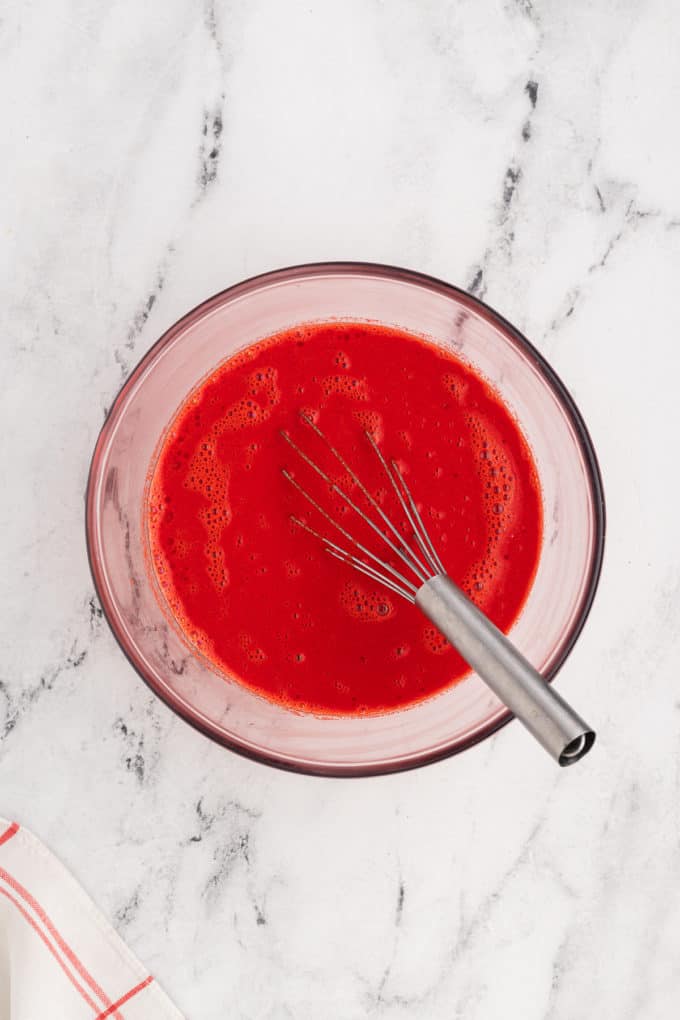
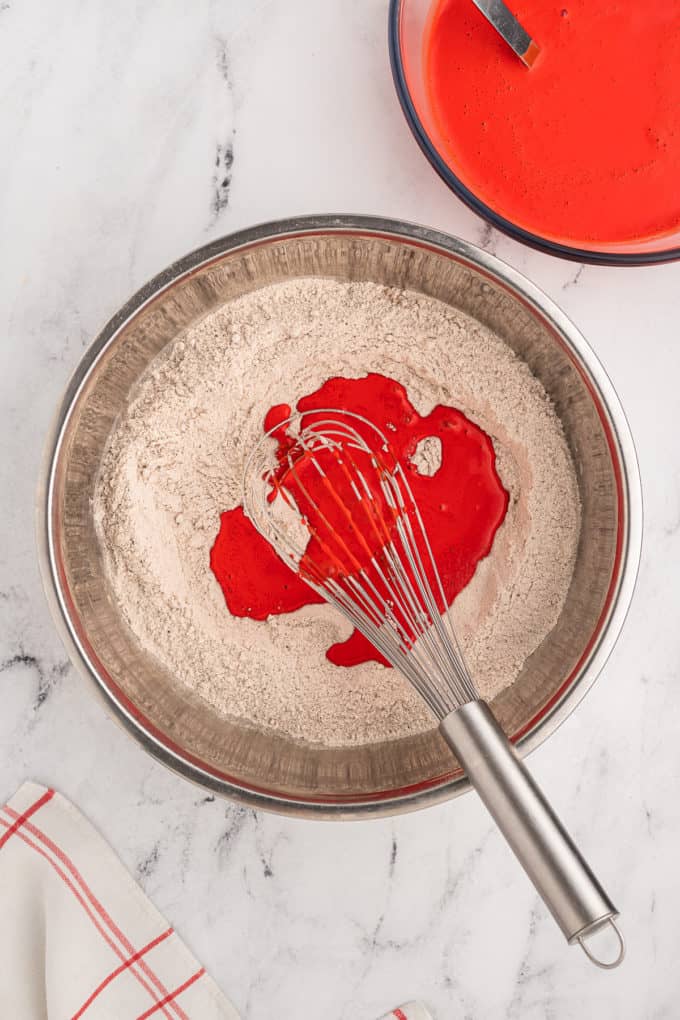
- Combine wet and dry ingredients. Add the wet ingredients to the dry ingredients, a little at a time. Whisk after each addition to keep the batter smooth and prevent lumps forming.
- Fill pans. Evenly divide the batter between the pans. Top tip: weigh the tins before adding the batter to make sure they are the same weight then add the batter. Each tin will have approximately 520g of batter. If using bake even cake strips, soak them thoroughly in water, squeeze out the excess, then secure them around the outside of the pans.
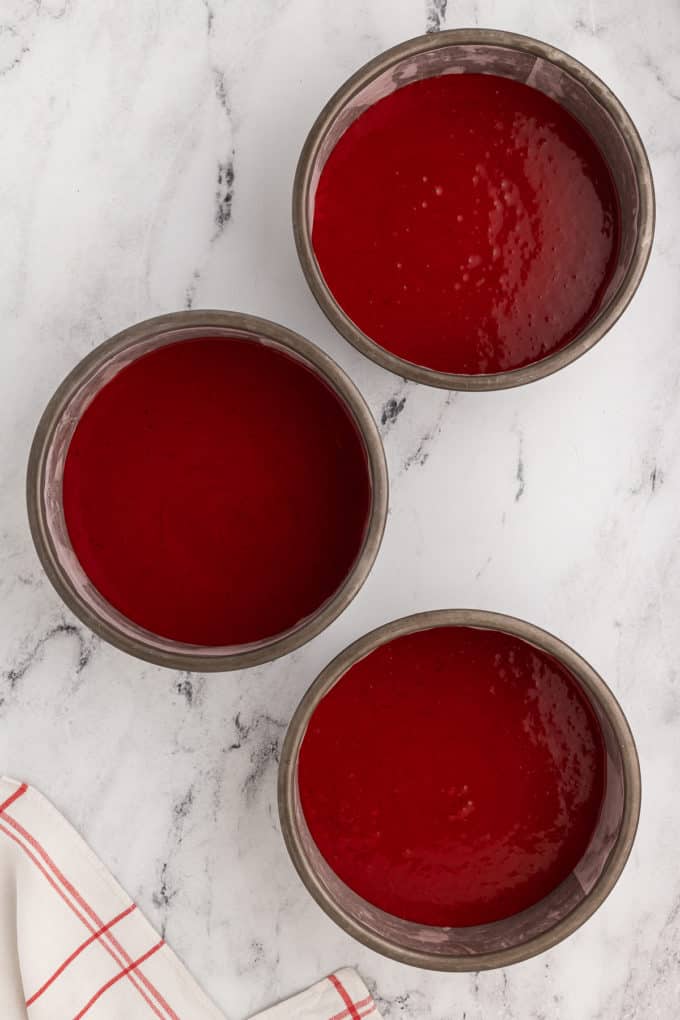
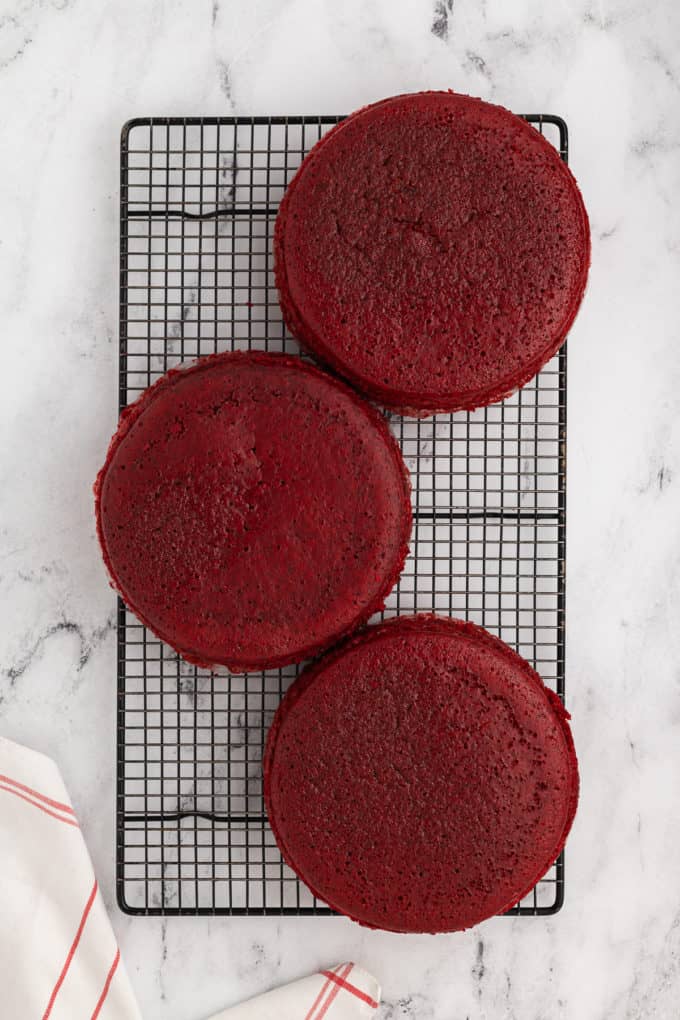
- Bake. Bake the pans in the center of the oven for 35-40 minutes without the strips or 45-50 minutes with the strips or until a toothpick inserted in the center comes out clean. Baking times will vary depending on your oven and size of pan you’re using. The 9-inch tins will take 45-50 minutes without the baking strips, or 55-60 minutes with them.
- Cool. Allow the cakes to cool for 20-30 minutes in the pans before removing them and allowing them to cool completely on a cooling rack.
Cream Cheese Frosting
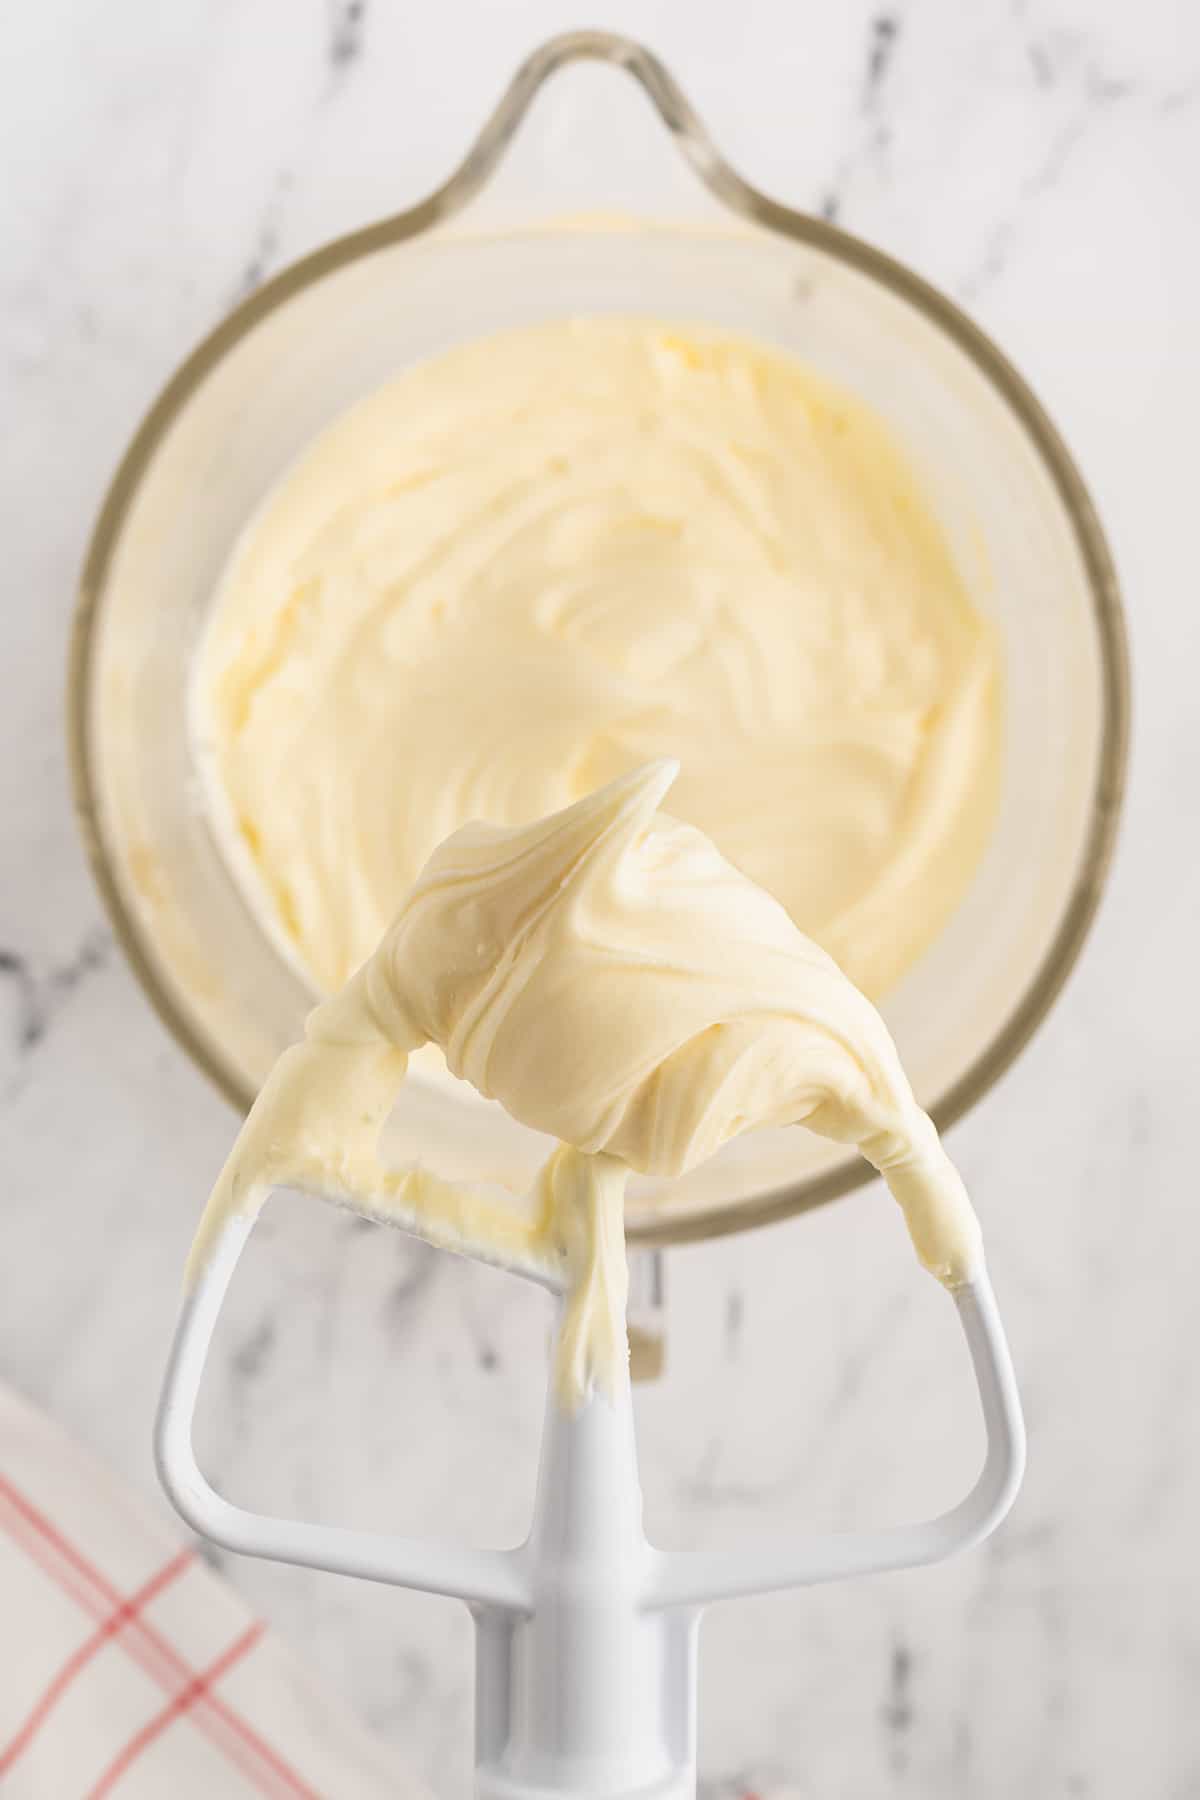
- Beat butter. In a mixing bowl, beat the butter on high for 2-3 minutes.
- Begin mixing in ingredients. Add in 2 cups of powdered sugar and vanilla extract. Beat the frosting on low speed until combined and thick.
- Continue mixing in ingredients. Add in the remaining powdered sugar, mix on low.
- Beat cream cheese. In a separate mixing bowl beat the cream cheese until smooth.
- Mix in cream cheese. Add the cream cheese to the butter mixture until combined.
- Chill. Chill the frosting until you are ready to use it.
Assemble the Cake
- Trim cake layers. Use a cake leveler or large knife to trim the tops off the cakes. Each layer should be approximately 1 ¼ inch thick.
- Crumble trimmings. Crumble the offcuts into a bowl and set aside. Top tip: the cake is very moist and tender so using a grater will make this easier.
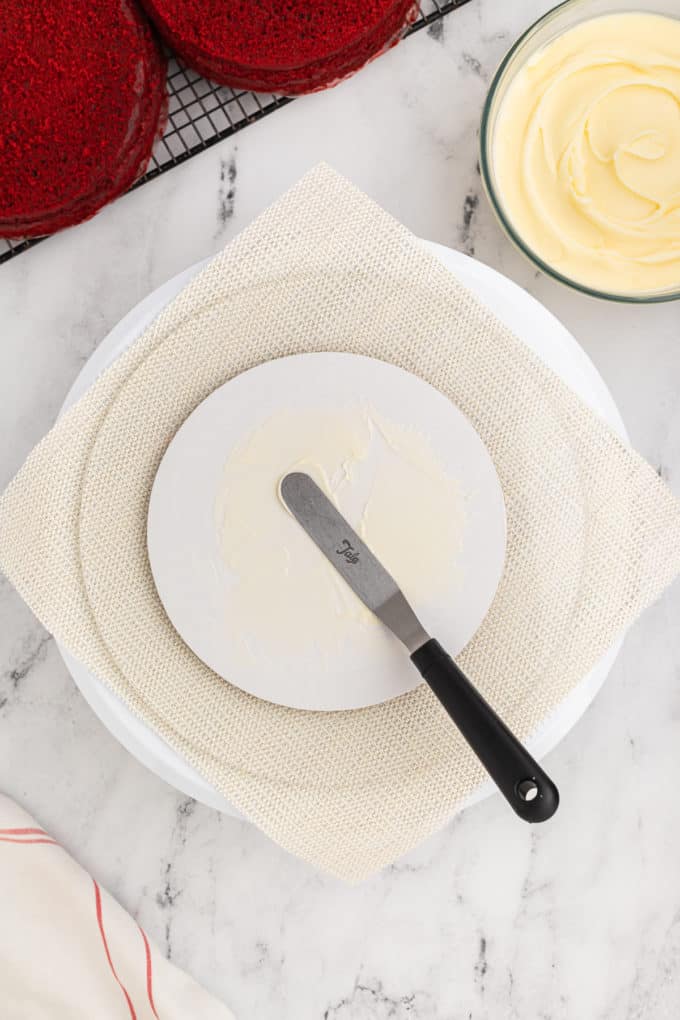
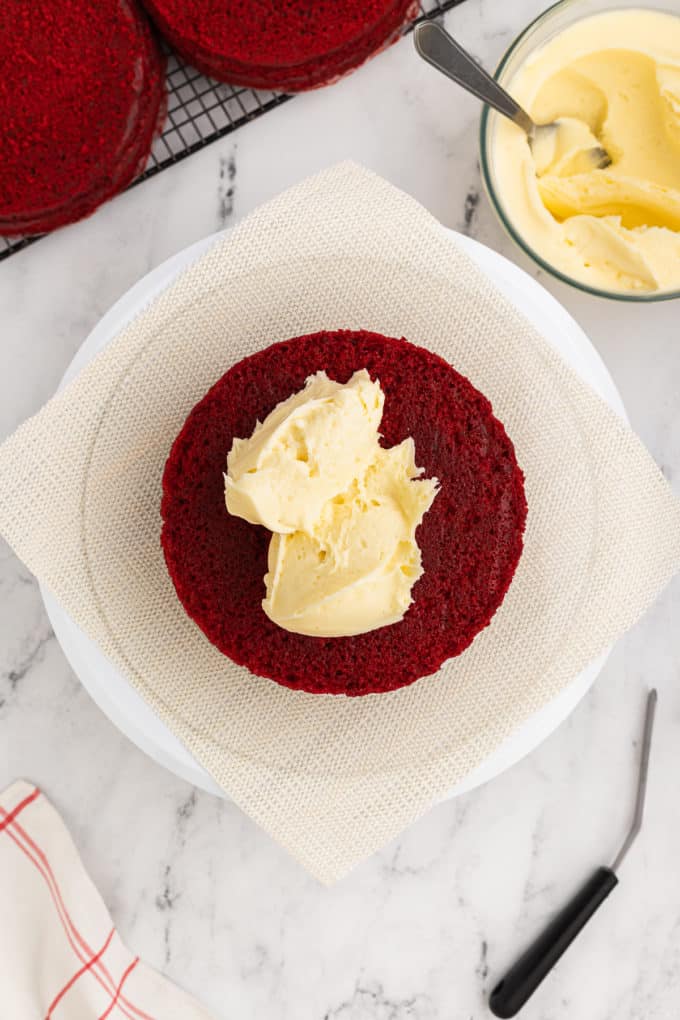
- Prep equipment. Place a 10-inch cake board onto the cake turntable. Use a non-slip mat underneath to keep it in place. Secure a 7-inch board onto it with a little frosting.
- Add first layer. Fix one layer of red velvet cake onto the board with more frosting.
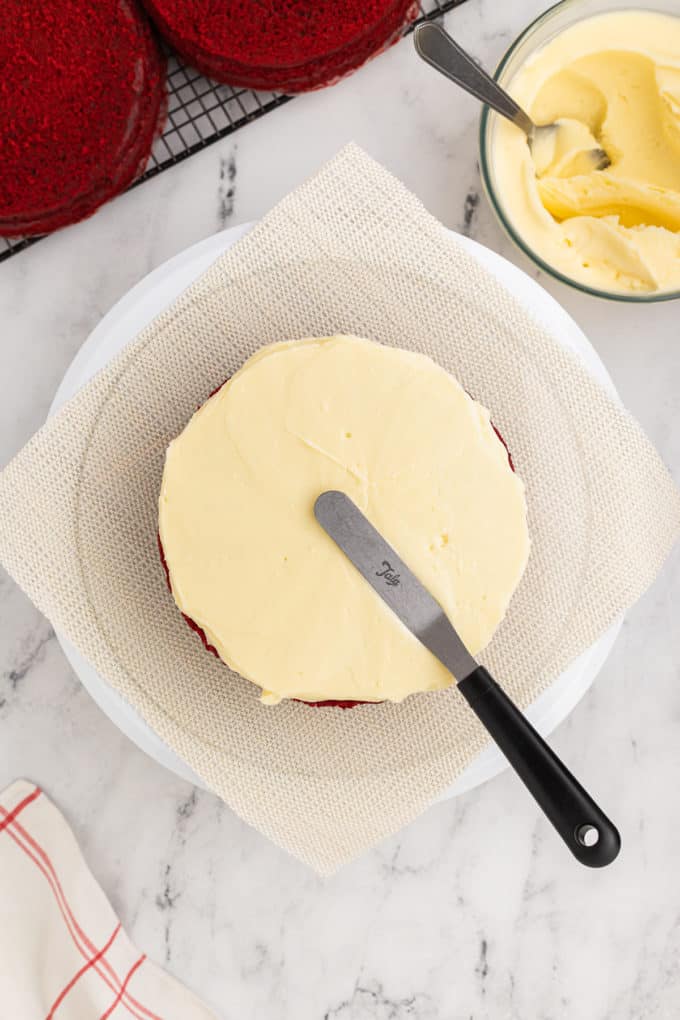
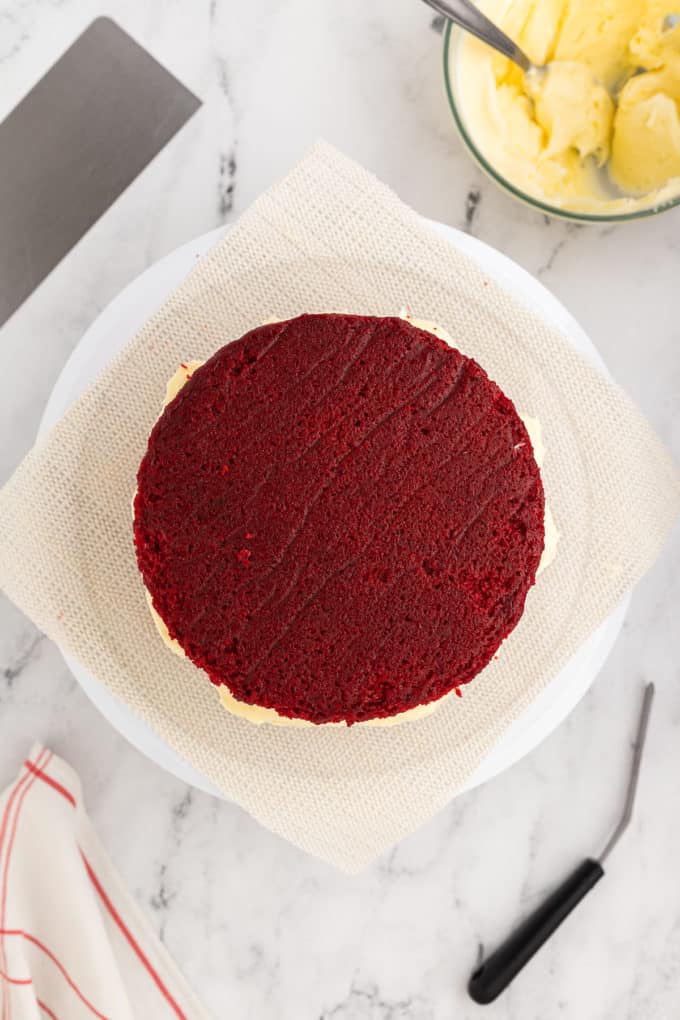
- Add frosting. Pipe or spread a quarter inch layer of frosting over the layer. Top tip: to prevent cake crumbs mixing into the frosting keep your knife in contact with the frosting as you spread it around. Avoid lifting it up and down.
- Add layer. Add the second layer of cake and repeat.
- Add final layer. Add the third layer and crumb coat the cake with a thin layer of frosting. Chill for 15 minutes to fix the crumbs.
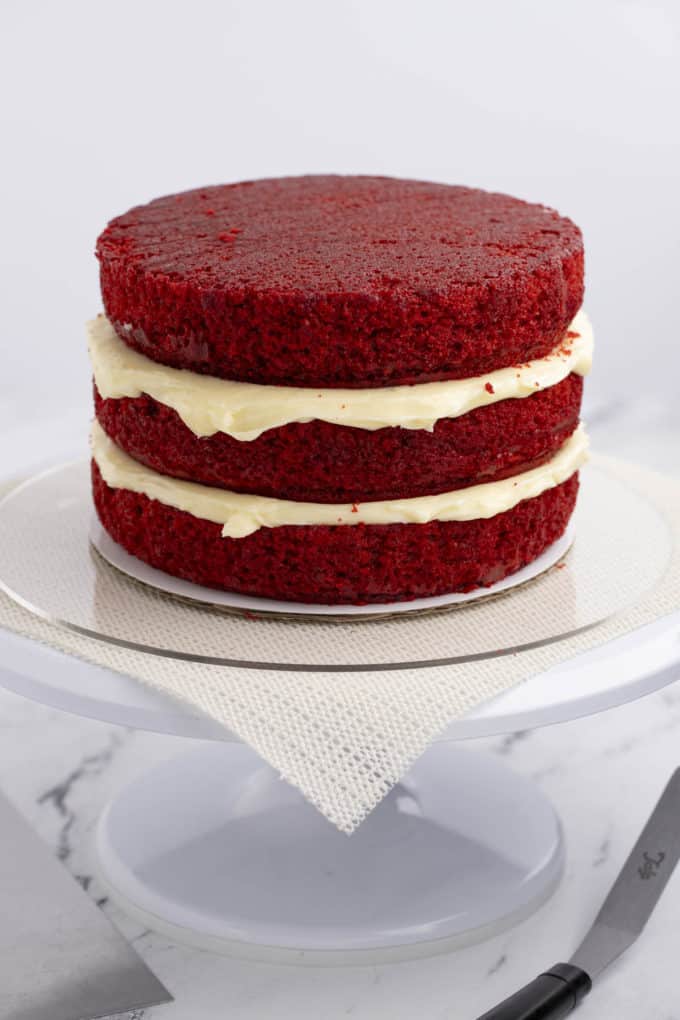
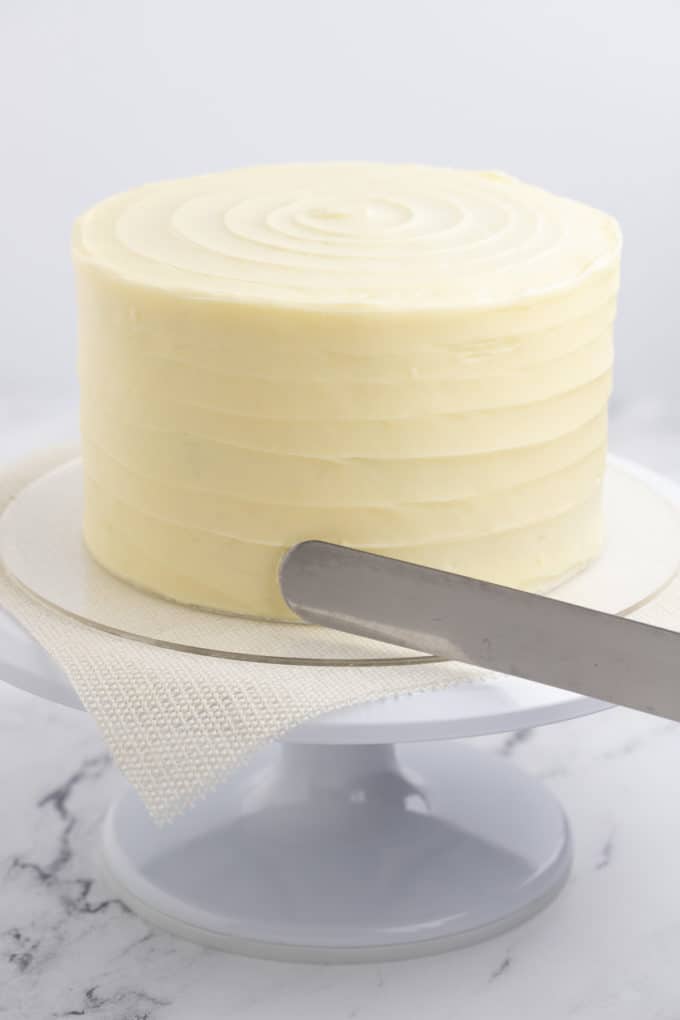
- Frost cake. Cover the cake with a ¼ inch layer of frosting and use a cake scraper to create a smooth finish.
- Create swirl. Use a large palette knife to create a swirl finish. Hold the tip against the bottom edge and press gently into the cake as you turn the turntable. Gradually move the knife upwards until the swirl has reached the top. Create a swirl on the top in the same way.
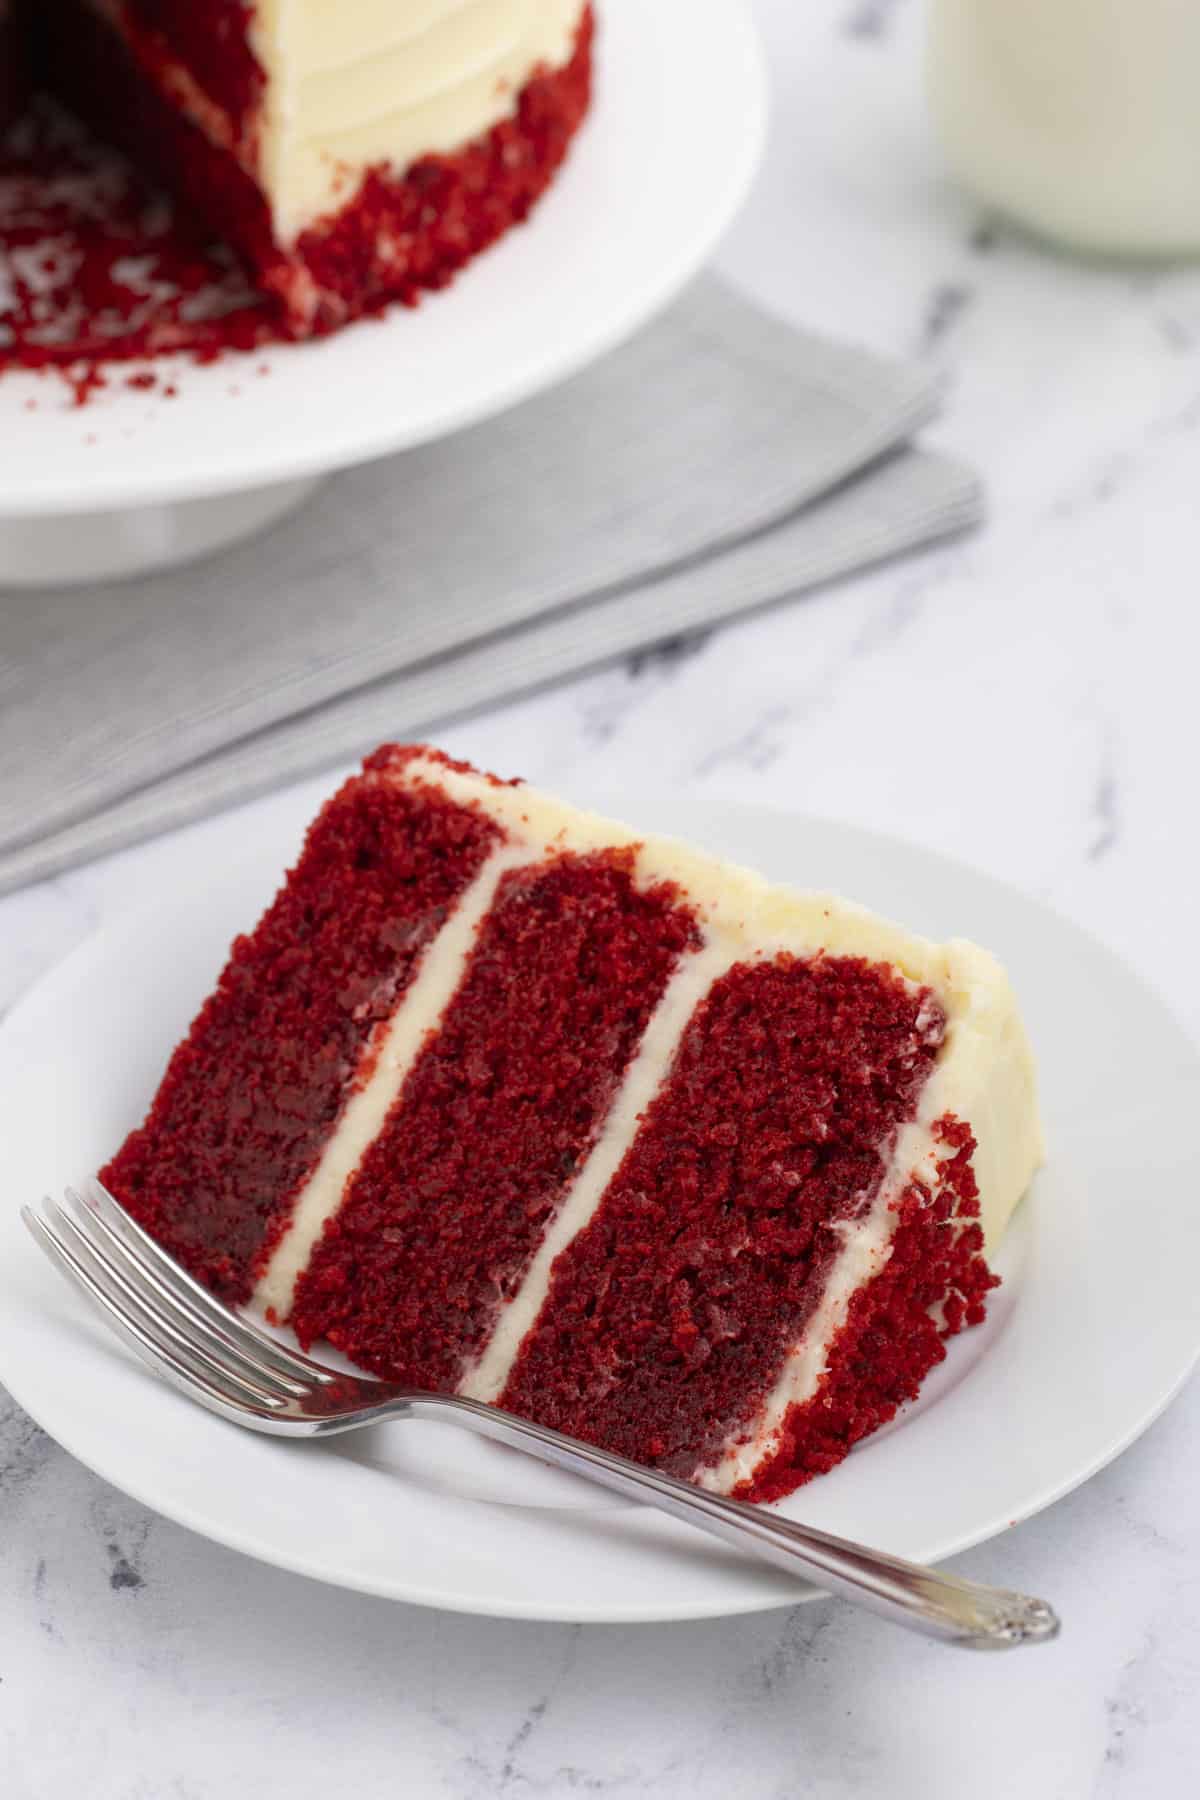
- Decorate with cake crumbs. Sprinkle cake crumbs around the base of the cake and onto the top. Top tip: chill the cake before serving, this will make slicing easier. Dip a large knife in hot water and dry before cutting the cake. Repeat after each slice.
Simple Red Velvet Cake Recipe Tips
For best results, follow these tips:
- Properly measure flour. The most accurate way to measure flour is to use a kitchen scale, weighing it in grams. Without a scale, first fluff the flour with a fork. Use a spoon to scoop the flour into your measuring cup. Use a butter knife to level the measuring cup.
- Weigh your cake tins. When you fill your cake pans with batter, weigh the tins beforehand to make sure they are the same weight. When you add the batter, each tin will have approximately 520g of batter. If using bake even cake strips, soak them thoroughly in water, squeeze out the excess, then secure them around the outside of the pans.
- Use a grater to make crumble topping. After trimming the cake you will set aside the offcuts and then crumble it to decorate the sides and top of the cake. Since the cake is very moist and tender (yum!), using a grater will make it easier to achieve the perfect crumbs.
- Frost like a pro. To avoid mixing cake crumbs into the frosting as you frost the cake, avoid lifting your knife up and down. Instead, keep it in contact with the frosting as you spread it around.
- Chill before serving. To serve neat and perfect slices of cake, chill the cake before serving.
- Slice like a pro. Dip your knife into hot water and then dry it before slicing the cake, then repeat between each slice.
Decorating Red Velvet Cake with Cream Cheese Frosting
Cream cheese frosting is the perfect compliment to red velvet cake. Like peanut butter and jelly or macaroni and cheese, red velvet cake and cream cheese frosting just belong together.
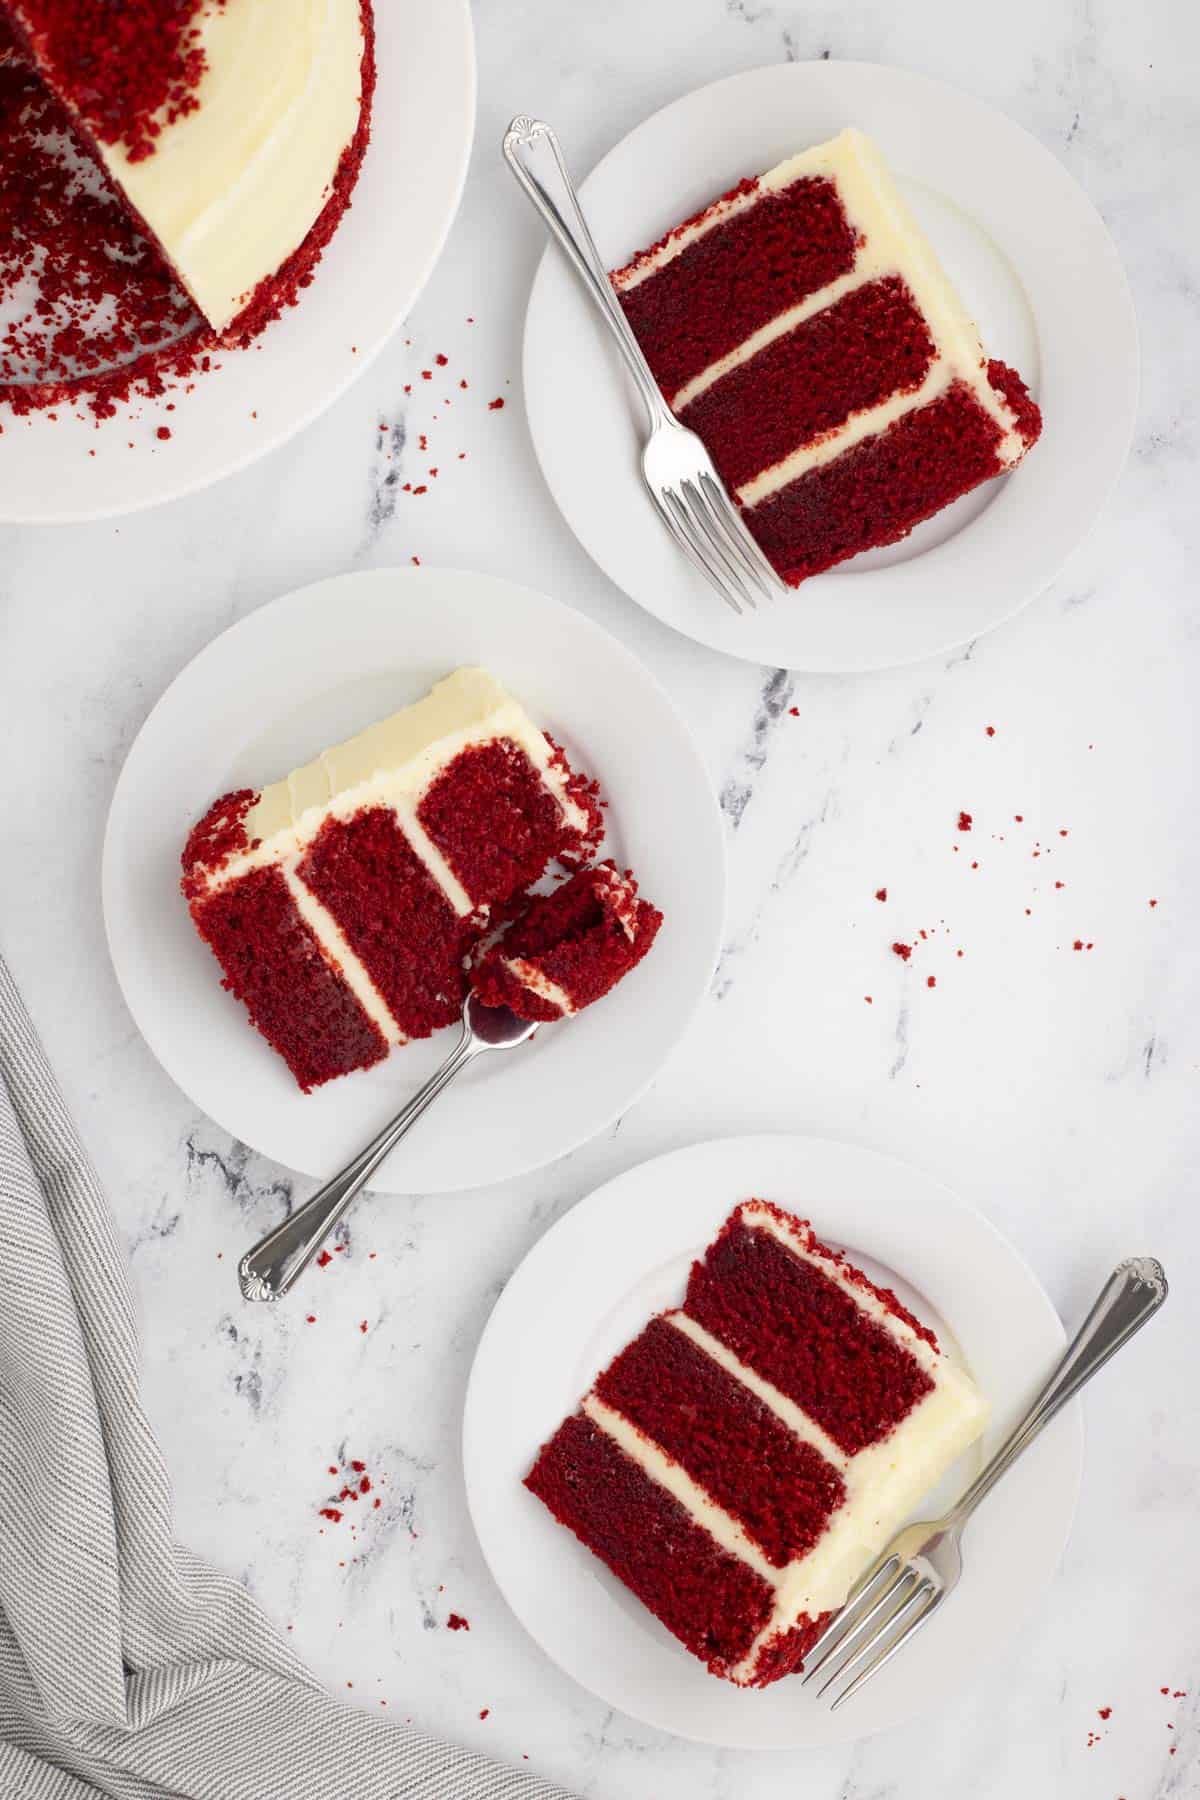
For best results, cover the cake with a 1/4 inch layer of cream cheese frosting and then use a cake scraper to create a smooth finish. To create a swirl decoration with the frosting, use a large palette knife with the cake on a turntable. Simply hold the tip against the bottom edge and press gently into the cake as you turn it. Slowly and gradually move the knife upwards until the swirl has reached the top.
Red Velvet Cake Recipe From Scratch Storage
Red velvet cake should stay refrigerated due to the cream cheese frosting. I suggest allowing 1-2 hours for the cake to come to room temperature before serving.
Can this Homemade Red Velvet Cake be frozen?
You can make ahead the cake layers themselves and freeze them. To do this, first, bake the cake as directed and allow it to cool completely. Wrap each layer in plastic wrap tightly and then place in a freezer bag. Freeze the cake for up to 3 months.
You can also freeze the frosted cake itself, wrapped tightly and in a freezer-safe bag, for up to 3 months. When ready to enjoy, thaw it overnight in the refrigerator.
I used this recipe for cupcakes after my granddaughter requested them for her birthday. They turned out perfect! If you like red velvet cake, this is a must try recipe!! The frosting is beyond delicious! 😋
-Stacie
More Cake Recipes
Tap stars to rate!
Moist Red Velvet Cake Recipe
Ingredients
Red Velvet Cake
- 2 ¾ cups (330g) all-purpose flour
- 2 Tbsp (10g) dutch-processed cocoa powder
- 1 tsp baking soda
- 1 tsp baking powder
- 1 tsp salt
- 2 ¼ cups (450g) granulated sugar
- 2 large eggs
- 1 cup (236ml) buttermilk
- 1 cup (236ml) vegetable oil
- 2 tsp vanilla extract
- Red food coloring, 21 gram bottle Americolor Red Red or 1-2 tablespoons
- 1 tsp white distilled vinegar
- 1 tsp instant coffee granules dissolved in ½ cup hot water
Cream Cheese Frosting
- 1 ½ cups (339g) unsalted butter, room temperature, 3 sticks, diced and softened
- 6 cups (750g) powdered sugar, sifted
- 1 ½ tsp vanilla extract
- 12 oz (339g) cream cheese, diced and chilled
Instructions
Red Velvet Cake
- Preheat the oven to 325º F. Grease the sides and bottom of three 7-inch or two 9-inch pans with butter. Line the base of each pan with a parchment paper circle and a strip around the sides for easy cake removal. Set aside.
- Sieve the all-purpose flour and unsweetened natural cocoa powder into a mixing bowl and add the baking soda, baking powder, salt, and sugar. Mix well then set aside.2 ¾ cups (330g) all-purpose flour, 2 Tbsp (10g) dutch-processed cocoa powder, 1 tsp baking soda, 1 tsp baking powder, 1 tsp salt, 2 ¼ cups (450g) granulated sugar
- In a separate mixing bowl whisk together the eggs, vegetable oil, buttermilk, vanilla extract, red food color, vinegar, and diluted coffee. Top tip: if the red food color is lumpy, use a hand blender to fully emulsify the ingredients.2 large eggs, 1 cup (236ml) buttermilk, 1 cup (236ml) vegetable oil, 2 tsp vanilla extract, Red food coloring, 1 tsp white distilled vinegar, 1 tsp instant coffee granules dissolved in ½ cup hot water
- Add the wet ingredients to the dry ingredients, a little at a time. Whisk after each addition to keep the batter smooth and prevent lumps forming.
- Evenly divide the batter between the pans. Top tip: weigh the tins before adding the batter to make sure they are the same weight then add the batter. Each tin will have approximately 520g of batter. If using bake even cake strips, soak them thoroughly in water, squeeze out the excess, then secure them around the outside of the pans.
- Bake the pans in the center of the oven for 35-40 minutes without the strips or 45-50 minutes with the strips or until a toothpick inserted in the center comes out clean. Baking times will vary depending on your oven and size of pan you’re using. The 9-inch tins will take 45-50 minutes without the baking strips, or 55-60 minutes with them.
- Allow the cakes to cool for 20-30 minutes in the pans before removing them and allowing them to cool completely on a cooling rack.
Cream Cheese Frosting
- In a mixing bowl, beat the butter on high for 2-3 minutes.1 ½ cups (339g) unsalted butter
- Add in 2 cups of powdered sugar and vanilla extract. Beat the frosting on low speed until combined and thick.6 cups (750g) powdered sugar, 1 ½ tsp vanilla extract
- Add in the remaining powdered sugar, mix on low.
- In a separate mixing bowl beat the cream cheese until smooth.12 oz (339g) cream cheese
- Add the cream cheese to the butter mixture until combined.
- Chill the frosting until you are ready to use it.
Assemble the Cake
- Use a cake leveler or large knife to trim the tops off the cakes. Each layer should be approximately 1 ¼ inch thick.
- Crumble the offcuts into a bowl and set aside. Top tip: the cake is very moist and tender so using a grater will make this easier.
- Place a 10-inch cake board onto the cake turntable. Use a non-slip mat underneath to keep it in place. Secure a 7-inch board onto it with a little frosting.
- Fix one layer of red velvet cake onto the board with more frosting.
- Pipe or spread a quarter inch layer of frosting over the layer. Top tip: to prevent cake crumbs mixing into the frosting keep your knife in contact with the frosting as you spread it around. Avoid lifting it up and down.
- Add the second layer of cake and repeat.
- Add the third layer and crumb coat the cake with a thin layer of frosting. Chill for 15 minutes to fix the crumbs.
- Cover the cake with a ¼ inch layer of frosting and use a cake scraper to create a smooth finish.
- Use a large palette knife to create a swirl finish. Hold the tip against the bottom edge and press gently into the cake as you turn the turntable. Gradually move the knife upwards until the swirl has reached the top. Create a swirl on the top in the same way.
- Sprinkle cake crumbs around the base of the cake and onto the top. Top tip: chill the cake before serving, this will make slicing easier. Dip a large knife in hot water and dry before cutting the cake. Repeat after each slice.
Notes



Would this recipe be good for cupcakes?
Yes! The bake time would need to be adjusted!
I made this for my 3 boys for Valentine’s day this year they devoured it. The only thing I did different was added an extra 1/2 block of cream cheese to icing and my family wanted to eat with spoons it was so delicious lol. Another win from this website!! Go make it!!!
I used this recipe for cupcakes after my granddaughter requested them for her birthday. They turned out perfect! If you like red velvet cake, this is a must try recipe!! The frosting is beyond delicious! 😋