This post may contain affiliate links. Please read our disclosure policy.
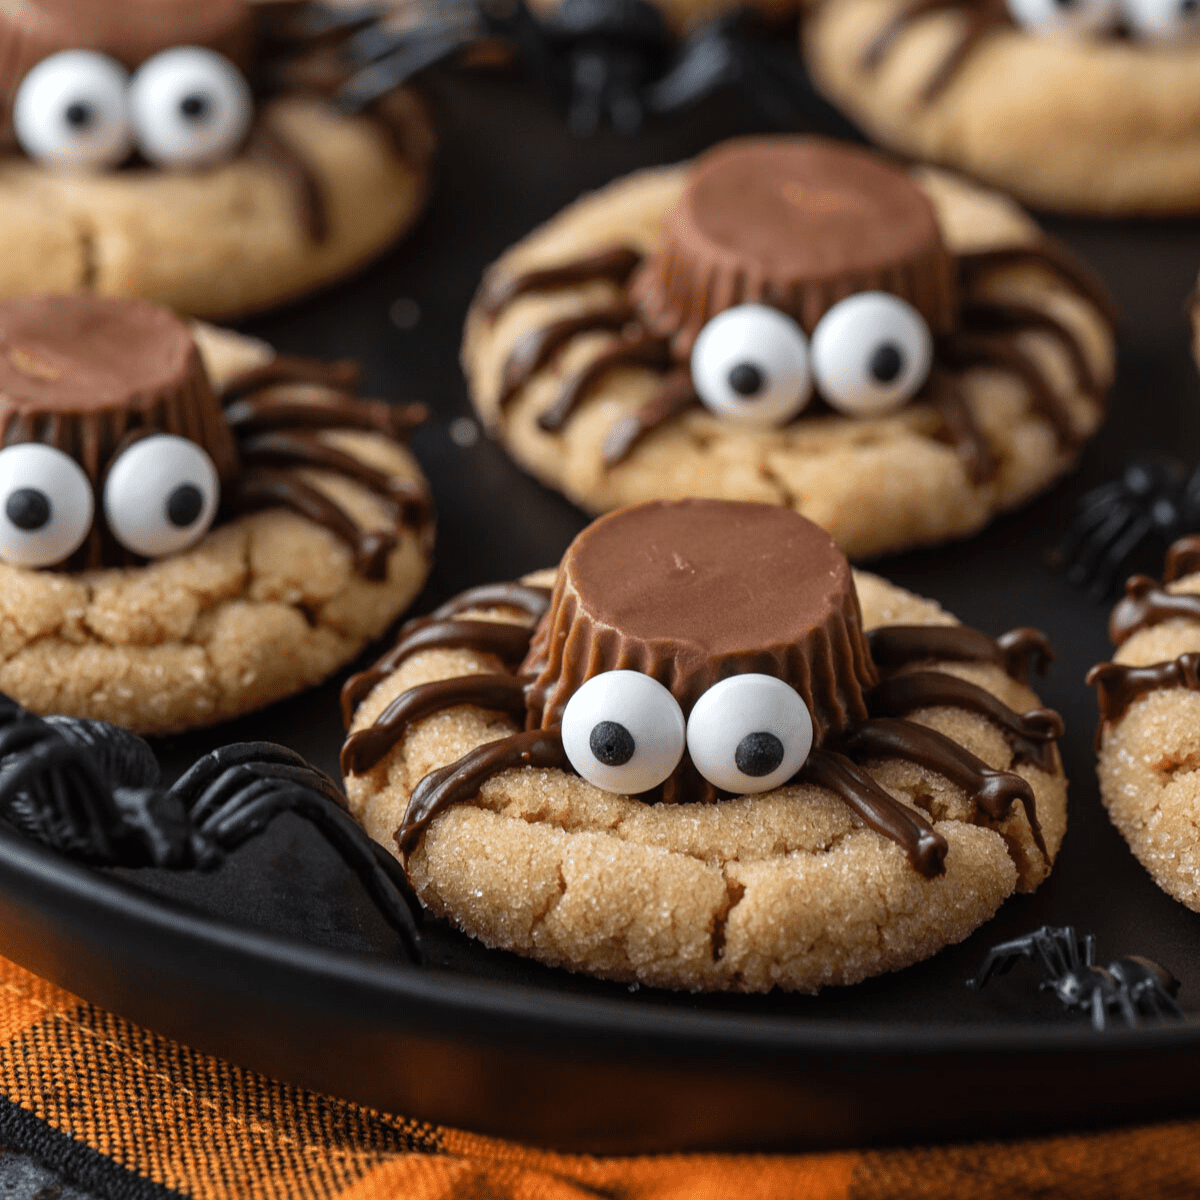
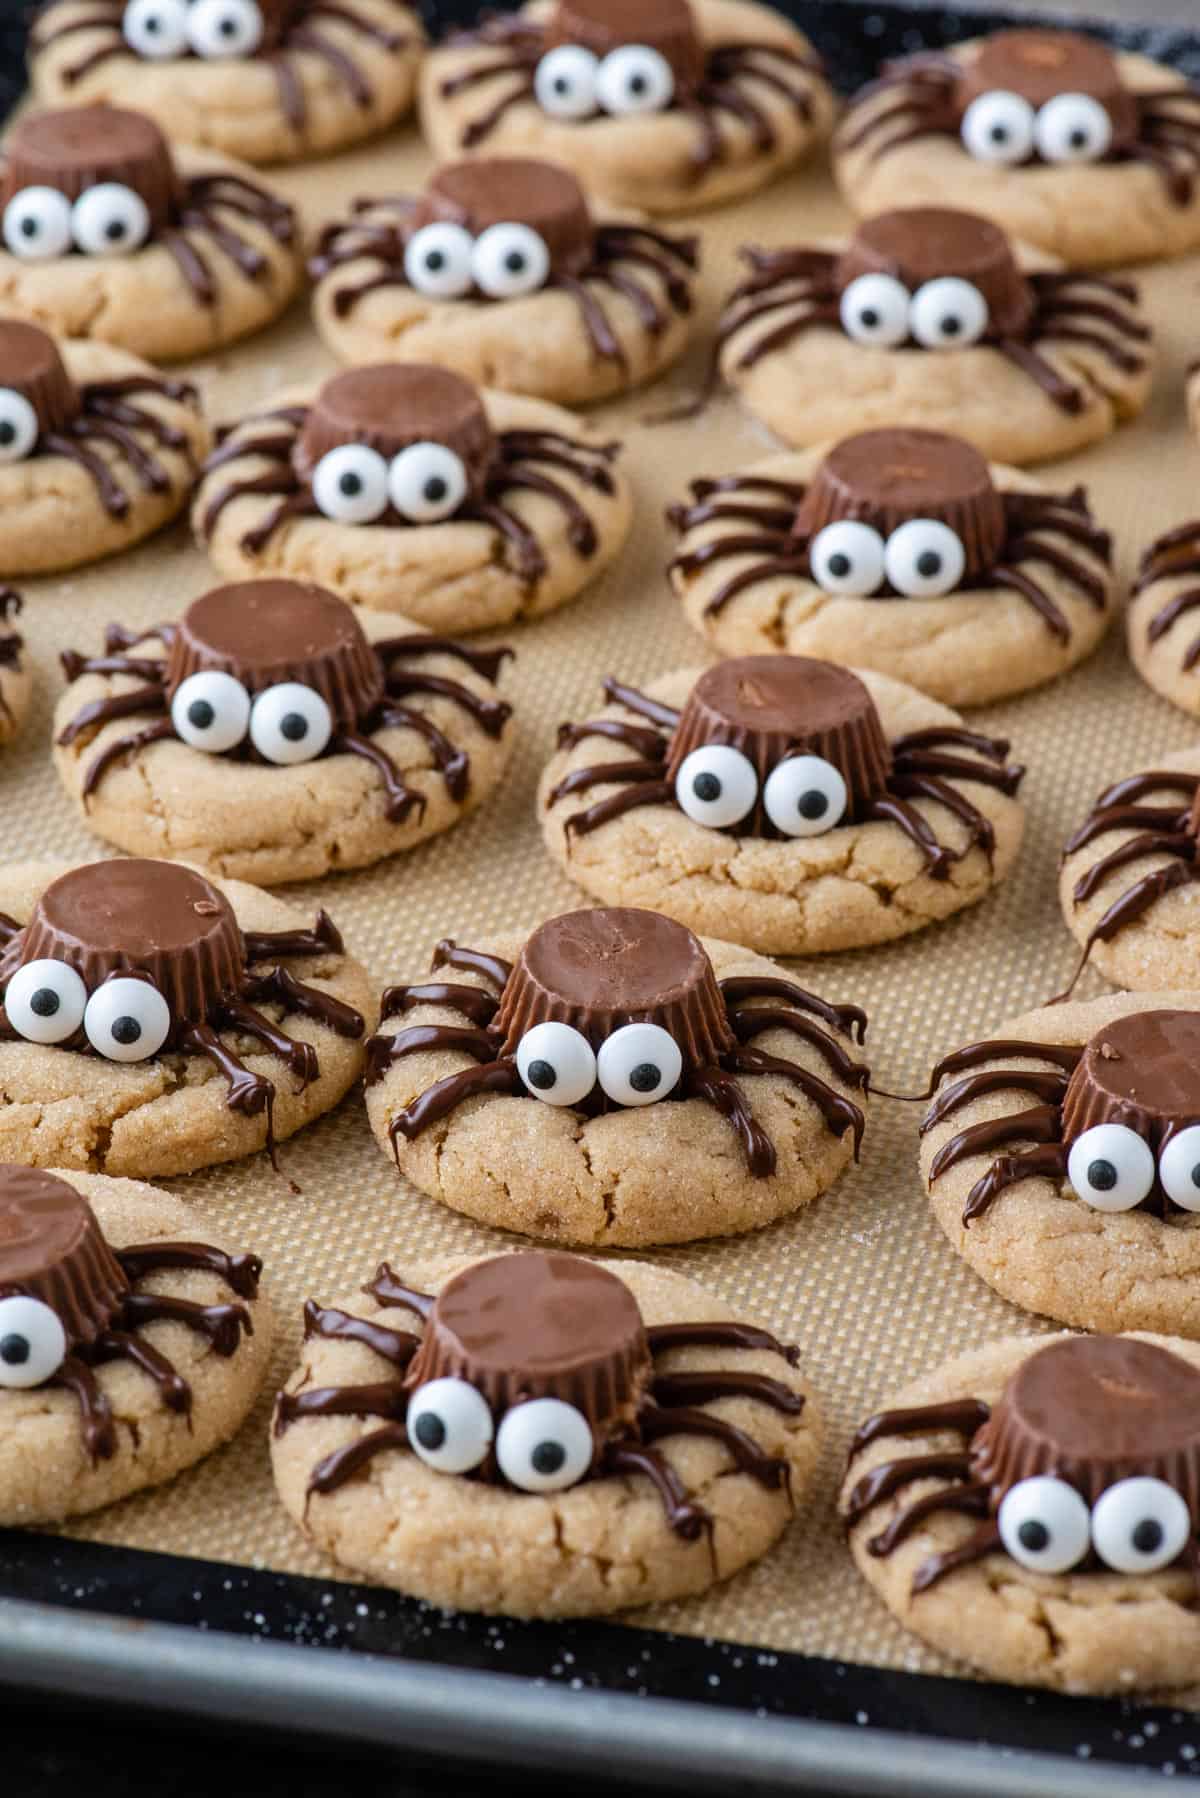
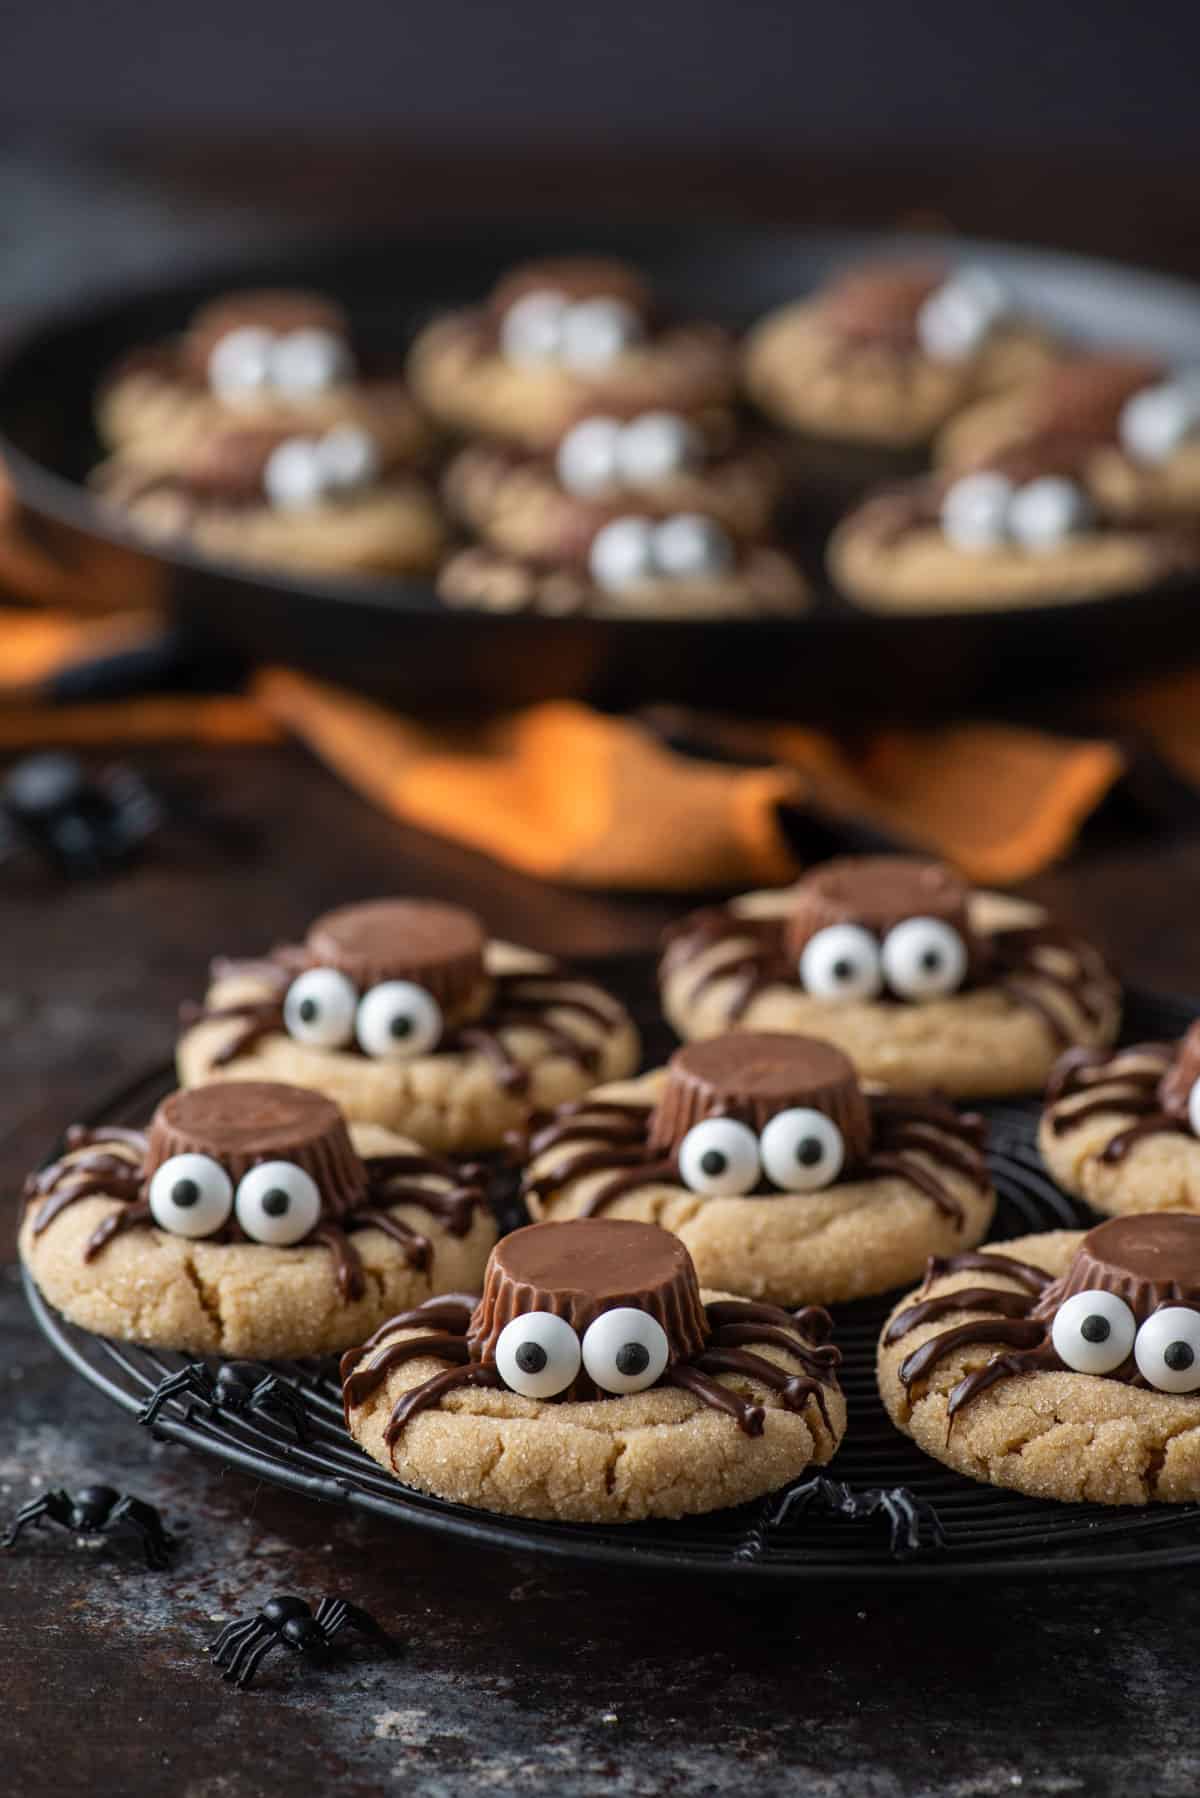
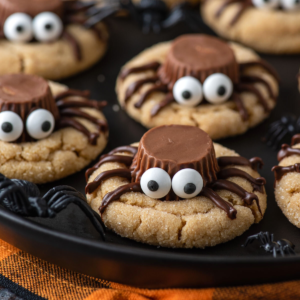
Soft and chewy peanut butter cookies topped with Reese’s, melted chocolate, and candy eyes, these peanut butter spider cookies are both easy and fun to make. The perfect Halloween dessert for your next party!
These turned out really good! I plan on sending a little box of them to my grandchildren for Halloween. Very easy to make!
-Anne
It’s no secret that I love Halloween. It’s my favorite holiday and as soon as September rolls around, I start searching for new Halloween food ideas for my upcoming party.
My goal is always quick, easy, and festive. These peanut butter spider cookies check all of those boxes.
These spider cookies are essentially peanut butter blossoms made with a Reese’s cup in the center instead of the traditional Hershey’s kiss. Then I add some spider legs with melted chocolate and candy eyeballs to pull it all together.
The end result is so ridiculously cute that I know I’ll need to make these more than once this year!
Why You’ll Love These Halloween Cookies
Truly, there’s nothing NOT to love when it comes to these peanut butter spider cookies but here are a few specific things that make them a great Halloween party food.
- They’re quick & easy. From start to finish, these spider cookies take just about 30 minutes to make. There’s no need to chill the dough either.
- Made with pantry staples. These cookies start with pantry staples like butter, sugar, and flour. You’ll just need to grab some Reese’s, candy eyeballs, and chocolate at the store.
- Perfect combo of peanut butter & chocolate. If you’re of a fan of chocolate & peanut butter together, these may become your favorite Halloween dessert. They have just the perfect balance of the two flavors.
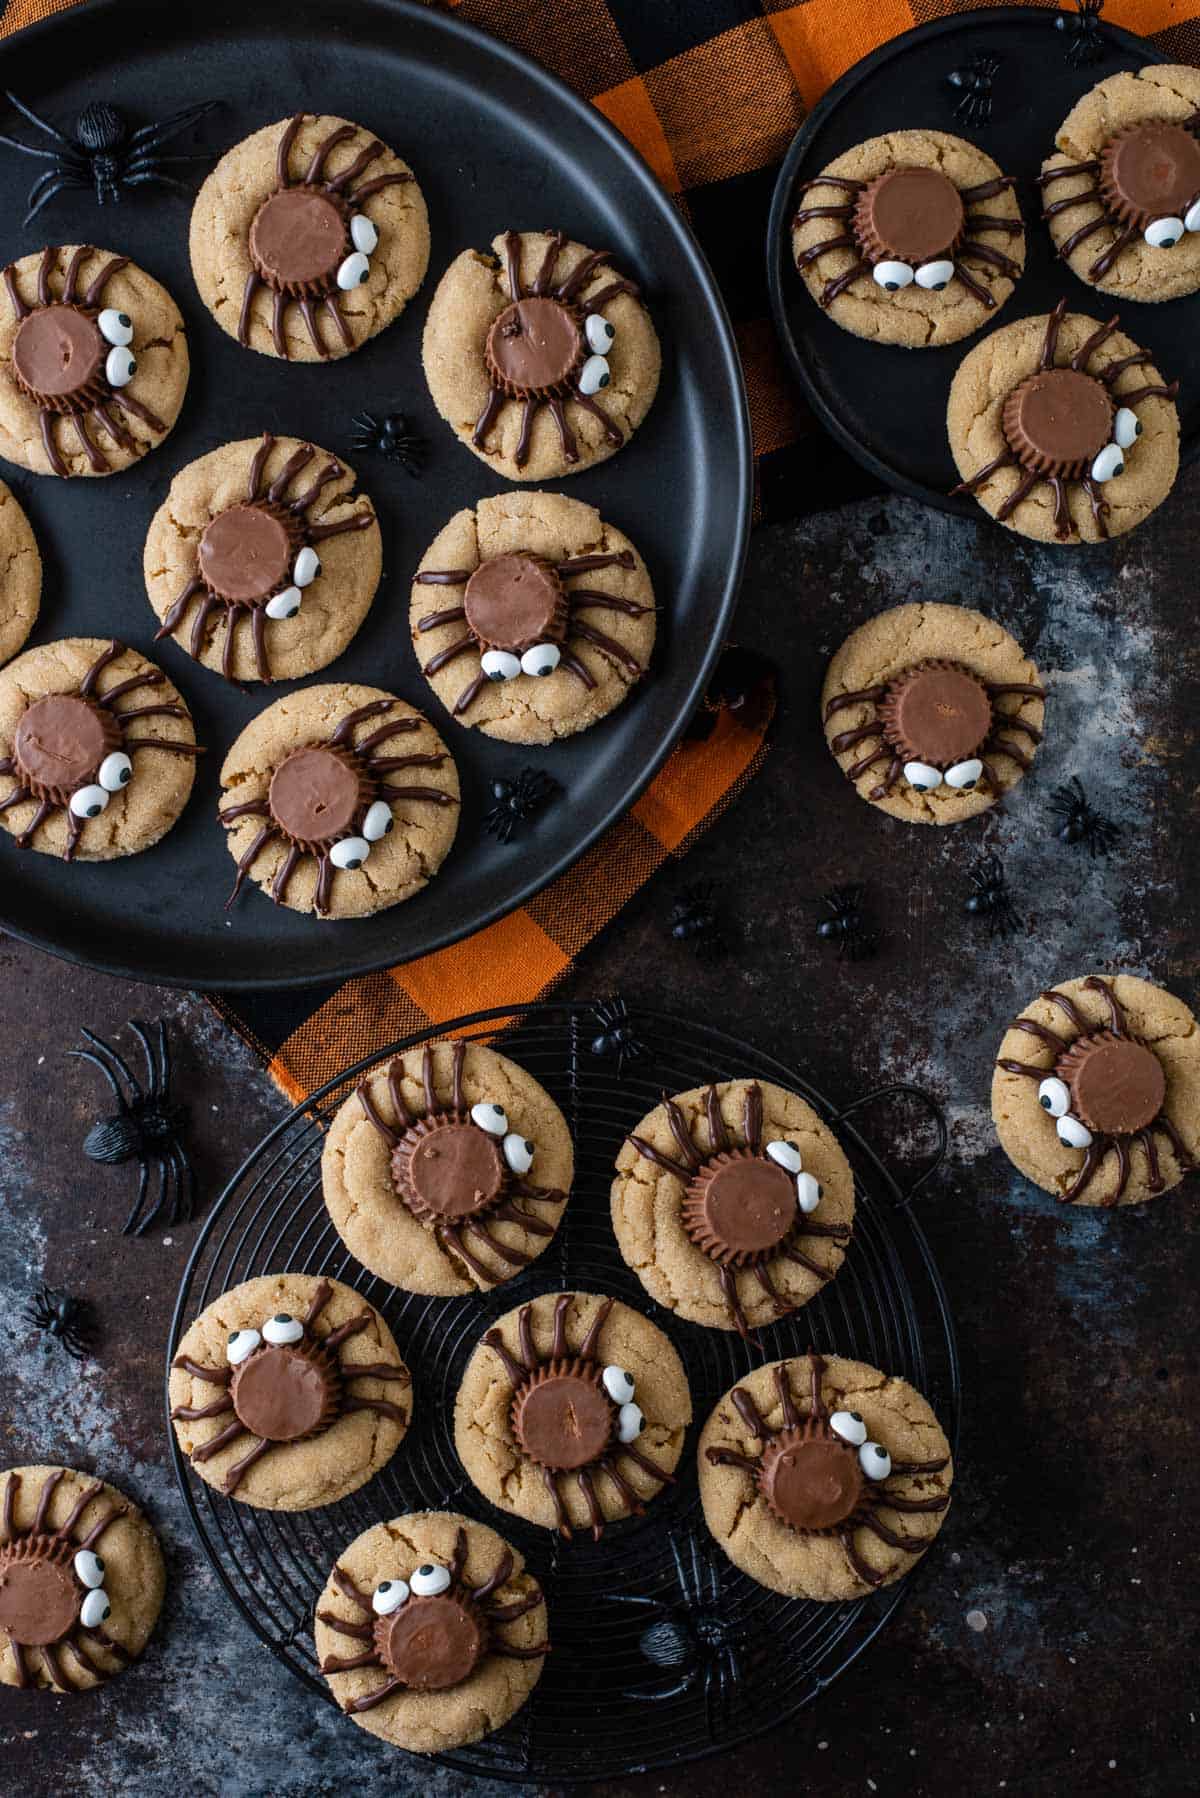
- They’re just adorable. The fact that these spider cookies are just so cute and adorable is definitely a plus! I love how they look on a Halloween party table or a Charbooterie, which is a Halloween charcuterie board!
What You’ll Need
Just 12 ingredients are needed to make these easy spider cookies, many of which are pantry staples. Scroll down to the recipe box for full measurements.
- Unsalted butter – At room temperature but not too soft.
- Brown sugar & granulated sugar – The mix of the two sugars makes the peanut butter cookie base nice and sweet, with just a hint of molasses from the brown sugar.
- Creamy peanut butter – Skip natural peanut butter for this recipe.
- Egg
- Vanilla extract – Adds part of the classic cookie flavor.
- All-purpose flour
- Baking soda & baking powder – Both help these cookies rise during baking.
- Salt
- Granulated sugar – For rolling the cookies.
- Mini Reese’s peanut butter cups – Added to the center of each cookie.
- Semi-sweet chocolate chips – These are melted down to create the chocolate legs.
- Candy eyeballs – You can find these in any craft store and oftentimes the grocery store, especially during the Halloween season.
How to Make Peanut Butter Spider Cookies
These may be the easiest Halloween cookies to make. There’s no need to chill the dough and the bake time is just around 10 minutes.
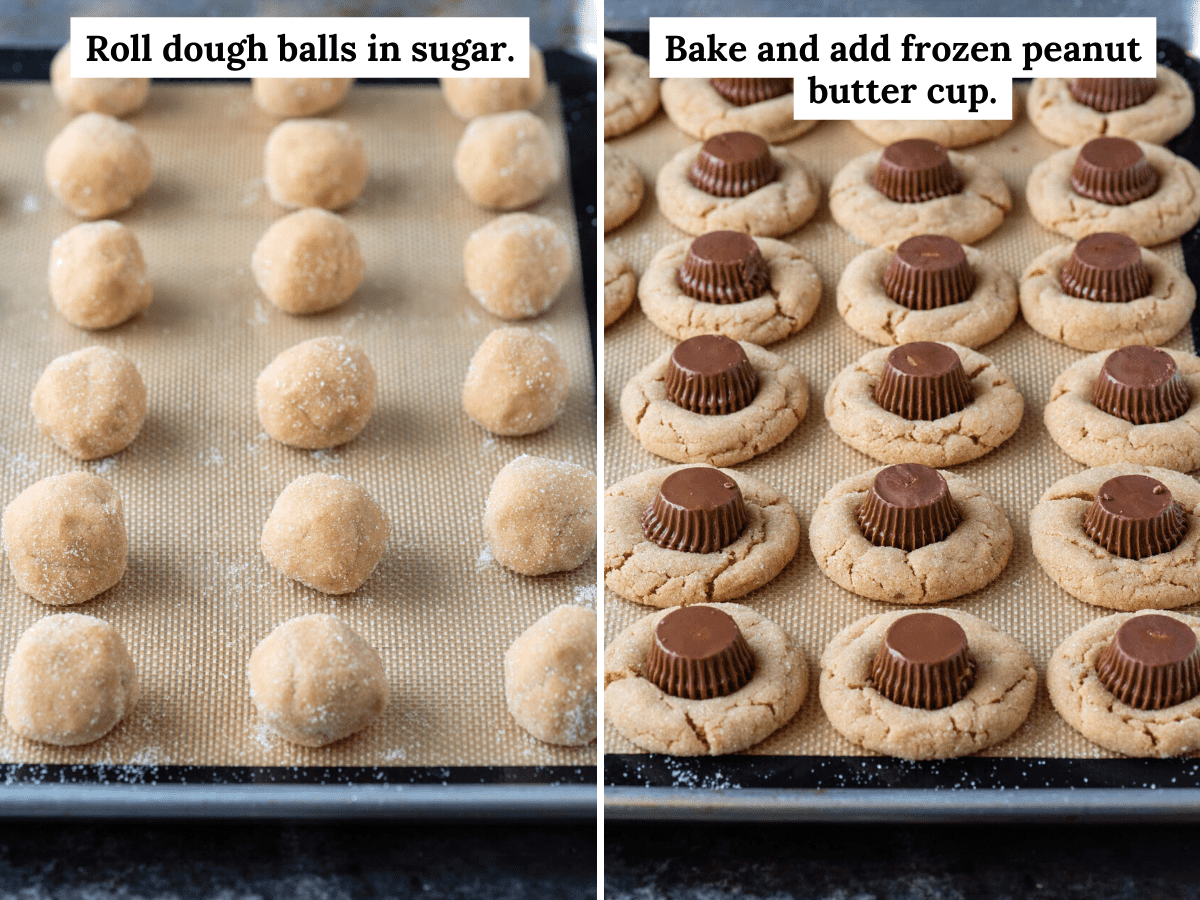
Chill the Reese’s. Unwrap 24 of the mini Reese’s cups and place in a bowl in the freezer. Preheat the oven to 350F.
Beat the butter and sugar. Beat the butter, brown sugar, and sugar with an electric mixer until smooth and fluffy.
Add the other wet ingredients. Add the peanut butter, egg, and vanilla, then beat again.
Mix in the dry ingredients. Mix in the flour, baking soda, baking powder, and salt until just combined.
Bake. Form tablespoon-sized balls from the dough, rolling it in your hands to make a uniform ball. Roll in granulated sugar then place on the baking sheet. Bake for 8 to 11 minutes.
Cool. Press a mini Reese’s into the center of each cool. Cool for at least 15 to 20 minutes on the baking sheet before moving to cool completely on a cooling rack.
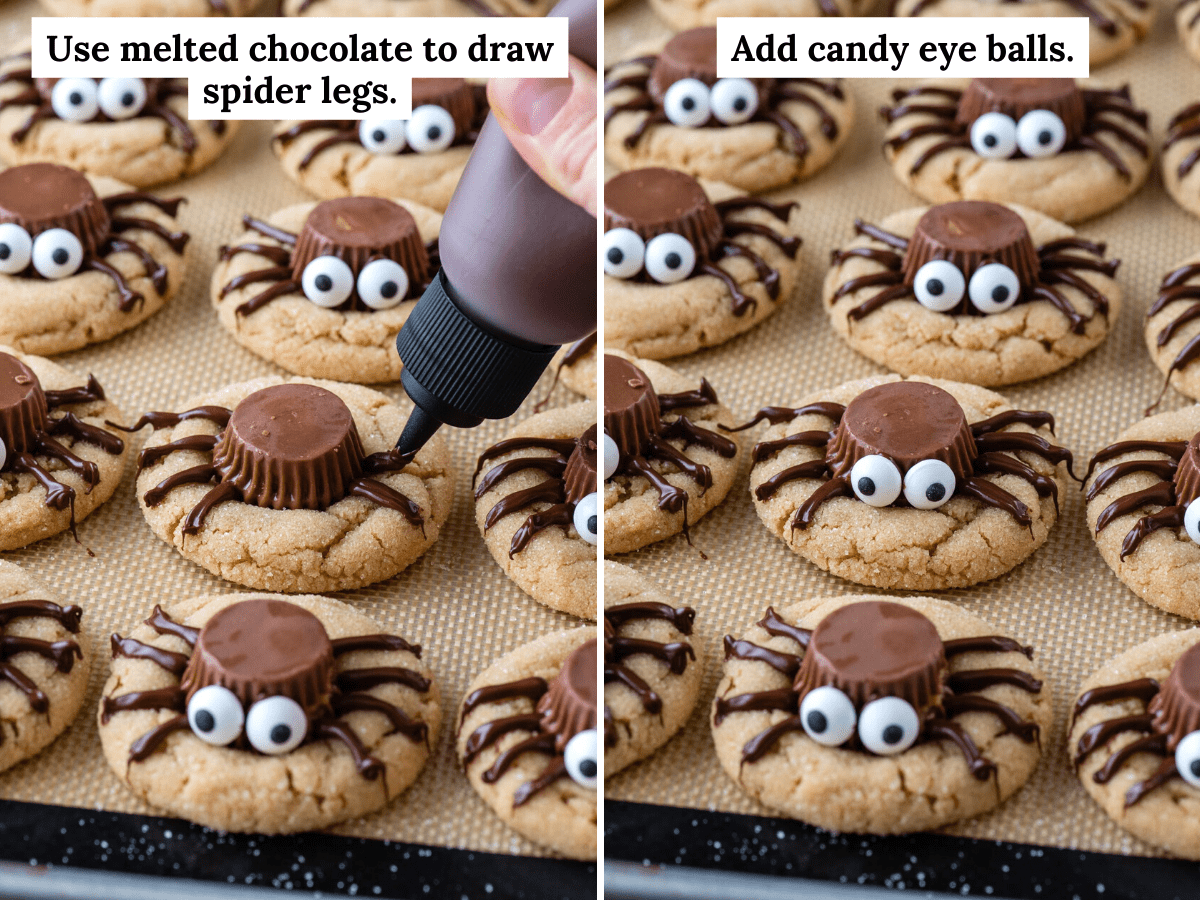
Add the legs. Melt the chocolate chips in the microwave, stirring every minute. Transfer to a squeeze bottle and draw 4 legs on each side of the cookies.
Add the eyes. Use a small amount of melted chocolate to attach the candy eyes to the Reese’s cup. Allow to set completely before moving or enjoying.
Tips for Success
While these peanut butter cookies are pretty straightforward to make, I do have a few tips to make them even better.
- Make sure the dough balls are all equal in size. You can try to eyeball it, use a cookie scoop, or weigh the dough just to be sure but making all of the cookies equal in size helps to ensure they all bake evenly.
- Chill the peanut butter cups. I always unwrap the Reese’s cups ahead of time because it makes it easier to add them to the cookies but also because it gives me an opportunity to freeze them. I found that freezing the Reese’s helps them hold their shape more when added to the hot cookie.
- How do I know when these are done? Your peanut butter cookies should look set and the edges should start to crack a bit. I do like to err for slightly underdone, as the cookies will continue to bake on the cookie sheet.
- Let them cool on the baking sheet. I like to let the cookies cool on the baking sheet for at least 15 or 20 minutes. If you move them before they set, the Reese’s cup can sink and the cookie may lose its shape.
- Add the eyes while the chocolate is warm. Using a dab of chocolate is an easy way to attach the eyeballs to the Reese’s but be sure to do it before the chocolate cools and hardens.
How to Store
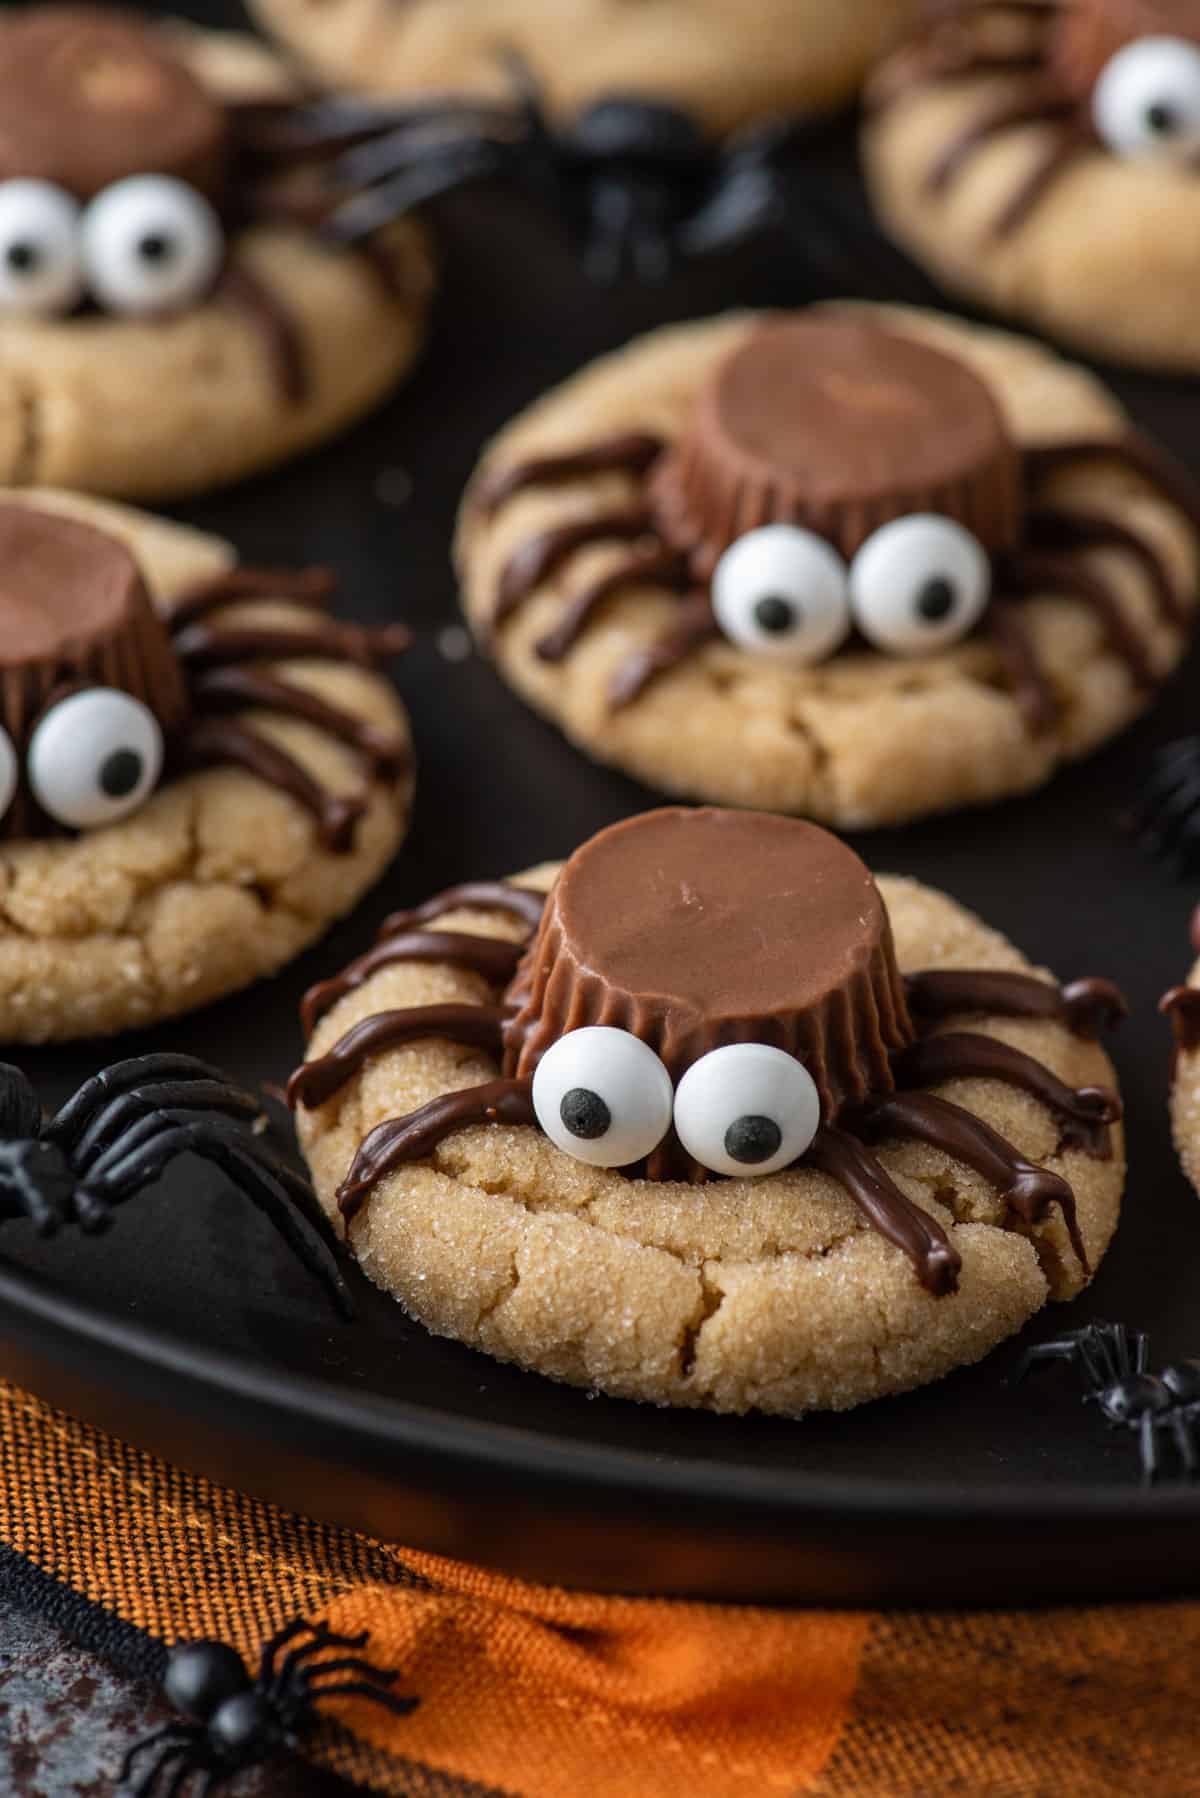
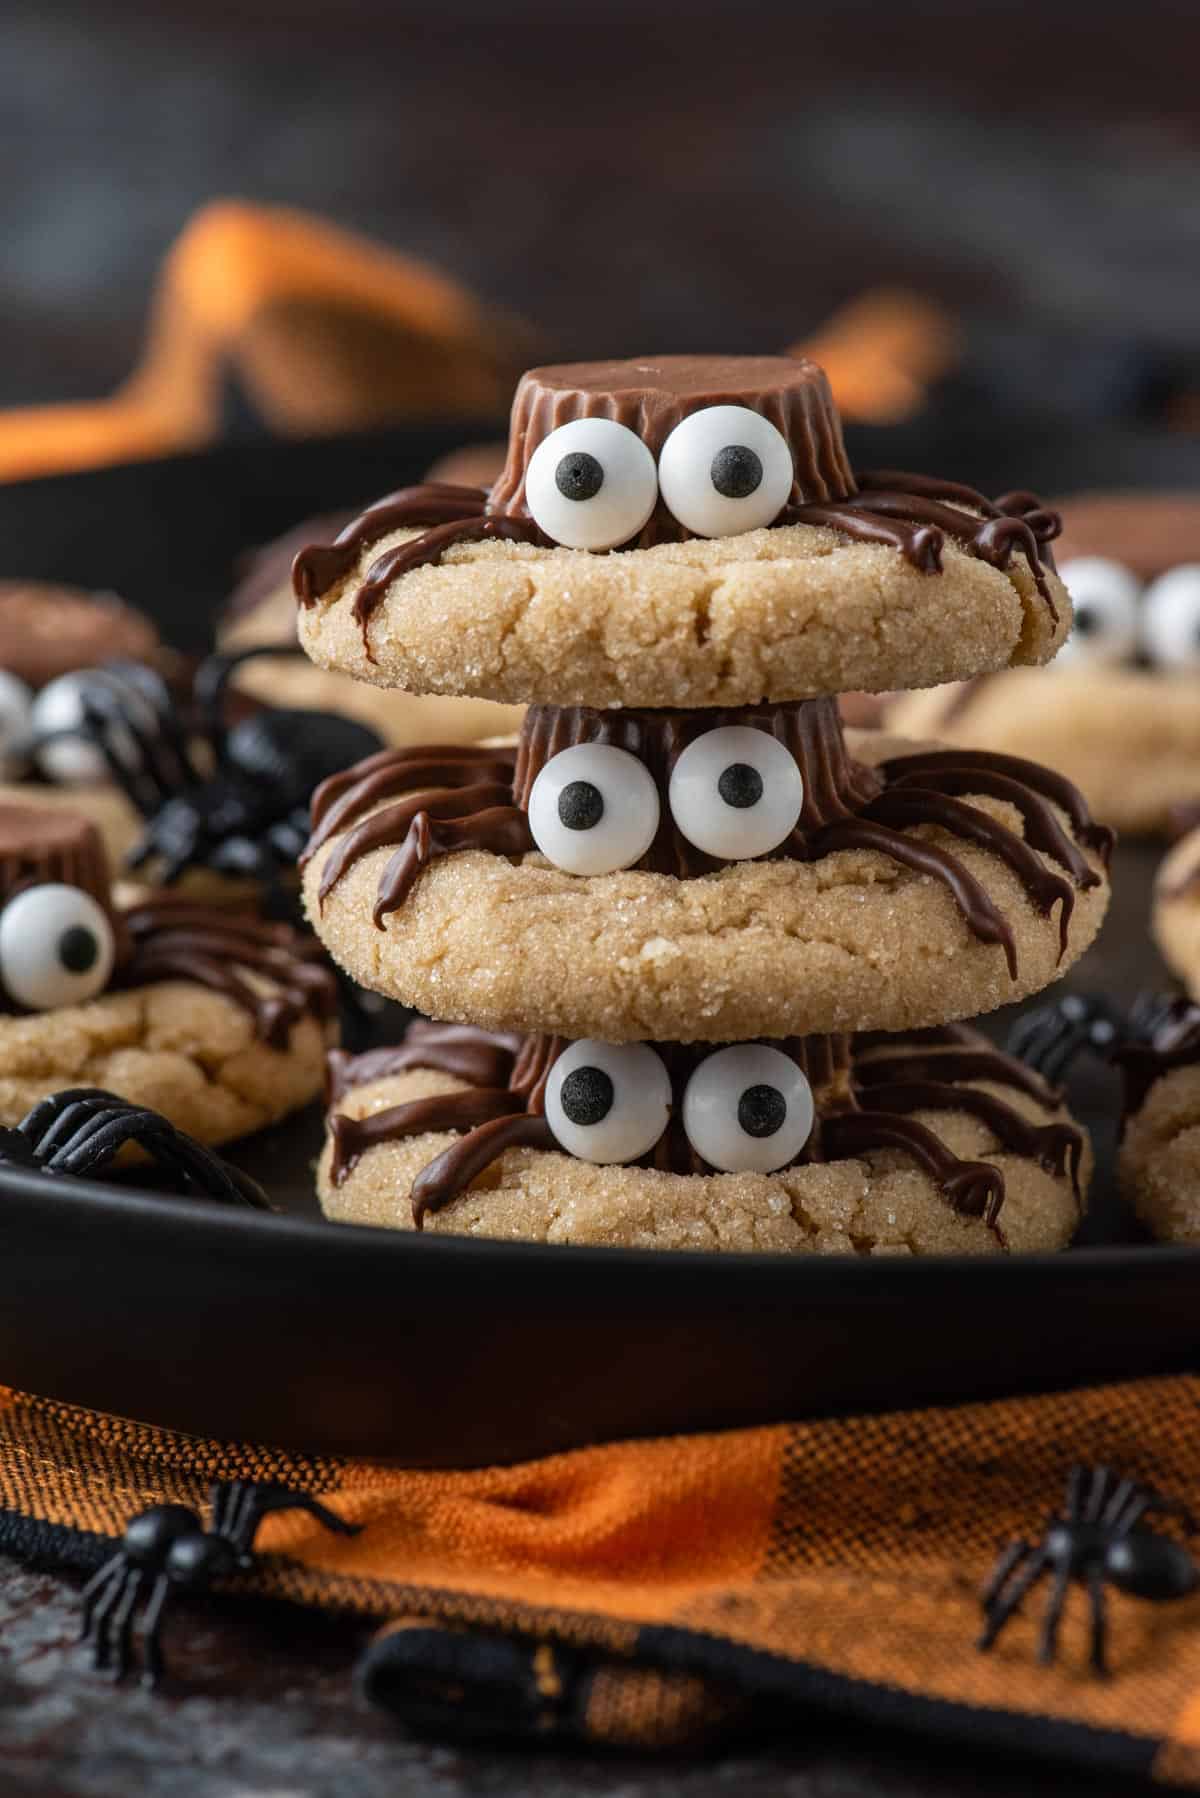
Spider cookies can be stored in an airtight container for up to 3 days. They’ll be just fine at room temperature, though you may want to put parchment paper between layers if you need to stack them in case the chocolate melts.
Can I Freeze These Cookies?
Yes, you can freeze these peanut butter spider cookies – both before and after baking.
To freeze the dough, shape the balls as instructed but don’t dip them in sugar. Flash freeze on a baking sheet, then transfer to a ziploc bag or freezer container.
To freeze the baked cookies, allow them to cool completely then transfer to an airtight container. Freeze for up to 3 months.
Absolutely delicious! And adorable. Made these for Halloween this year, they were a hit.
-Emily
More Halloween Dessert Ideas
Tap stars to rate!
Peanut Butter Spider Cookies
Ingredients
- ½ cup (113g) unsalted butter, 1 stick, room temperature
- ½ cup (107g) brown sugar
- ⅓ cup (66g) granulated sugar
- ¾ cup (201g) creamy peanut butter, not natural
- 1 large egg
- 1 tsp vanilla extract
- 1 ½ cups (180g) all purpose flour
- 1 tsp baking soda
- ½ tsp baking powder
- ½ tsp salt
- Granulated sugar, for rolling the cookies
- Mini Reese’s Peanut Butter Cups
- ½ cup (85g) semi-sweet chocolate chips, for melting
- ½ tsp neutral oil, for melting
- Candy eye balls
Video
Instructions
- Unwrap about 24 mini reese’s cups, place in a bowl and put in the freezer. This helps them to maintain their shape once added to the hot cookies. Preheat the oven to 350ºF.Mini Reese’s Peanut Butter Cups
- In a mixing bowl, combine the butter, brown sugar, and sugar. Beat with an electric mixer for 1 minute, until smooth and fluffy.½ cup (113g) unsalted butter, ½ cup (107g) brown sugar, ⅓ cup (66g) granulated sugar
- Add in the peanut butter, egg, and vanilla extract, beat again, less than 1 minute.¾ cup (201g) creamy peanut butter, 1 large egg, 1 tsp vanilla extract
- Add in the flour, baking soda, baking powder and salt, mixing on low or with a spatula just until combined. Be careful not to over mix.1 ½ cups (180g) all purpose flour, 1 tsp baking soda, ½ tsp baking powder, ½ tsp salt
- Use a small cookie scoop or tablespoon to form tablespoon sized balls from the dough. Roll the dough between your hands to form a uniform ball, then roll in granulated sugar. Place the cookies 2-3 inches apart on a silicone lined baking sheet and bake for 8-11 minutes or until the edges of the cookies begin to crack and turn golden in color.Granulated sugar
- Remove the cookies from the oven and press a mini reese’s cup into the center of each cookie. Allow the cookies to cool for 15-20 minutes before moving to cooling rack. Moving the cookies while they are still warm can cause the reese’s cup to sink, losing its shape.
- Place the chocolate chips and oil if needed in a microwave safe bowl. Microwave for 3 minutes on 50% power, stirring after each minute. Continue to microwave until fully melted. Transfer the melted chocolate into a squeeze bottle or a sandwich bag with the corner cut off. Draw 4 legs on each side of the cookies.1/2 cup (85g) semi-sweet chocolate chips, ½ tsp neutral oil
- Use a small amount of melted chocolate on the back of the candy eye balls to attach them to the reese’s cup. Allow the chocolate to set before moving the cookies to a serving platter.Candy eye balls






The cookie recipe itself is fine, I’ve made many varieties of these peanut butter rolled cookies with Reese cup Hershey kisses on them before. But melting chocolate chips (without adding anything to them to make them more fluid ) and then thinking you can shove that mixture through some kind of pastry bag to make legs? Yeah, that didn’t work. I didn’t think it would, because I knew how thick that would be, but I still tried it. And it didn’t work.
Hi Samantha, I’m sorry to hear the chocolate was too thick. Did you melt it slowly? I’ll add a note about adding oil if needed.
These turned out perfect! My husband and I had so much fun making these together for his work Halloween potluck.
Great recipe! Fantastic directions! I had no problem piping the legs, I added a small bit of coconut oil to the melting chocolate. These little guys are sooo cute! And tons of fun. A definite annual Halloween treat. Thanks for sharing!
First try, they turned out great. Used my small cookie scoop which measures fine into a tablespoon but I came out with about 40 cookies so think I should have made them bigger. They turned out great. Used melting chocolate discs and kept the bowl of melted chocolate in a bowl of boiling water to keep it from thickening. Piped legs with a ‘decorating pen’ which is like a small rubber syringe and changeable tips. Worked well. A bit of a learning curve but my husband and I had fun making them!
These were a hit at my husband’s office Halloween luncheon! Do you have a very similar idea for Christmas as it has already been requested 🥰
Oh! I would love to know what you were thinking for Christmas. I have peanut butter blossoms, but I’m open to new ideas!
They came out great! So cute and yummy