This post may contain affiliate links. Please read our disclosure policy.
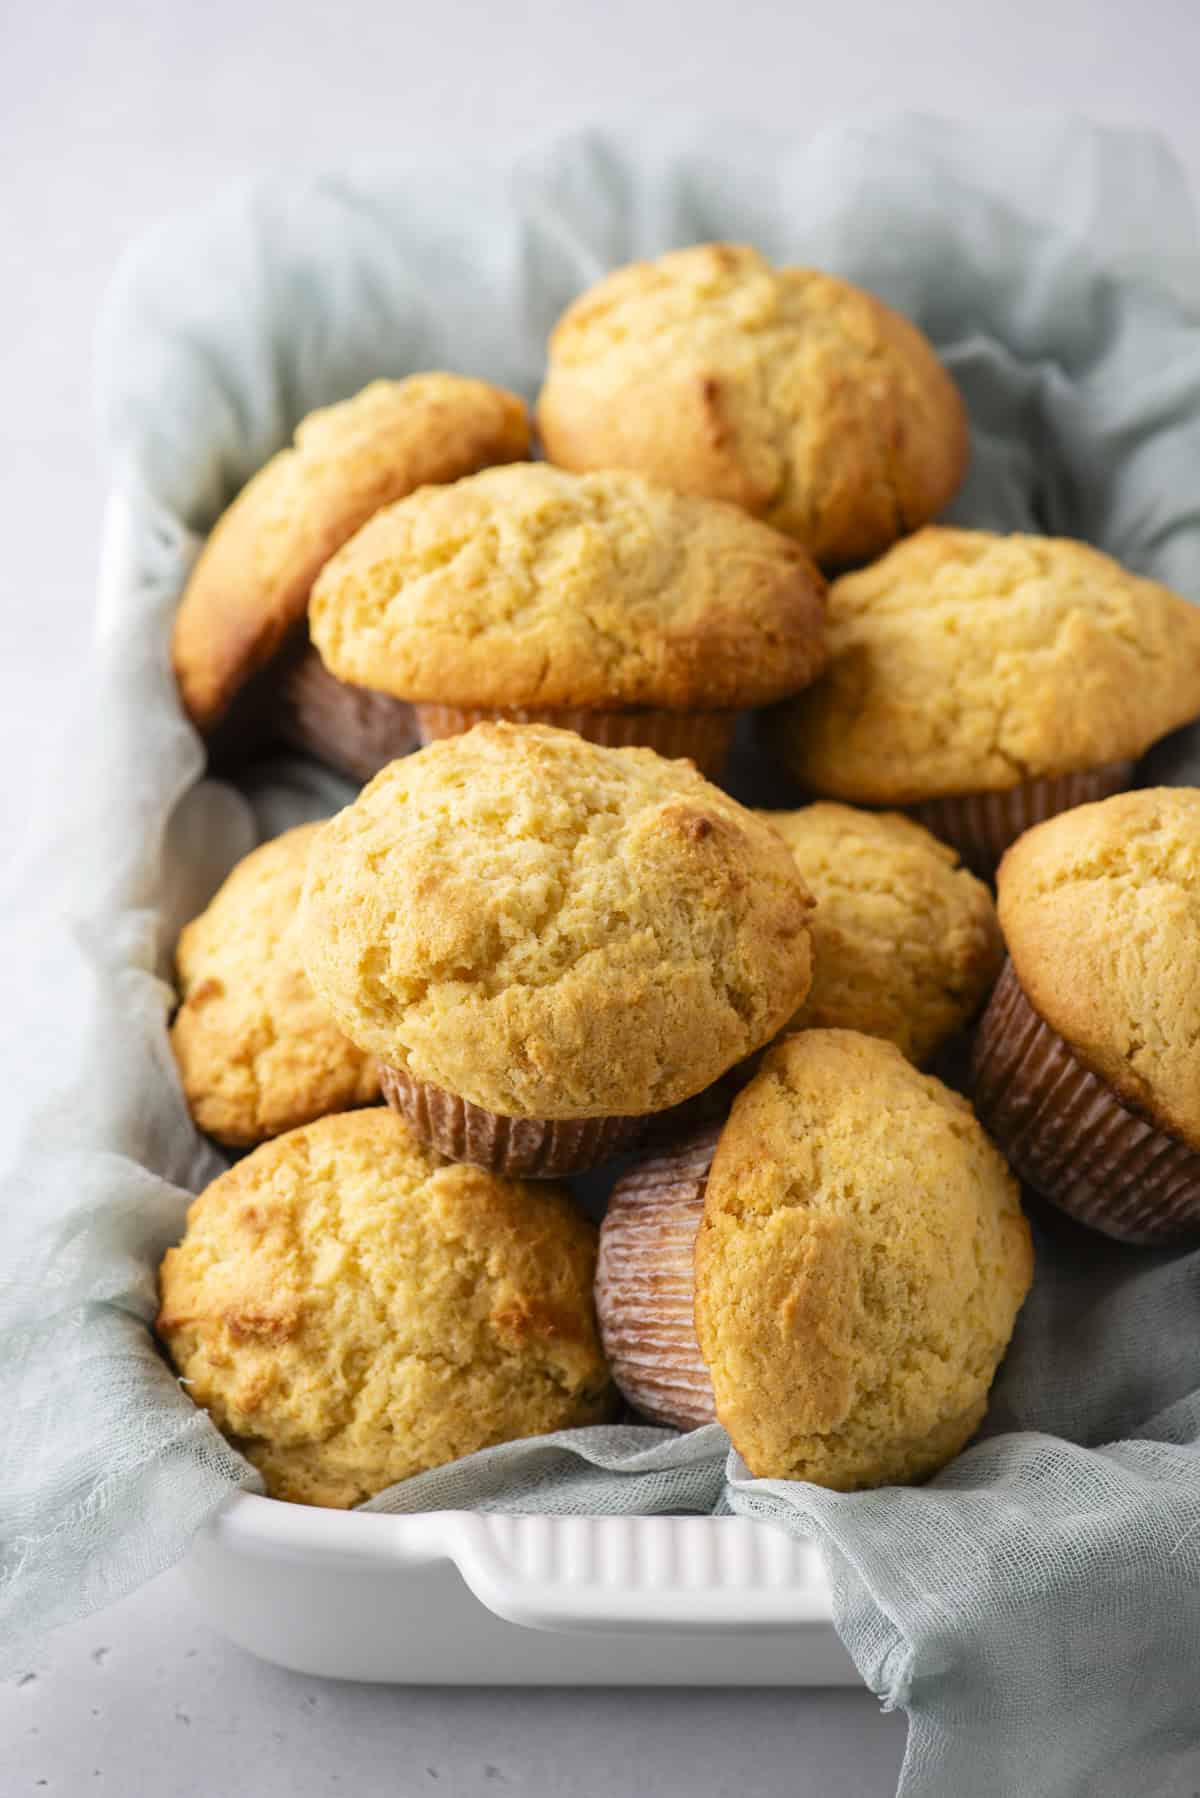
After two weeks and seven test batches, I finally cracked the code to bakery-style corn muffins with a super dome—the most requested muffin recipe from my audience.
I broke the traditional 1:1 flour-to-cornmeal ratio, finding that 3 cups flour to 1 cup cornmeal creates the perfect balance of rise, texture, and flavor. With 2 tablespoons of baking powder for lift, a butter-and-oil combo for moisture, and a crucial 30-minute fridge rest, these corn bread muffins are tall, tender, and just the right amount of sweet.
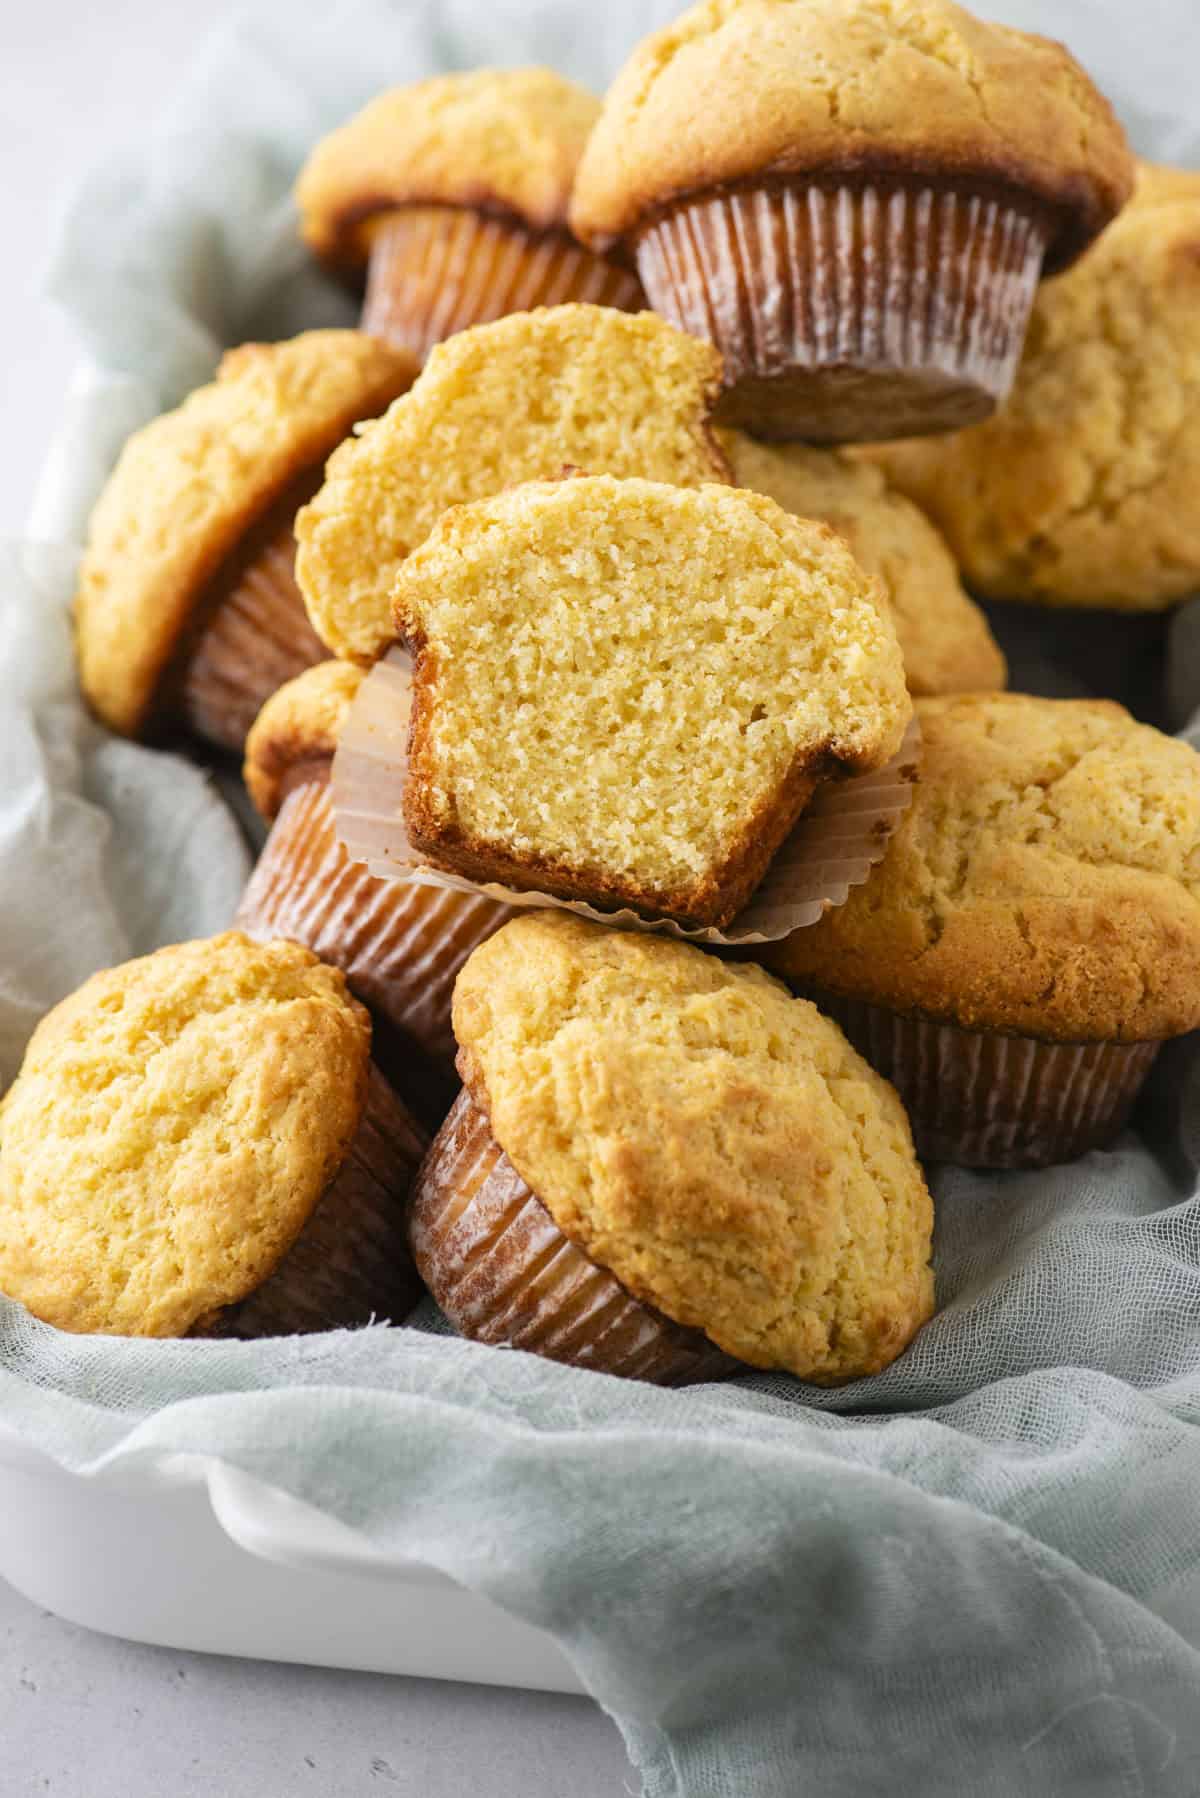
These corn muffins are without a doubt, the best we have ever eaten. The recipe was so easy to follow, and the results were spectacular. Worth the effort and definitely better than any box mix we have tried.
-Denise
I’ve Tested and PERFECTED The Best Cornbread Muffins
For the past two weeks, I’ve been knee-deep in developing what might be the most requested muffin recipe ever: bakery-style corn muffins. My audience has been asking for this one for over a year and a half, and to be honest, I put it off.
Why? Because I didn’t grow up eating corn bread muffins, and I wasn’t sure I had the deep-rooted experience to call myself a corn muffin expert. But after 7 test batches, meticulously adjusting ratios, ingredients, and techniques, I can confidently say: I’ve cracked the code to perfect, sky-high, bakery-style corn muffins.
What My Audience Wanted From This Corn Muffin Recipe
Before diving into recipe development, I polled my audience to see what they actually wanted in a corn muffin recipe. The two biggest requests were:
- A huge super dome—which happens to be my specialty!
- A sweeter corn muffin—not overly sweet, but sweeter than a traditional, lightly sweetened corn muffin.
Breaking the Traditional Corn Bread Muffin Formula
Most corn muffin recipes use a 1:1 ratio of flour to cornmeal, but my first test batch following this standard was a disaster—heavy, dense, and dry. It couldn’t rise properly, and that super dome my audience wanted? Nonexistent.
So I went against the grain (literally) and adjusted the ratio to 3 cups flour to 1 cup cornmeal. This was the perfect balance—enough corn flavor and texture while still allowing the muffin to rise tall and stay soft.
The Role of Sugar & Leavening
The second key request was a sweeter muffin. I tested different sugar levels until I landed on the perfect amount—sweet, but not cupcake-sweet.
Then came leavening. I experimented with baking powder and baking soda, but found that baking soda actually made my muffins crumbly—so I eliminated it entirely. Instead, I used 2 full tablespoons of baking powder. Yes, that’s a lot, but it’s exactly what’s needed to give these denser muffins the powerful lift they require.
Fat Matters: Butter & Oil for the Perfect Texture
For the best combination of flavor and moisture, I used both butter and oil. Butter adds richness, while oil ensures the muffins stay soft and tender instead of drying out.
And here’s a key lesson I learned from my lemon muffins: Muffin batters that contain butter benefit from a 30-minute rest in the fridge. This extra rest time (compared to my usual 15-minute counter rest) allows:
- The butter to solidify, which contributes to structure.
- The baking powder to fully activate, leading to an even thicker batter that bakes up with a super dome.
The Verdict? Worth Every Test Batch
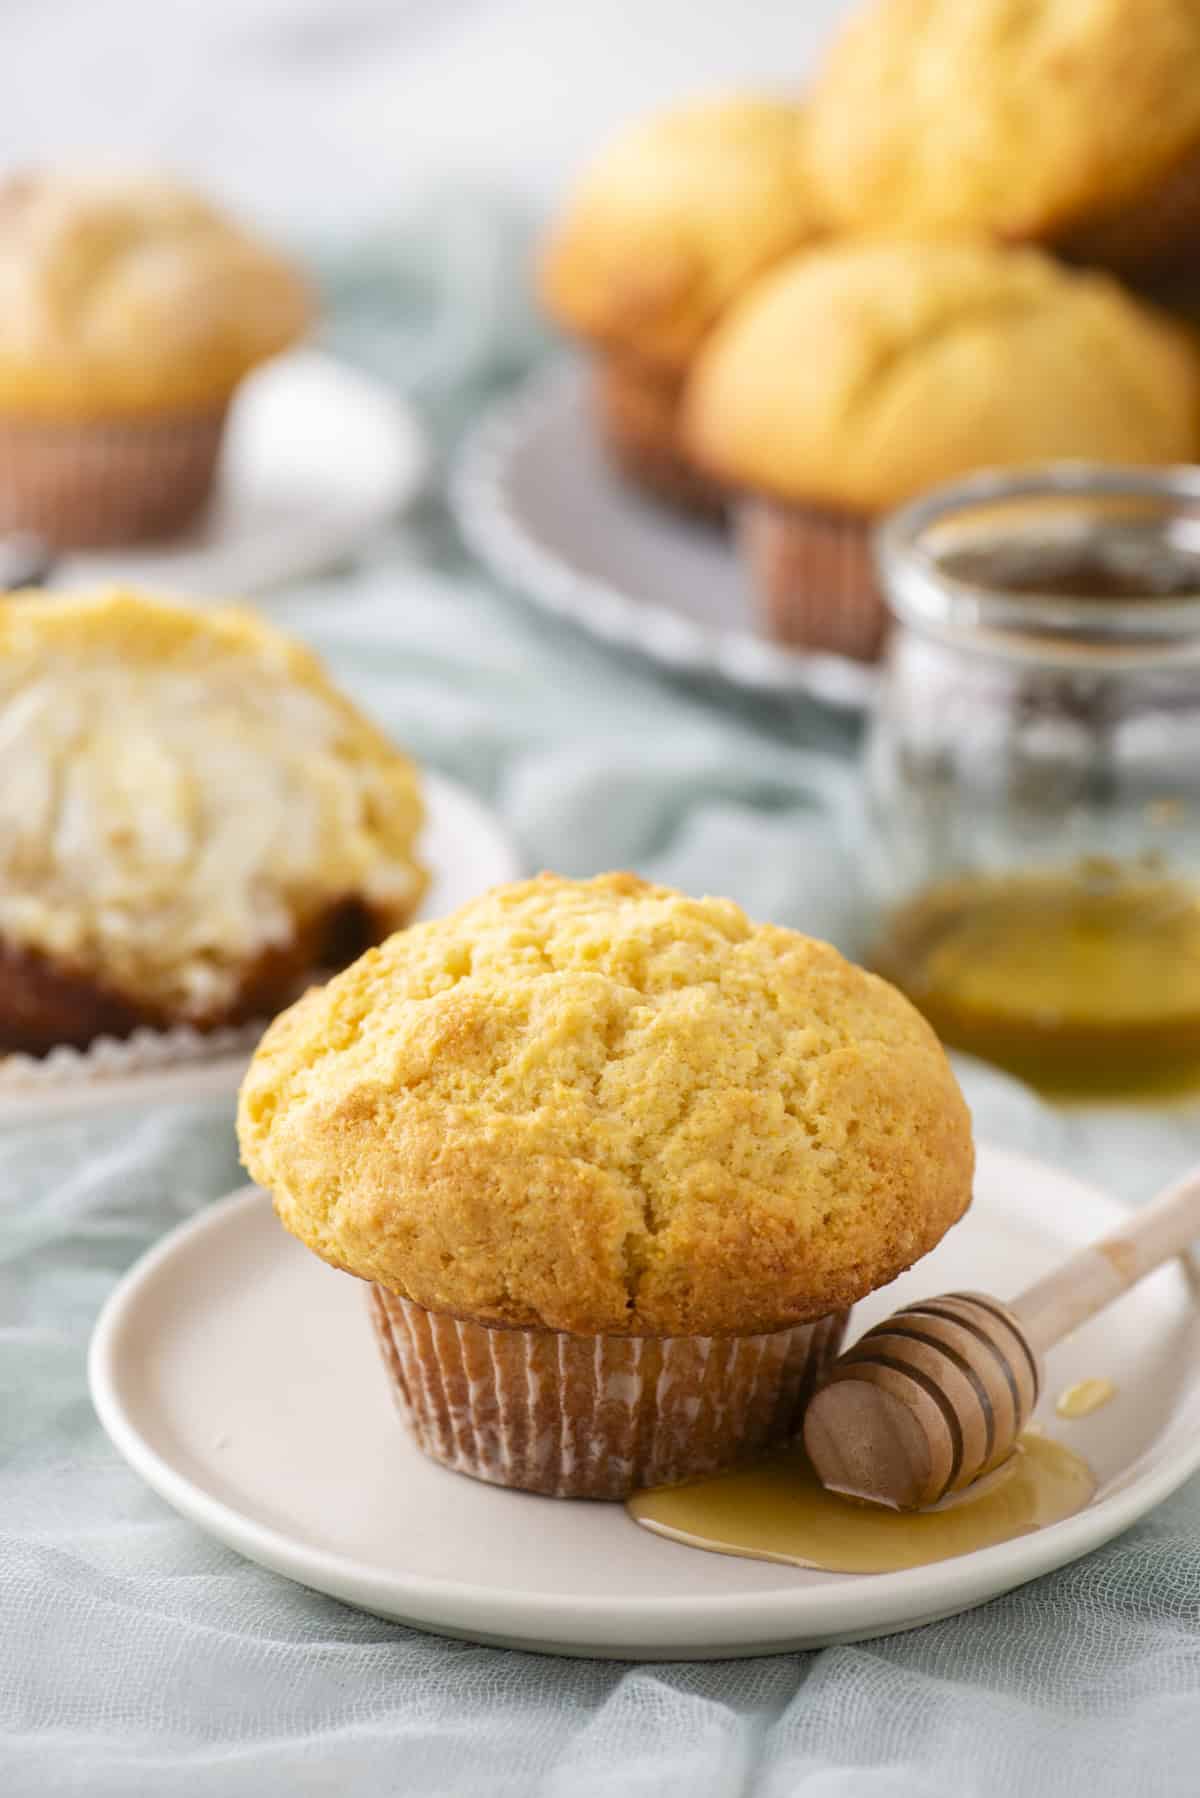
These bakery-style corn muffins check all the boxes:
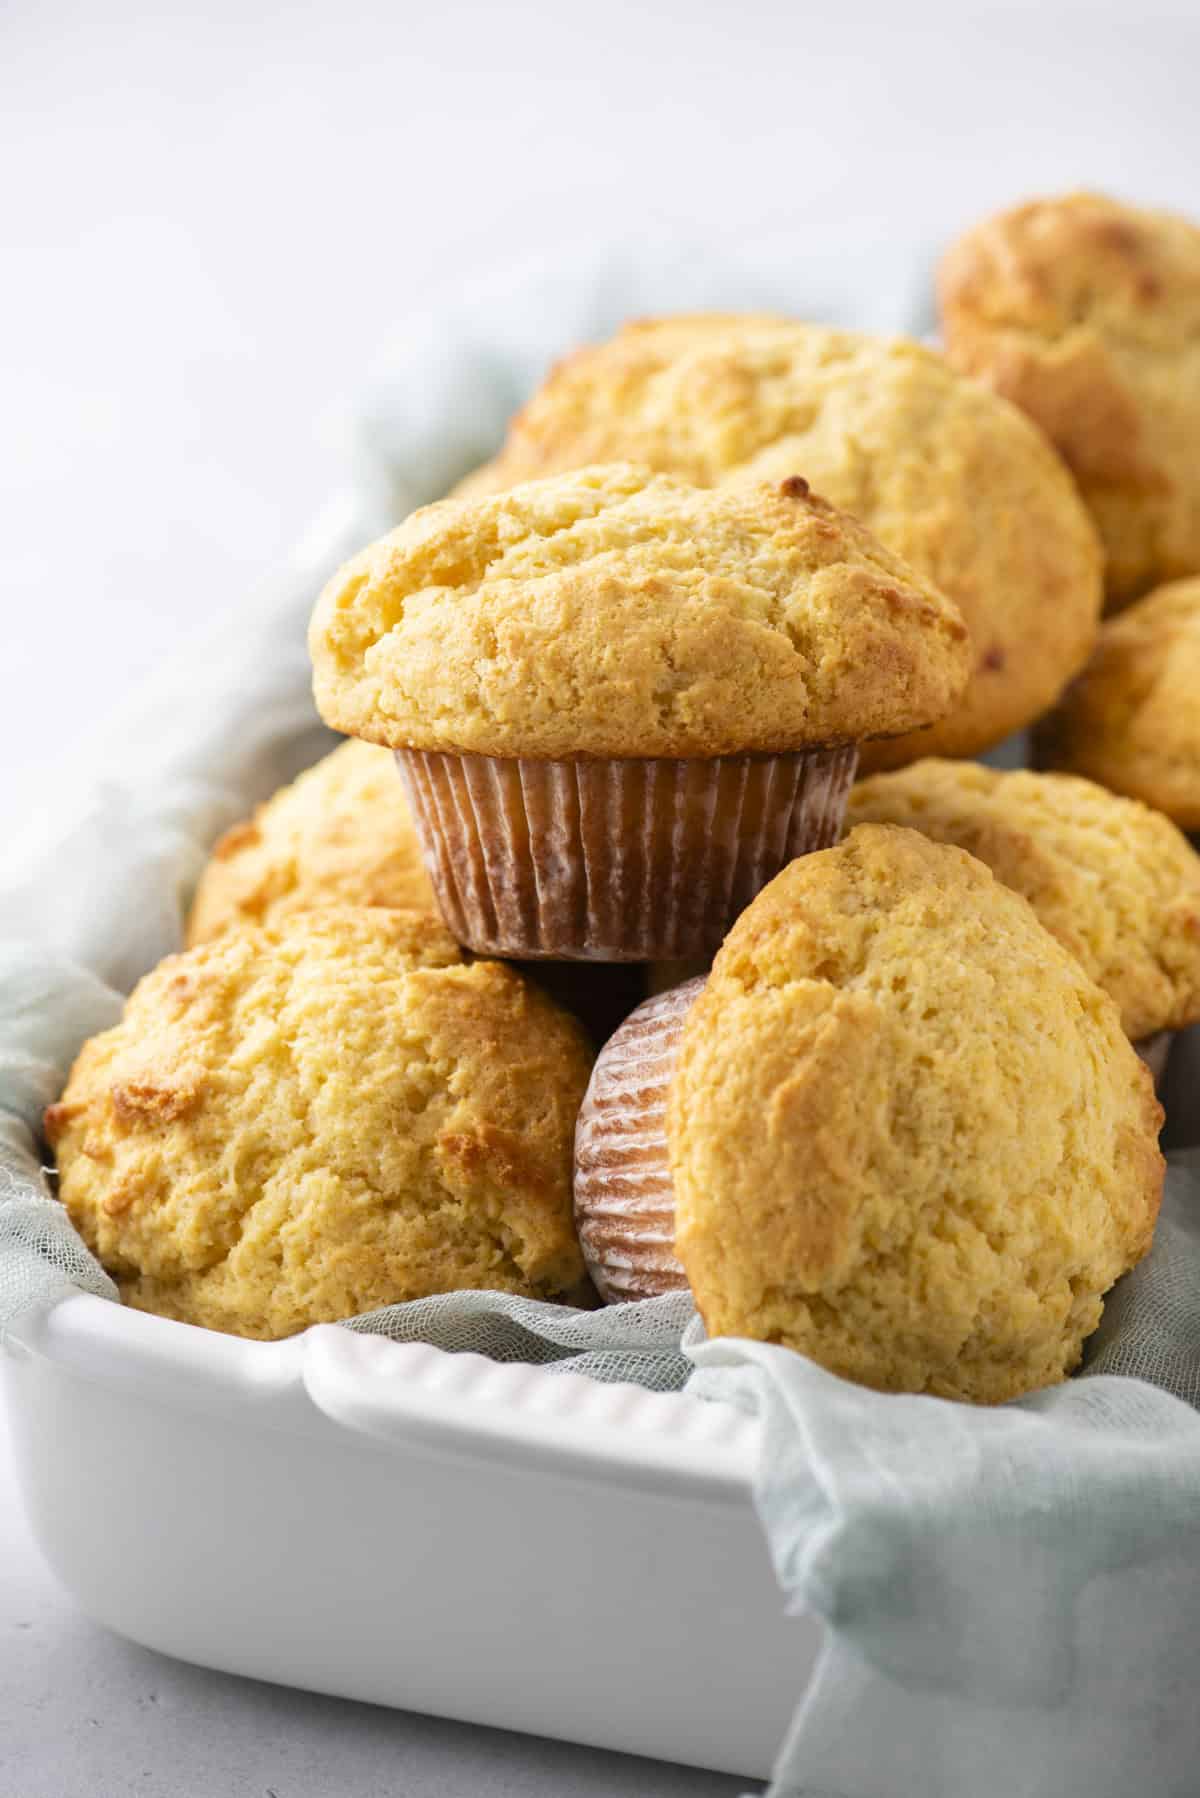
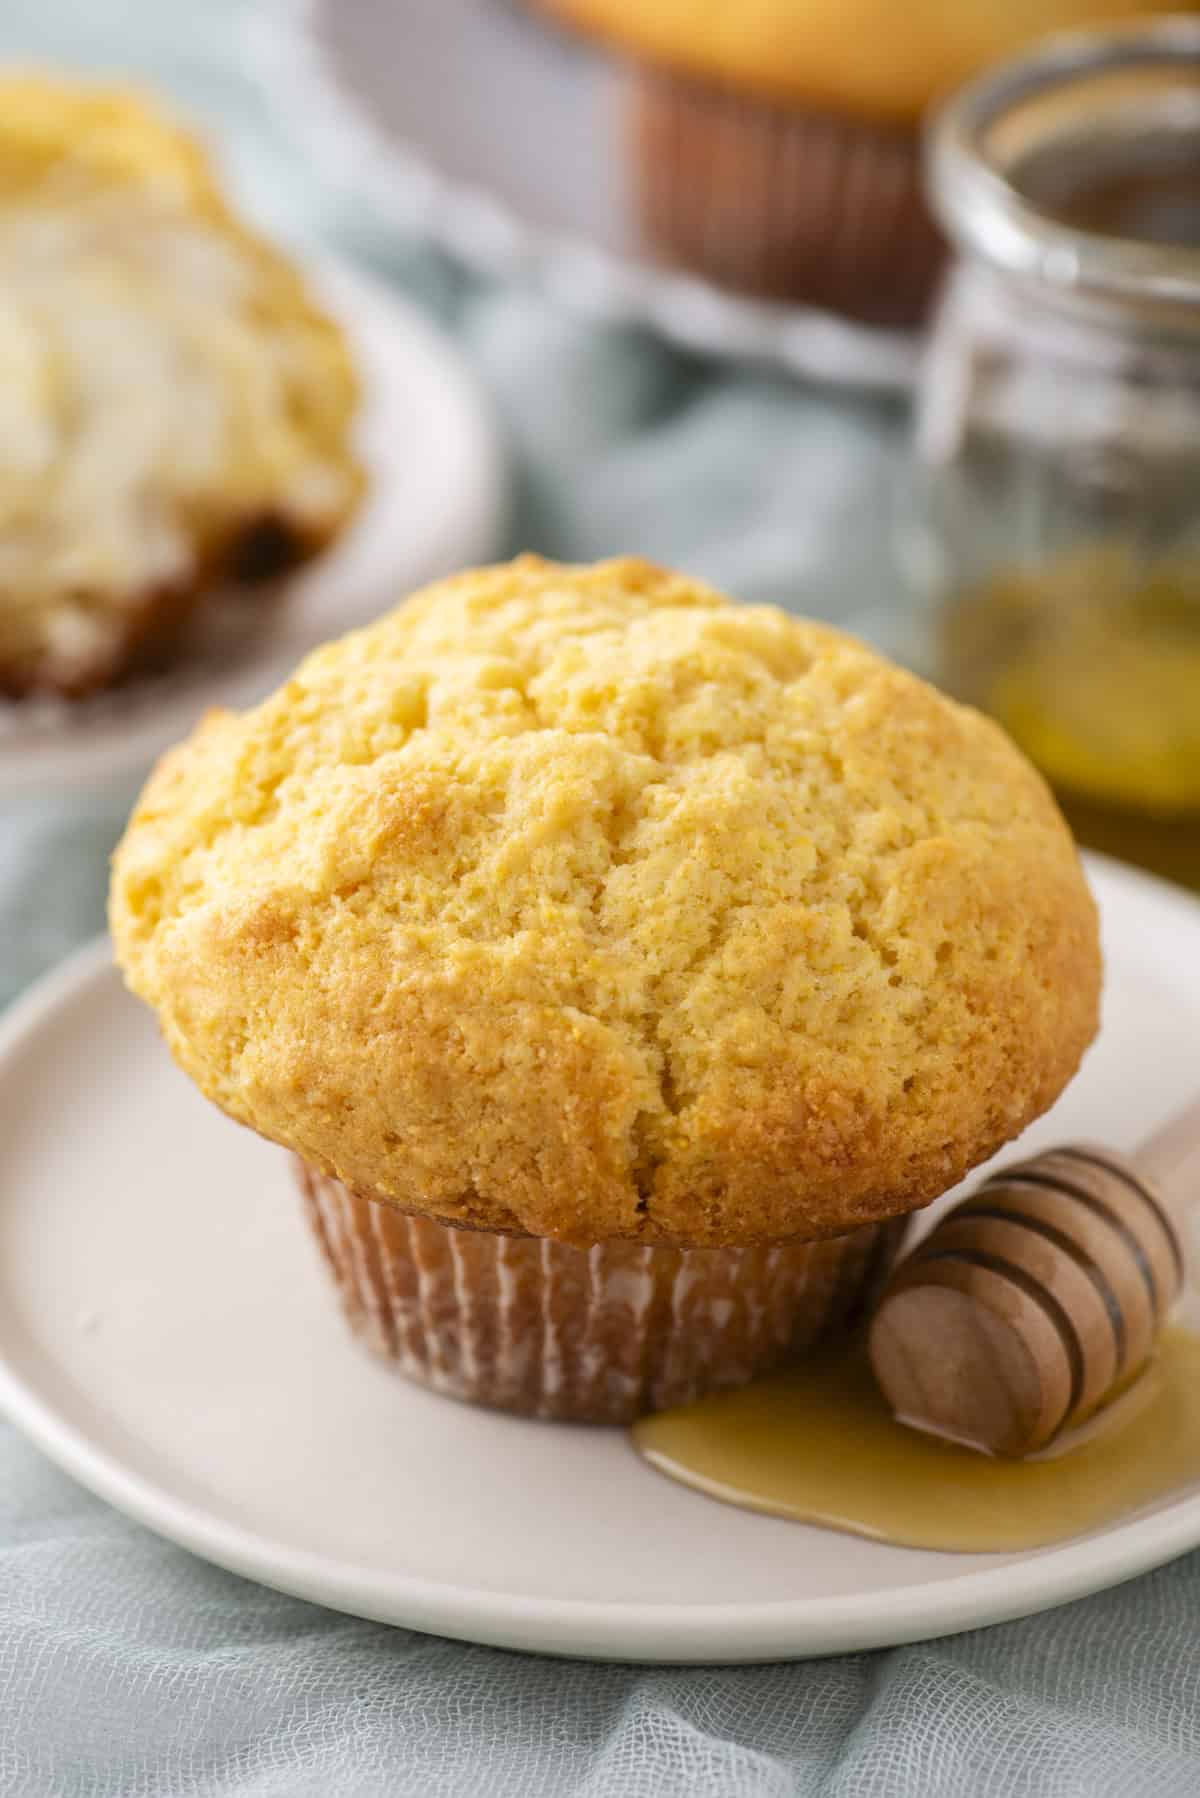
- Super tall dome
- Perfectly balanced corn flavor
- Moist, tender crumb with just the right sweetness
It took two weeks and seven test batches, but I can now say with confidence—this is the ultimate corn muffin recipe. And now, I just might officially claim the title of bakery-style corn muffin expert.
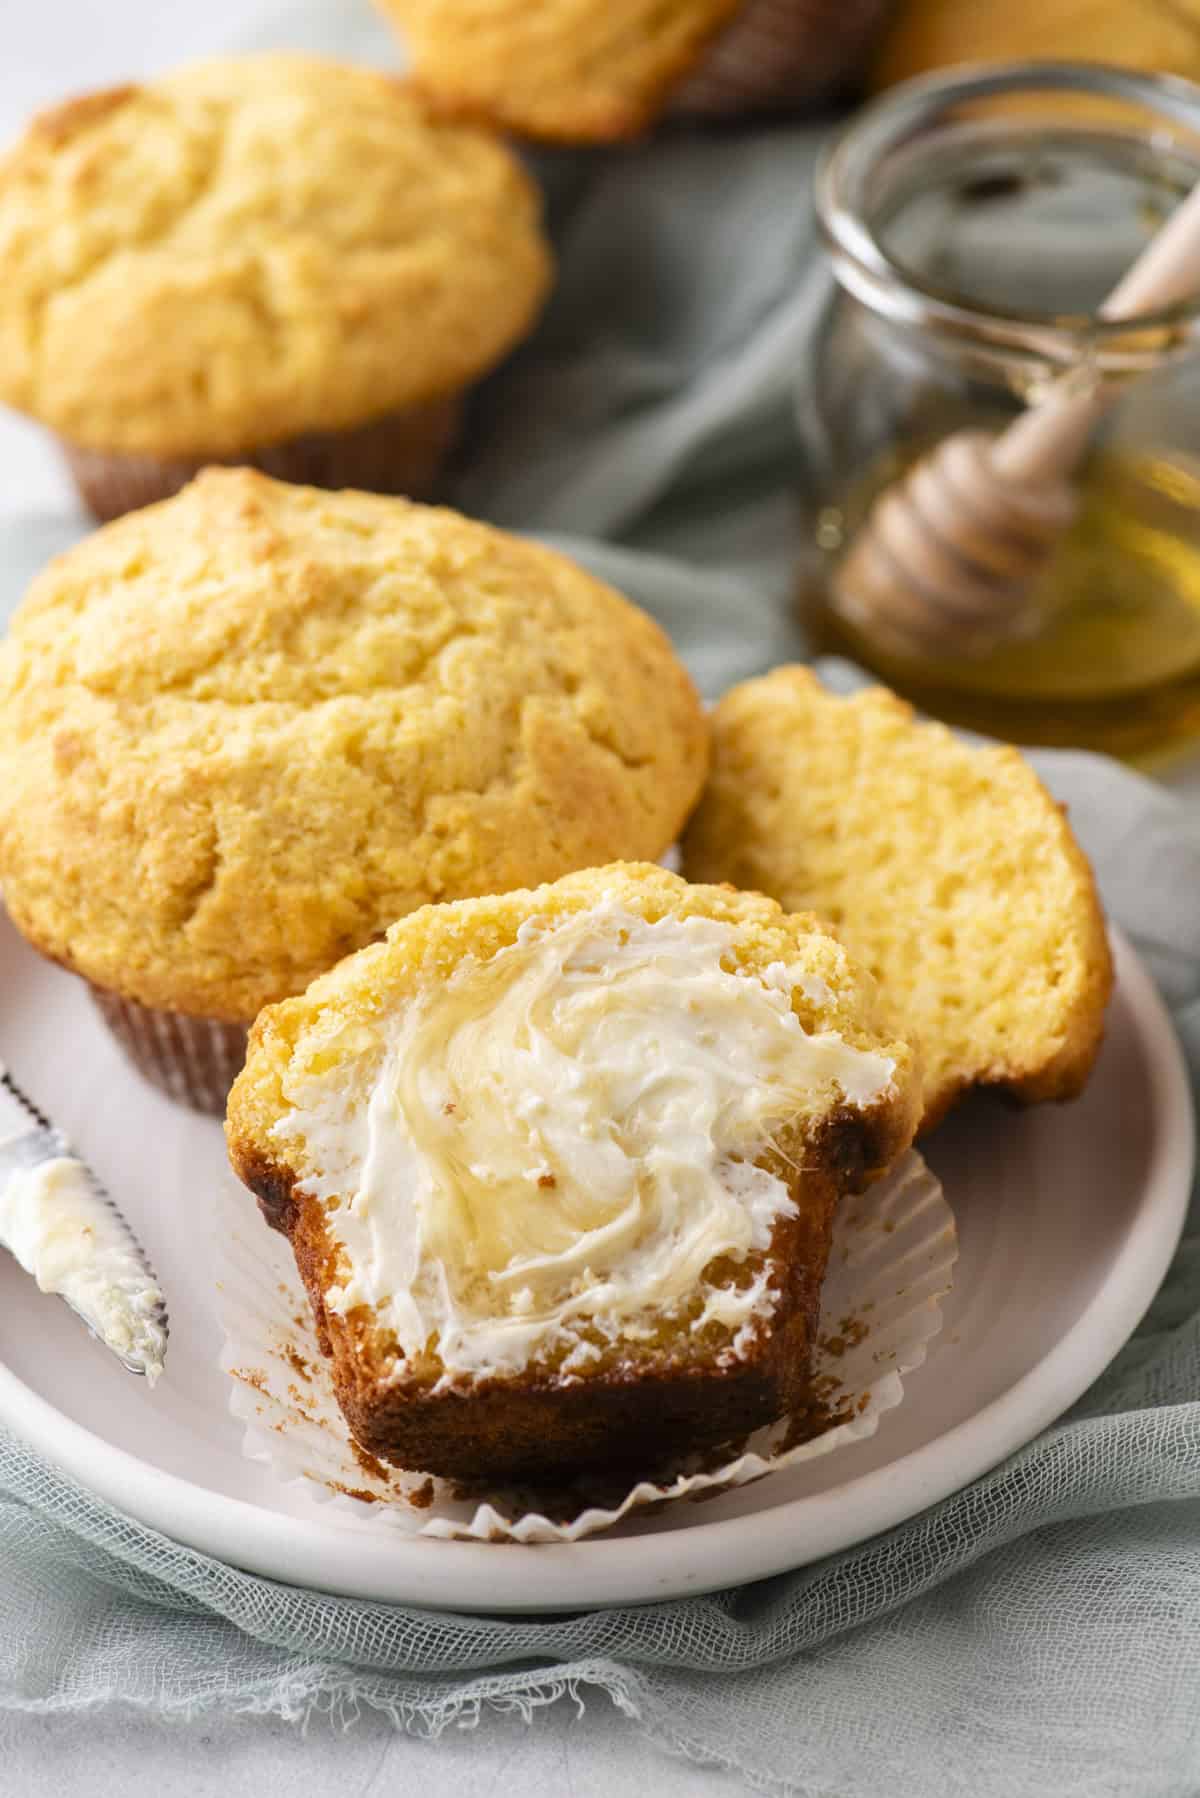
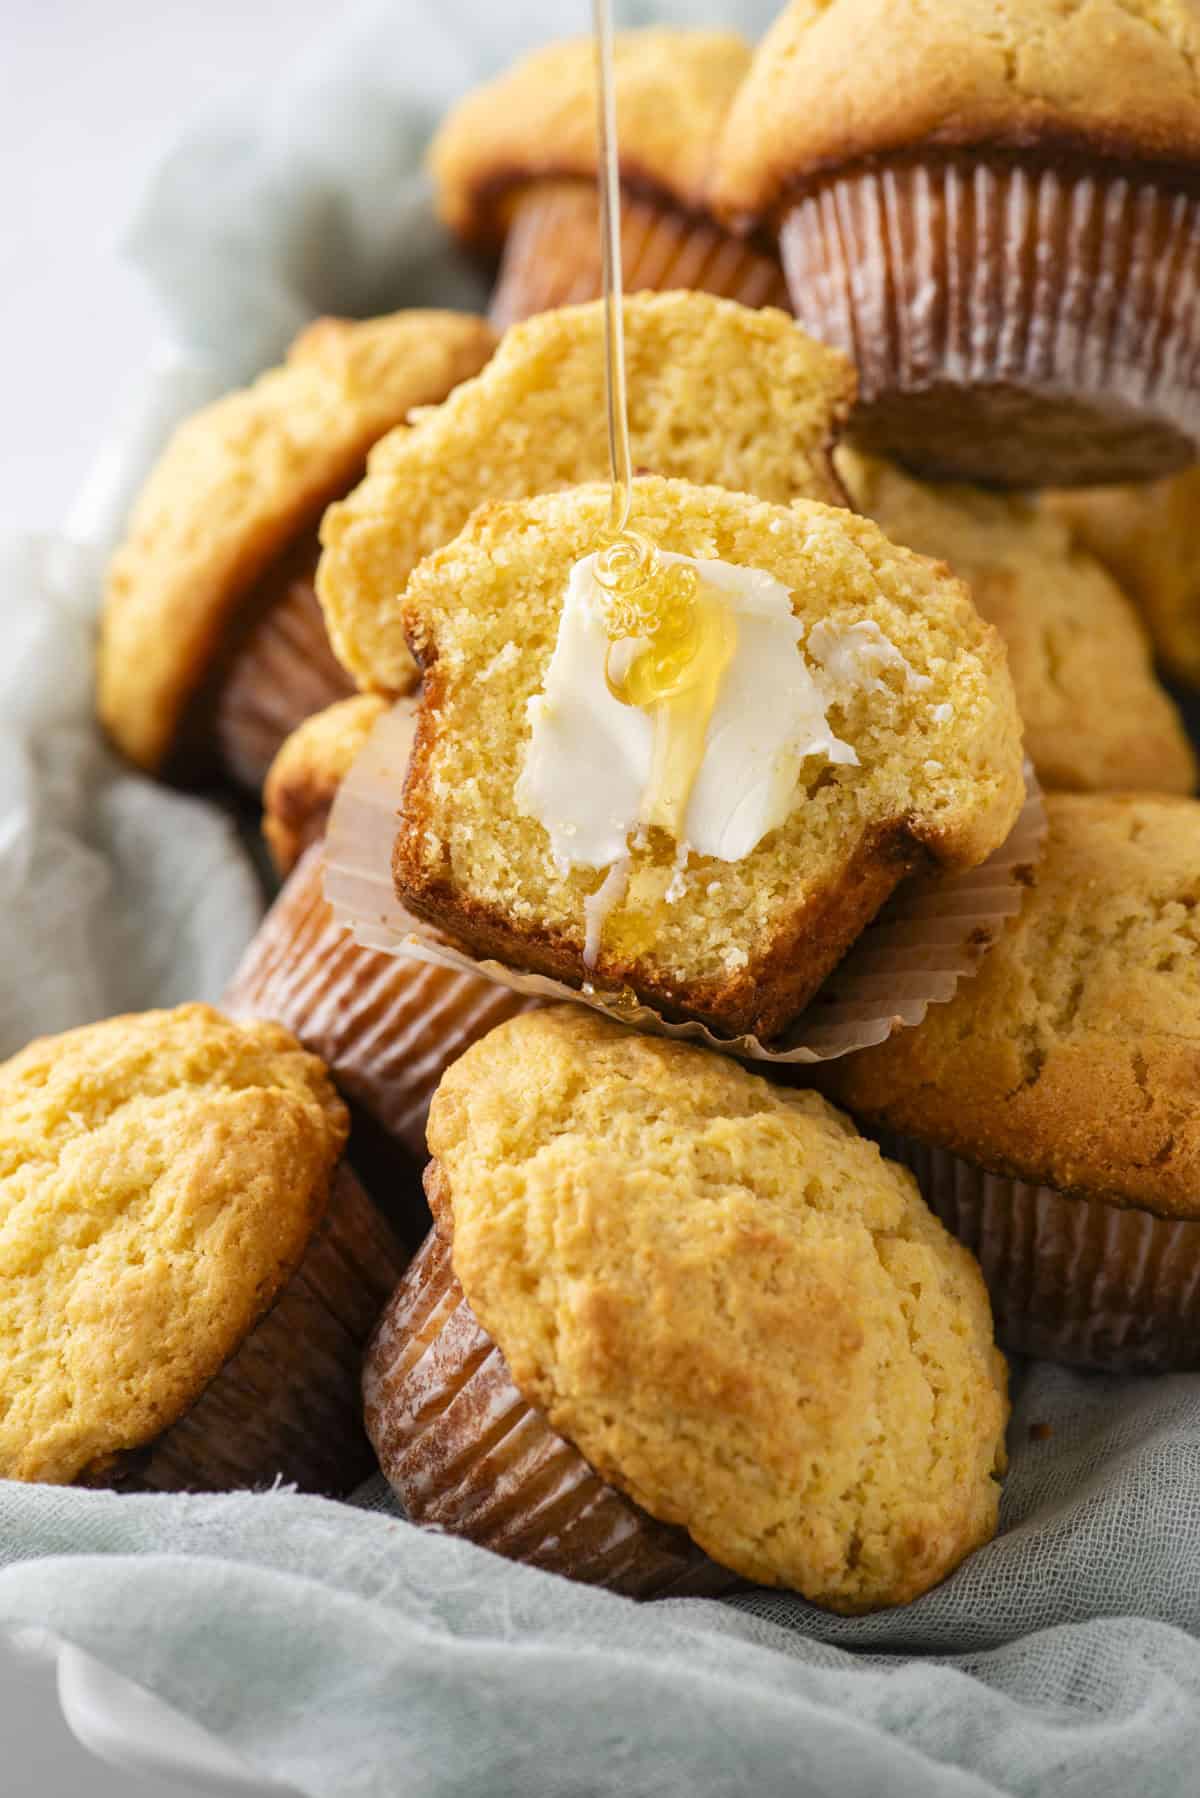
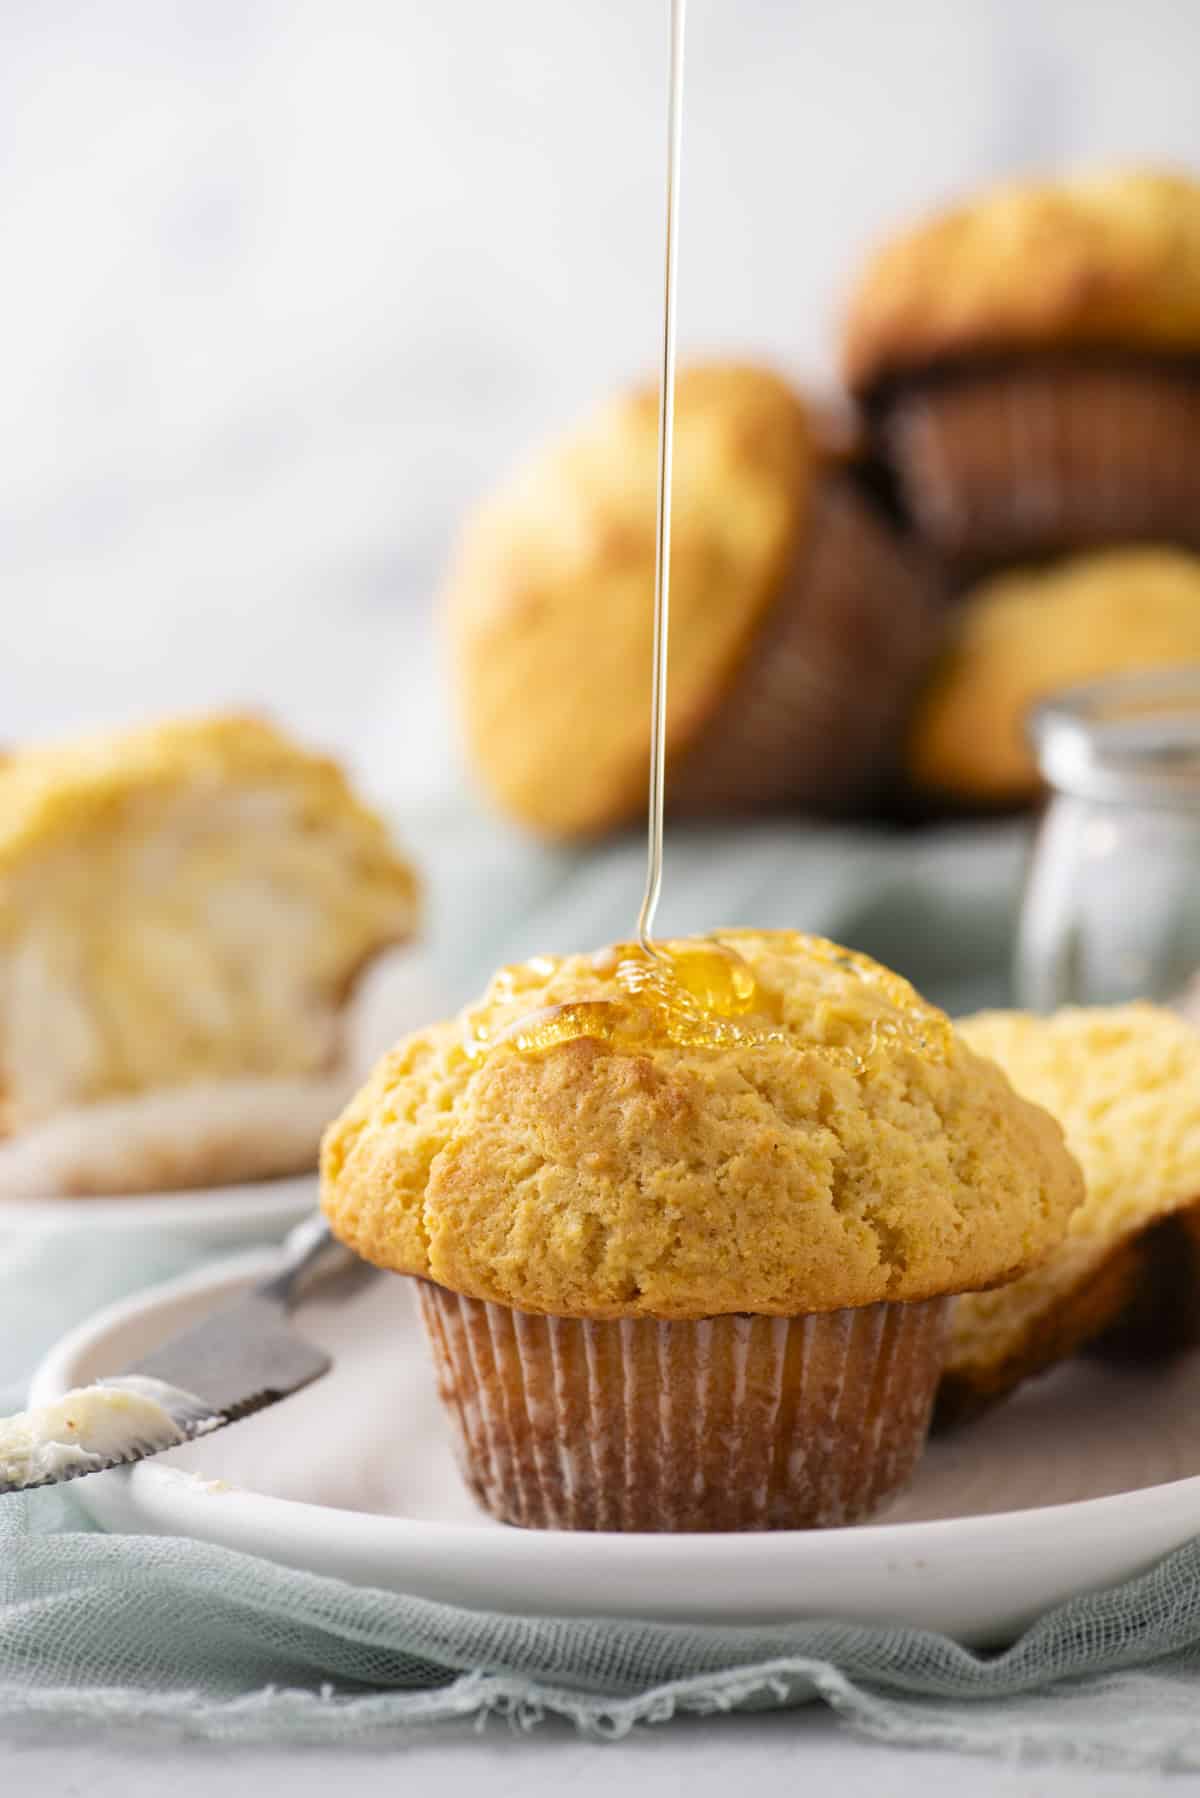
Oh yeah, I can’t forget to mention the honey butter glaze—because what’s a bakery-style corn muffin without a little extra indulgence? This dreamy, buttery glaze is made with butter, honey, milk, and powdered sugar, creating the perfect dip or drizzle to take these muffins over the top. Think warm, golden muffins dunked in sweet honey butter goodness—because sometimes, more is more. 😍
Cornbread Muffin Recipe Ingredients
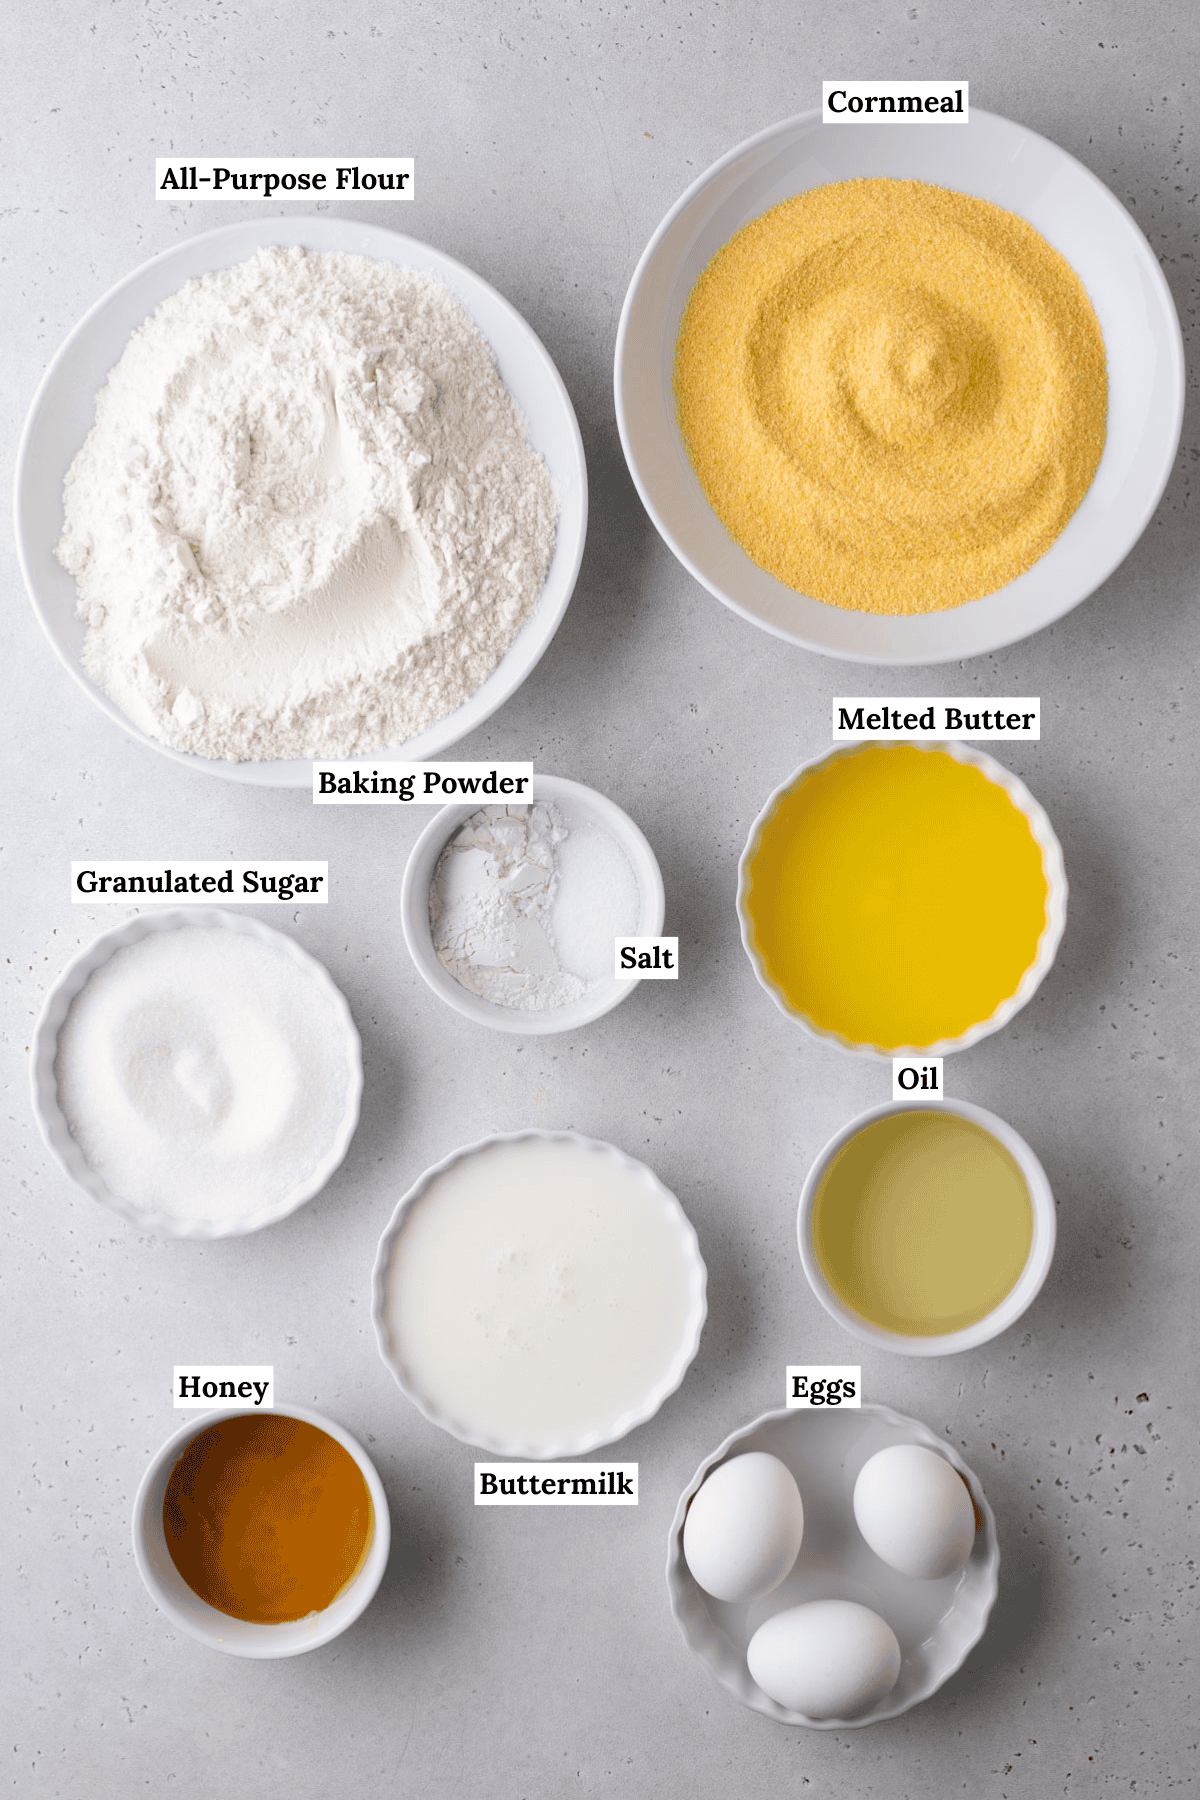
- Cornmeal: I used 100% fine ground cornmeal, which I personally prefer over medium grind. However, you can use either. Do not use anything that says cornmeal mix, as that contains flour and leavening.
- Buttermilk: This ingredient is key for moisture and a soft, tender texture.
- Baking powder: Yes, a full 2 tablespoons is needed for lift! There is no baking soda in this recipe because I found it made my muffins crumbly.
- Butter: This ingredient is essential for flavor and richness.
- Oil: This is key for moistness and tenderizing the muffins.
How to Make The Best Cornbread Muffins
Follow my step-by-step instructions and you can’t go wrong:
- Notes: This recipe requires a 30 minute rest of the batter in the fridge before baking. The most accurate way to measure flour is to use a kitchen scale, weighing it in grams. If you don’t have a kitchen scale, follow this method: Aerate the flour with a whisk or spoon. Flour becomes heavy and compact as it sits. Aerating is the same as fluffing the flour. Use a spoon to sprinkle the flour into the measuring cup. Do not tap the cup against the counter, as this will compact the flour. Use the back of a butter knife to level off the excess.
- Combine dry ingredients. In a mixing bowl combine the flour, cornmeal, granulated sugar, baking powder, and salt. Stir with a spoon to combine, set aside.
- Combine wet ingredients. In a larger mixing bowl combine the eggs, buttermilk, oil, cooled & melted butter, and honey. Stir to combine.
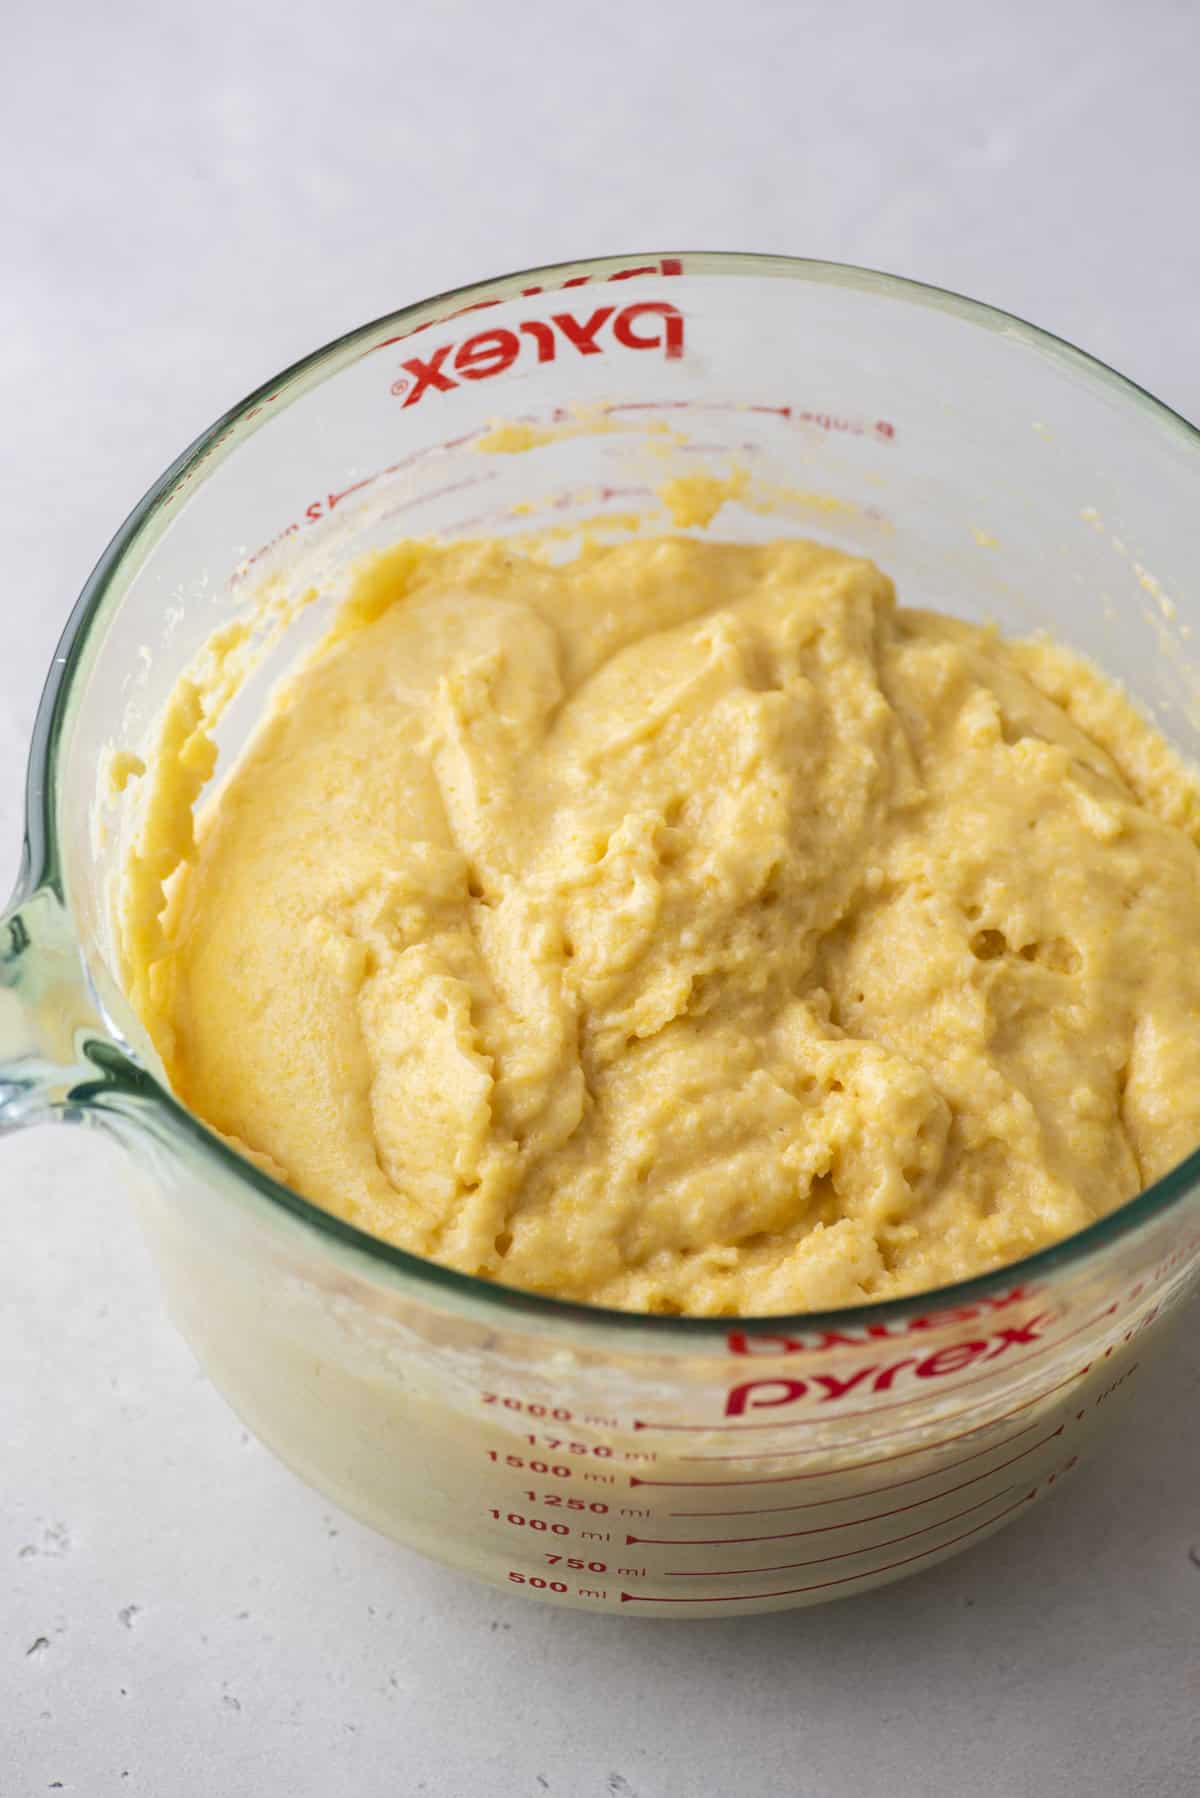
- Combine wet and dry ingredients. Gradually mix the dry ingredients into the wet ingredients, mixing just until combined. The batter will be very thick!
- Rest batter and prep oven. Cover the bowl with plastic wrap, place in the fridge to allow the batter to rest for 30 minutes. Preheat the oven to 425ºF / 220ºC when 10 minutes is remaining.
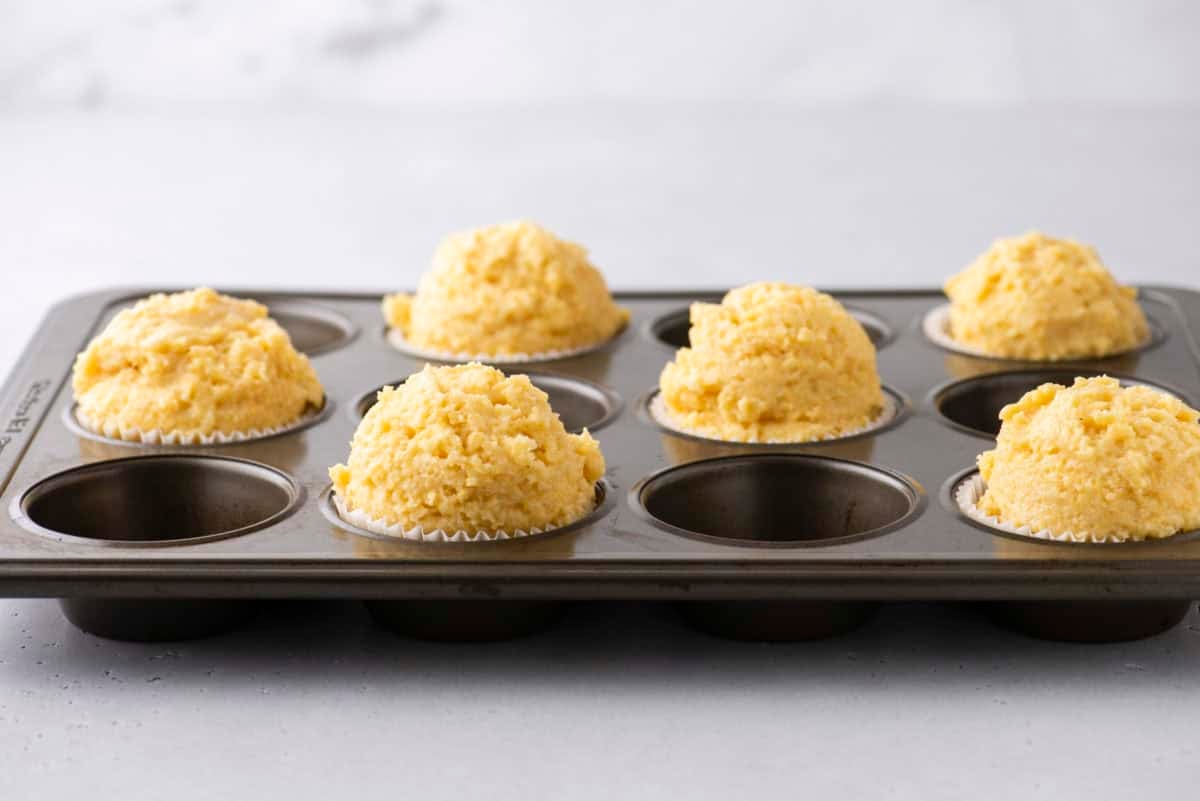
- Prep muffin pan. For bakery style muffins, line a 12 count muffin pan with 6 muffins liners, meaning you’ll only fill every other muffin well with batter. Fill the liners with 6-8 heaping tablespoons of batter. The photos show a heaping ½ cup of batter. Cover the bowl with the remaining batter and return to the fridge.
- Bake and cool. Place one pan in the center of the oven and bake for 7 minutes at 425ºF / 220ºC, then keep the muffins in the oven, turn the temperature down to 350ºF and bake for 15-18 minutes or until a toothpick inserted in the center comes out clean. The bake time at 350ºF is variable and will ultimately depend on how much batter you put in each well. Allow the muffins to cool in the pan. Repeat with the remaining batter, bumping the temperature back up to 425ºF.
To Make the Honey Butter Glaze
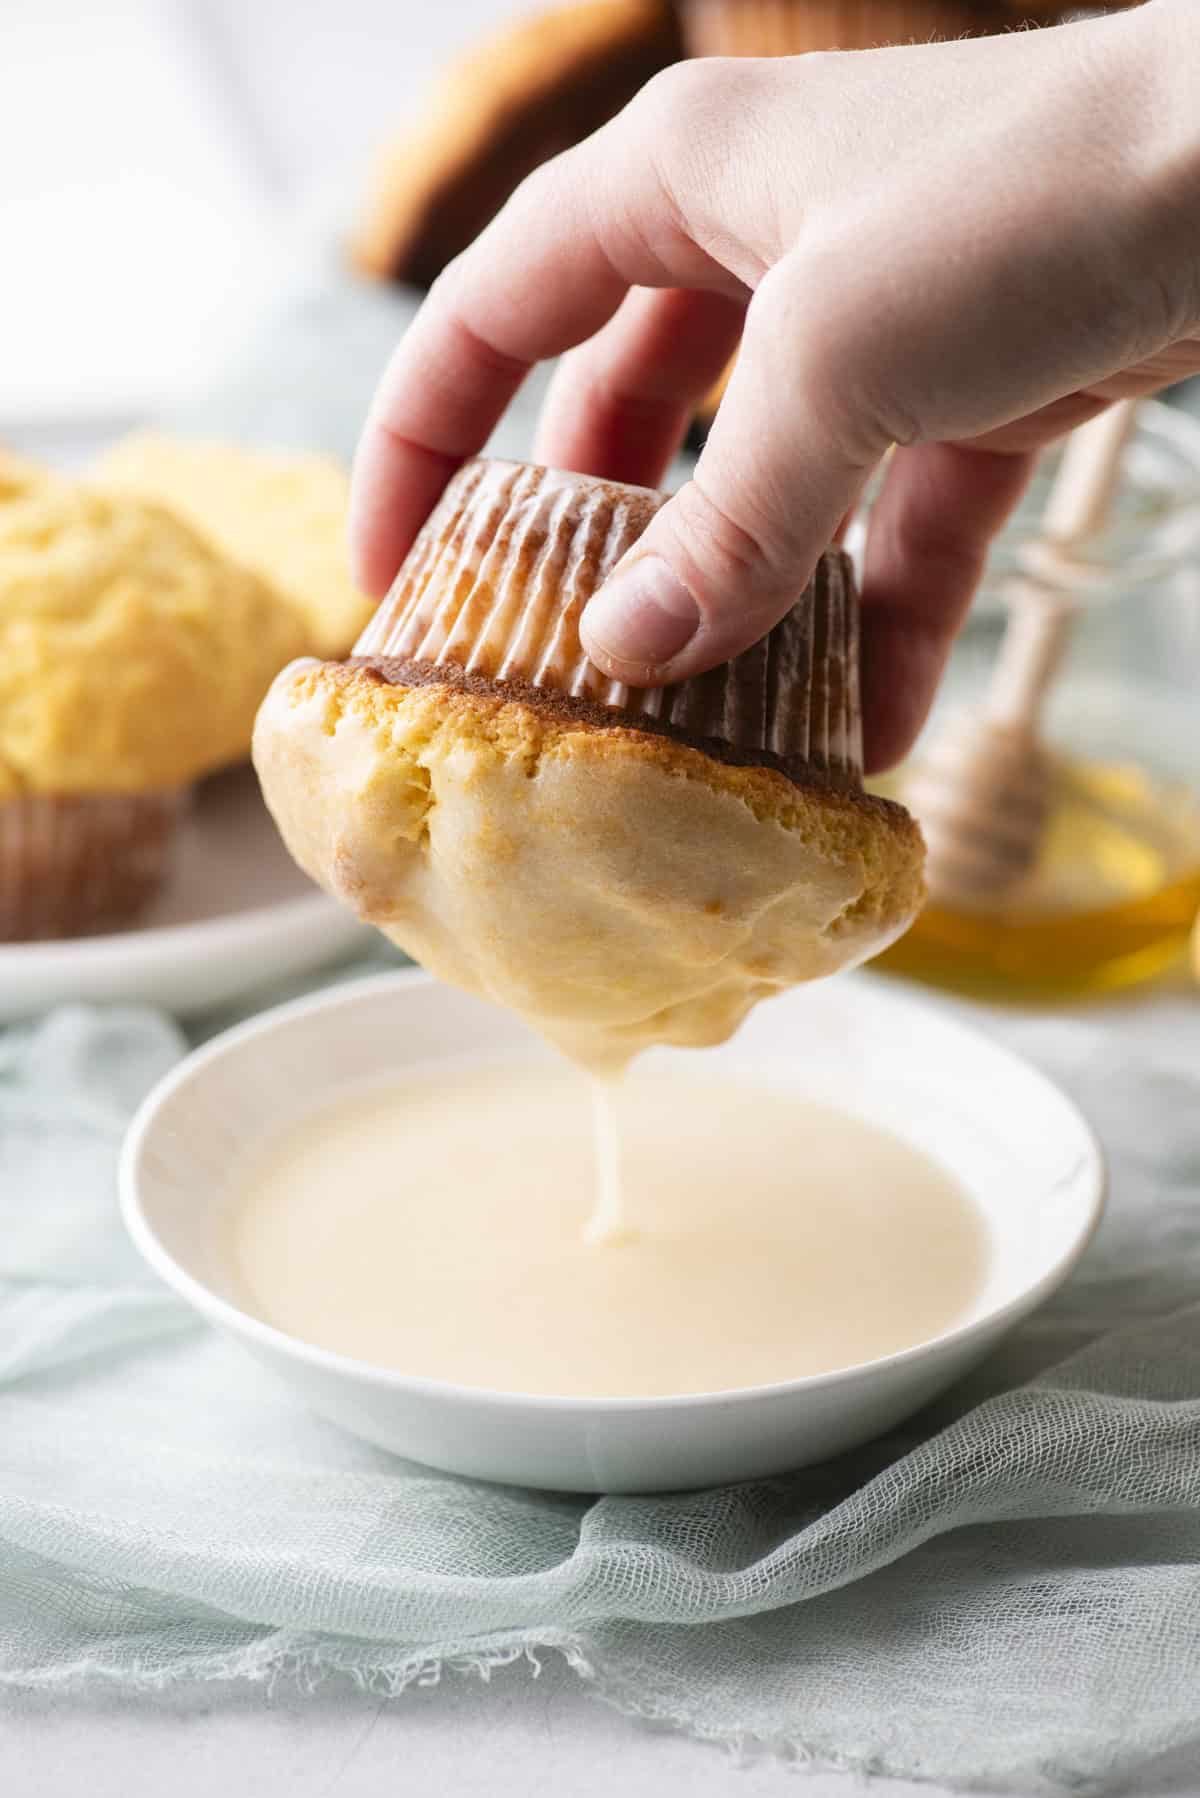
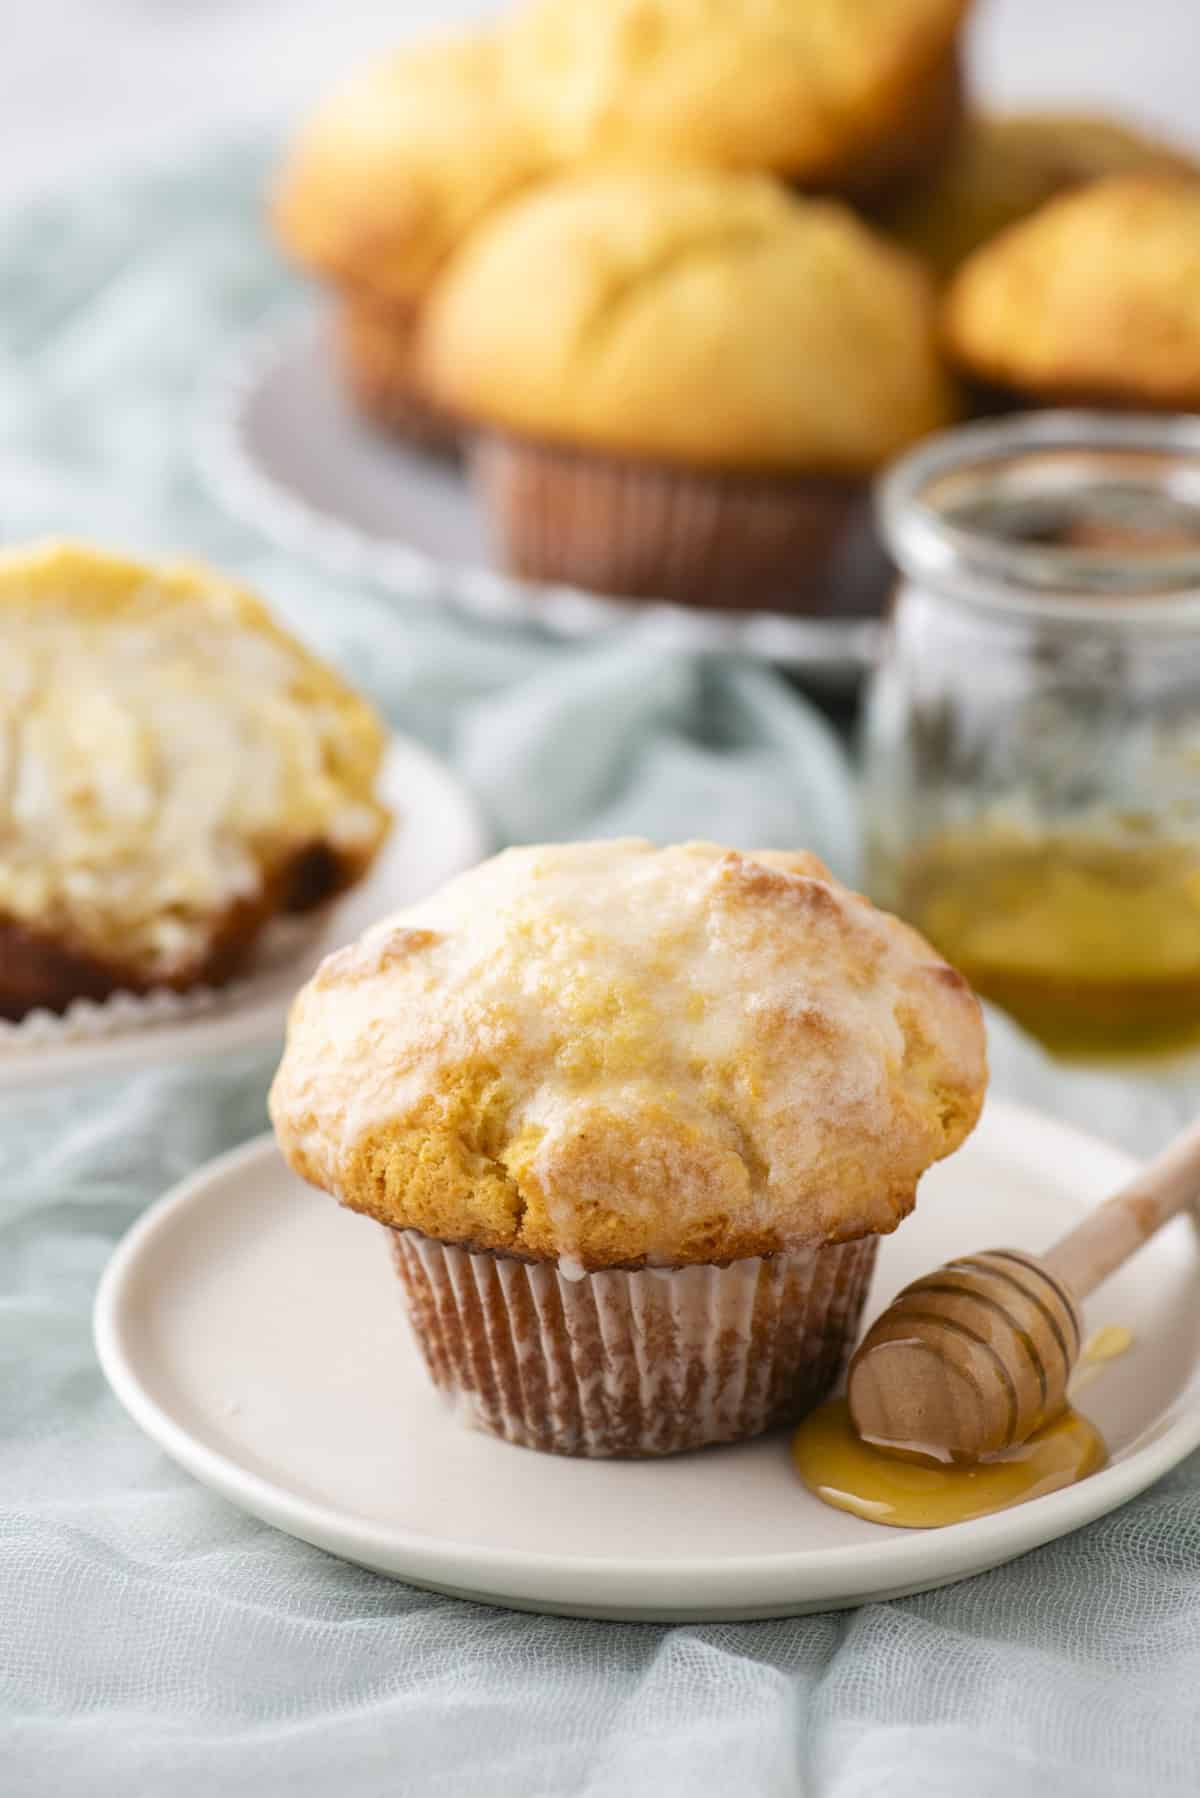
- Combine wet ingredients. In a microwave safe bowl, combine the butter, honey and milk. Microwave until the butter is melted, about 30 seconds. Whisk to combine.
- Mix in powdered sugar. Sift the powdered sugar to avoid a clumpy glaze. Whisk the powdered sugar into the mixture.
- Adjust and dip or drizzle. Add more milk if necessary. You want the glaze to be runny. Dip the muffins into the glaze or drizzle over the tops.
How to Create Bakery Style Muffins
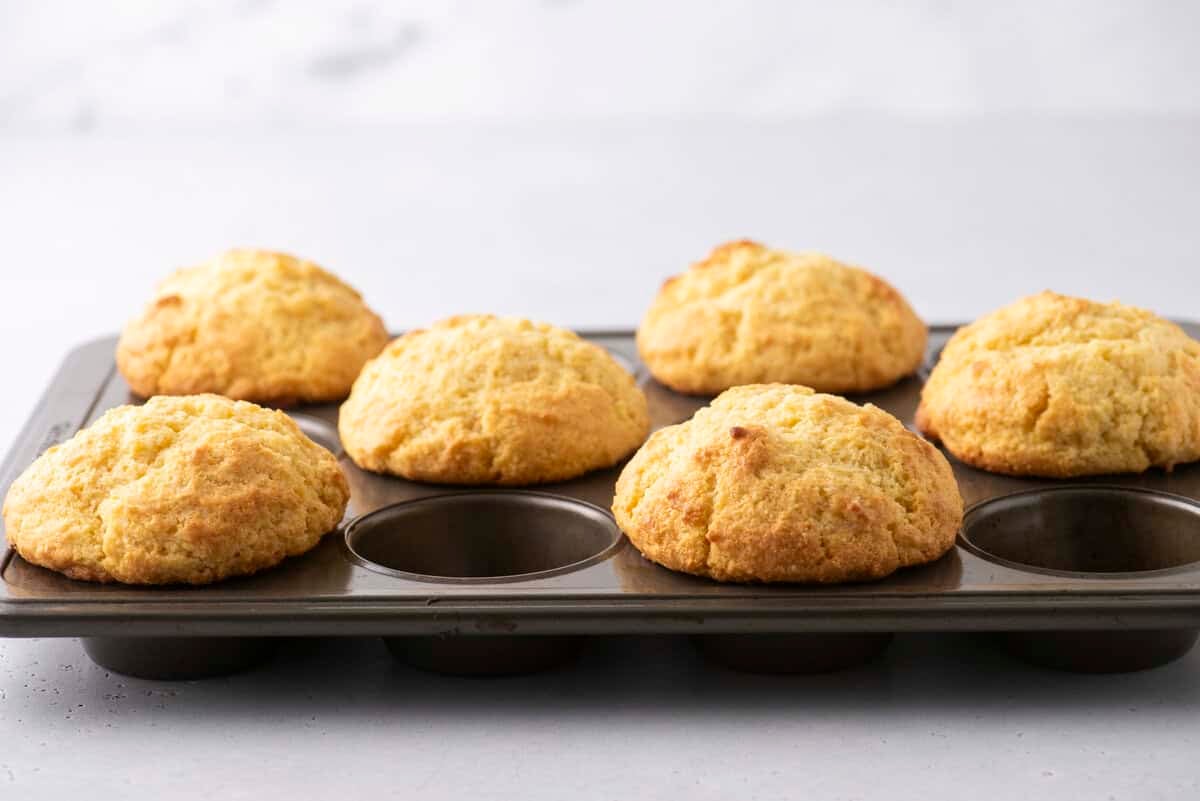
Bakery style muffins are known for their domed tops. Plus who doesn’t love them? I used a few techniques to help “lift” these muffins so they would have large, domed tops!
1. The Rest Period
When muffin batter contains butter, a 30-minute rest in the fridge is key to achieving tall, bakery-style domes. During this time, the butter solidifies, which helps create a sturdier structure that holds its shape as it bakes. Meanwhile, the starch molecules in the flour absorb liquid and swell, contributing to a softer, more tender crumb. Plus, the baking powder has time to begin reacting, leading to a thicker batter that rises higher in the oven for that signature domed top.
2. Fill Every Other Muffin Cup
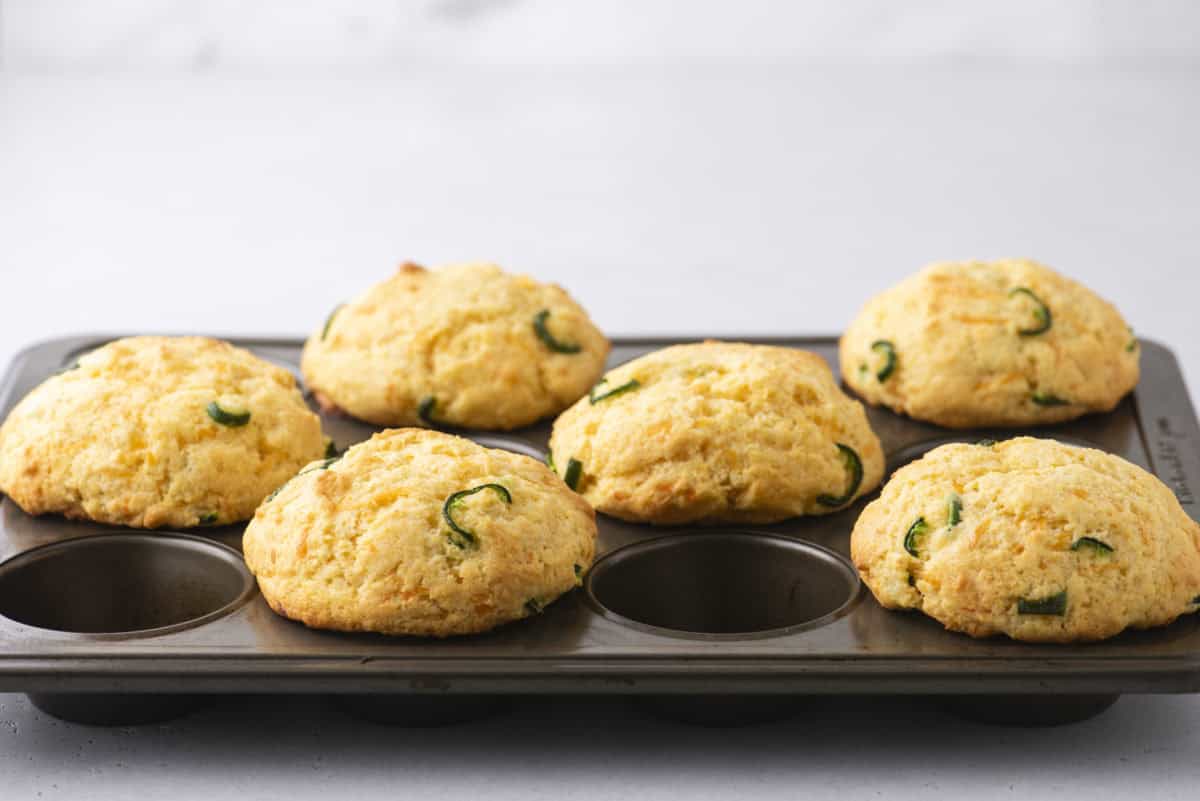
This tip has been a game changer! For bakery style muffin tops, line a 12 count muffin pan with 6 muffin liners, meaning you’ll only fill every other muffin well with batter. Filling every other cup allows the muffins to spread and dome without running into each other. This technique also encourages the muffins to brown, creating a golden muffin top.
3. Fill Them To The Top
Fill your muffin liners to the top with batter. Yes, this goes against everything you’re heard but it’s important in helping the muffin gain that height.
4. Bake at High Temperature Initially
Bake the muffins at a high temperature (425ºF) initially, then lower to 350ºF. Starting the muffins off at a higher temperature causes the batter to rise rapidly, setting the outer surface of the muffin, producing a dome shape.
How to Properly Measure Flour
The most accurate way to measure flour is to use a kitchen scale, weighing it in grams.
If you don’t have a kitchen scale, follow this method.
- Aerate the flour with a whisk or spoon. Flour becomes heavy and compact as it sits. Aerating is the same as fluffing the flour, but not the same as sifting it. Do not sift the flour unless the recipe specifically calls for it.
- Use a spoon to sprinkle the flour into the measuring cup. Do not tap the cup against the counter, as this will compact the flour.
- Use the back of a butter knife to level off the excess.
Cornbread Muffin Recipe Variations
Looking to switch up your cornbread muffins? Here are two delicious variations that I tested and loved!
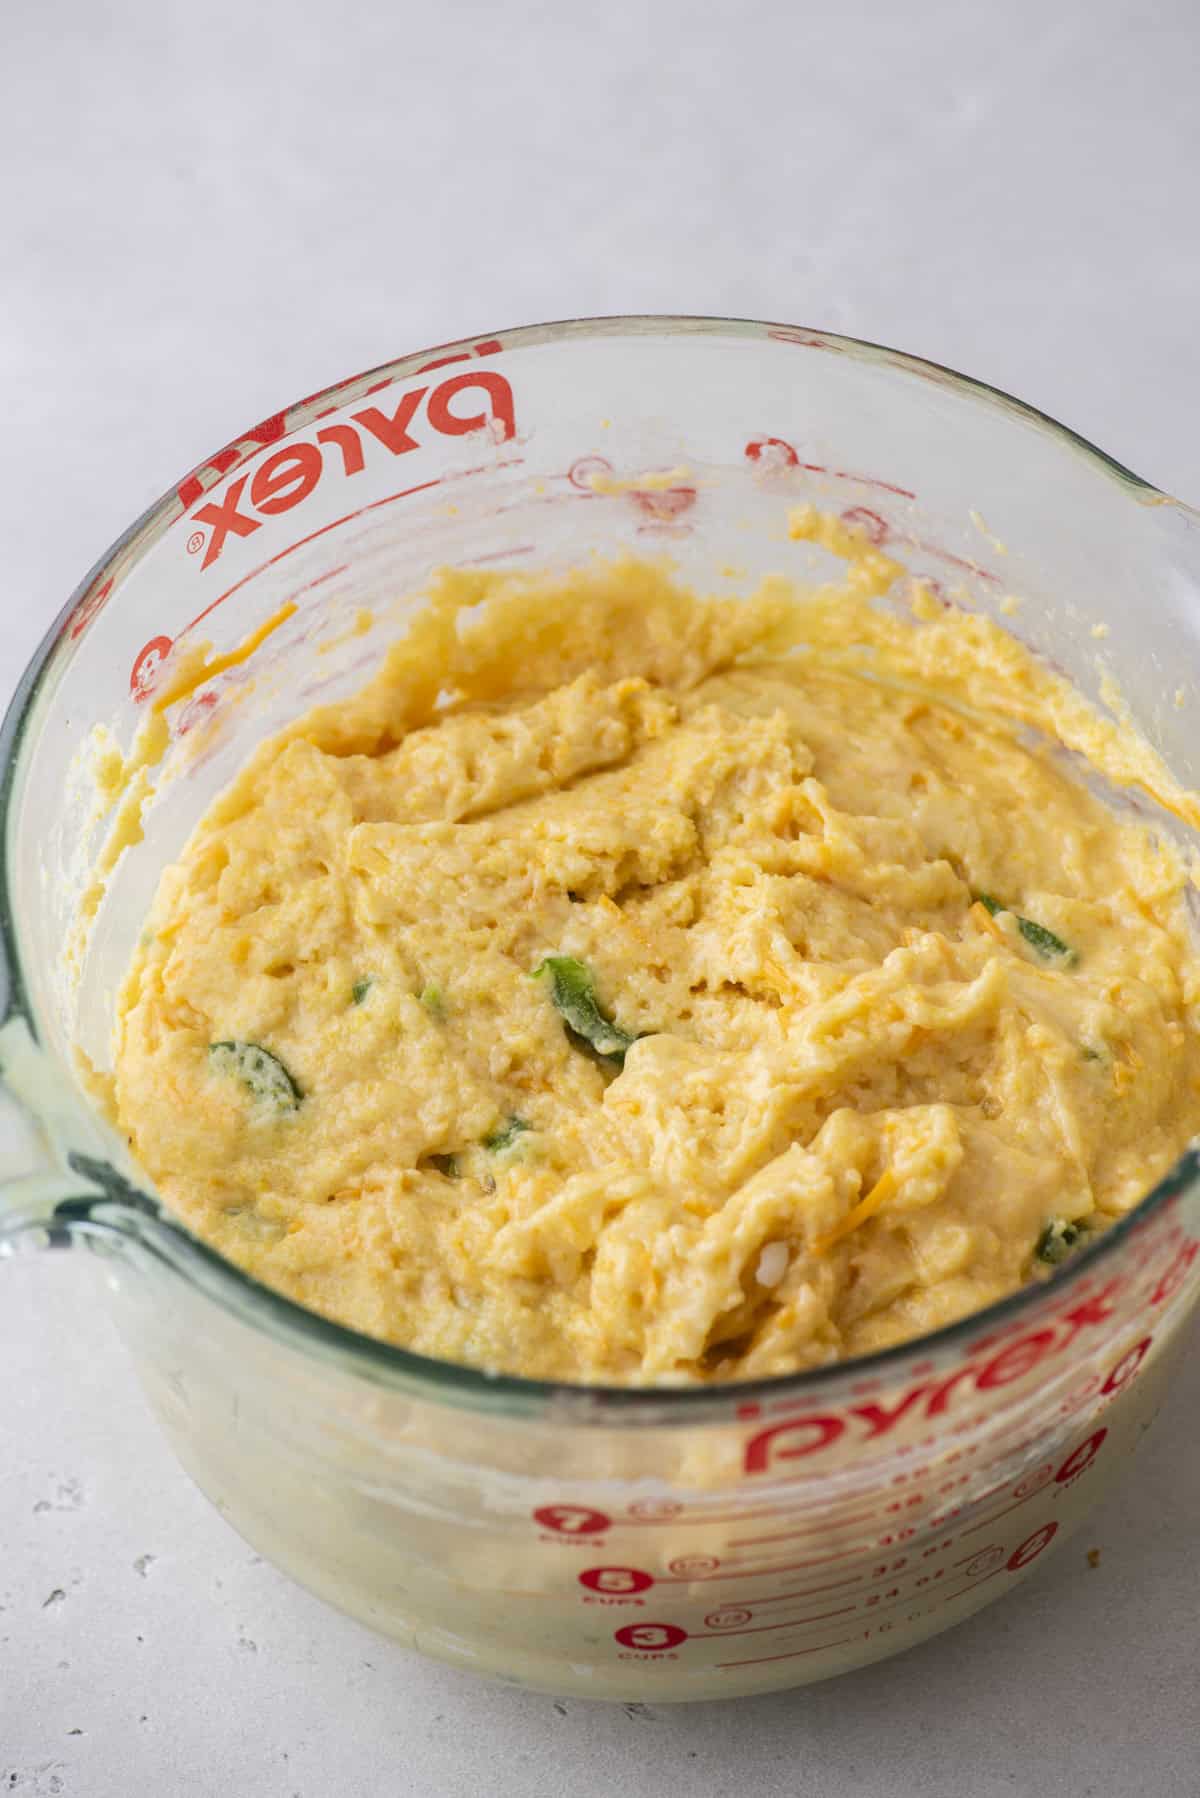
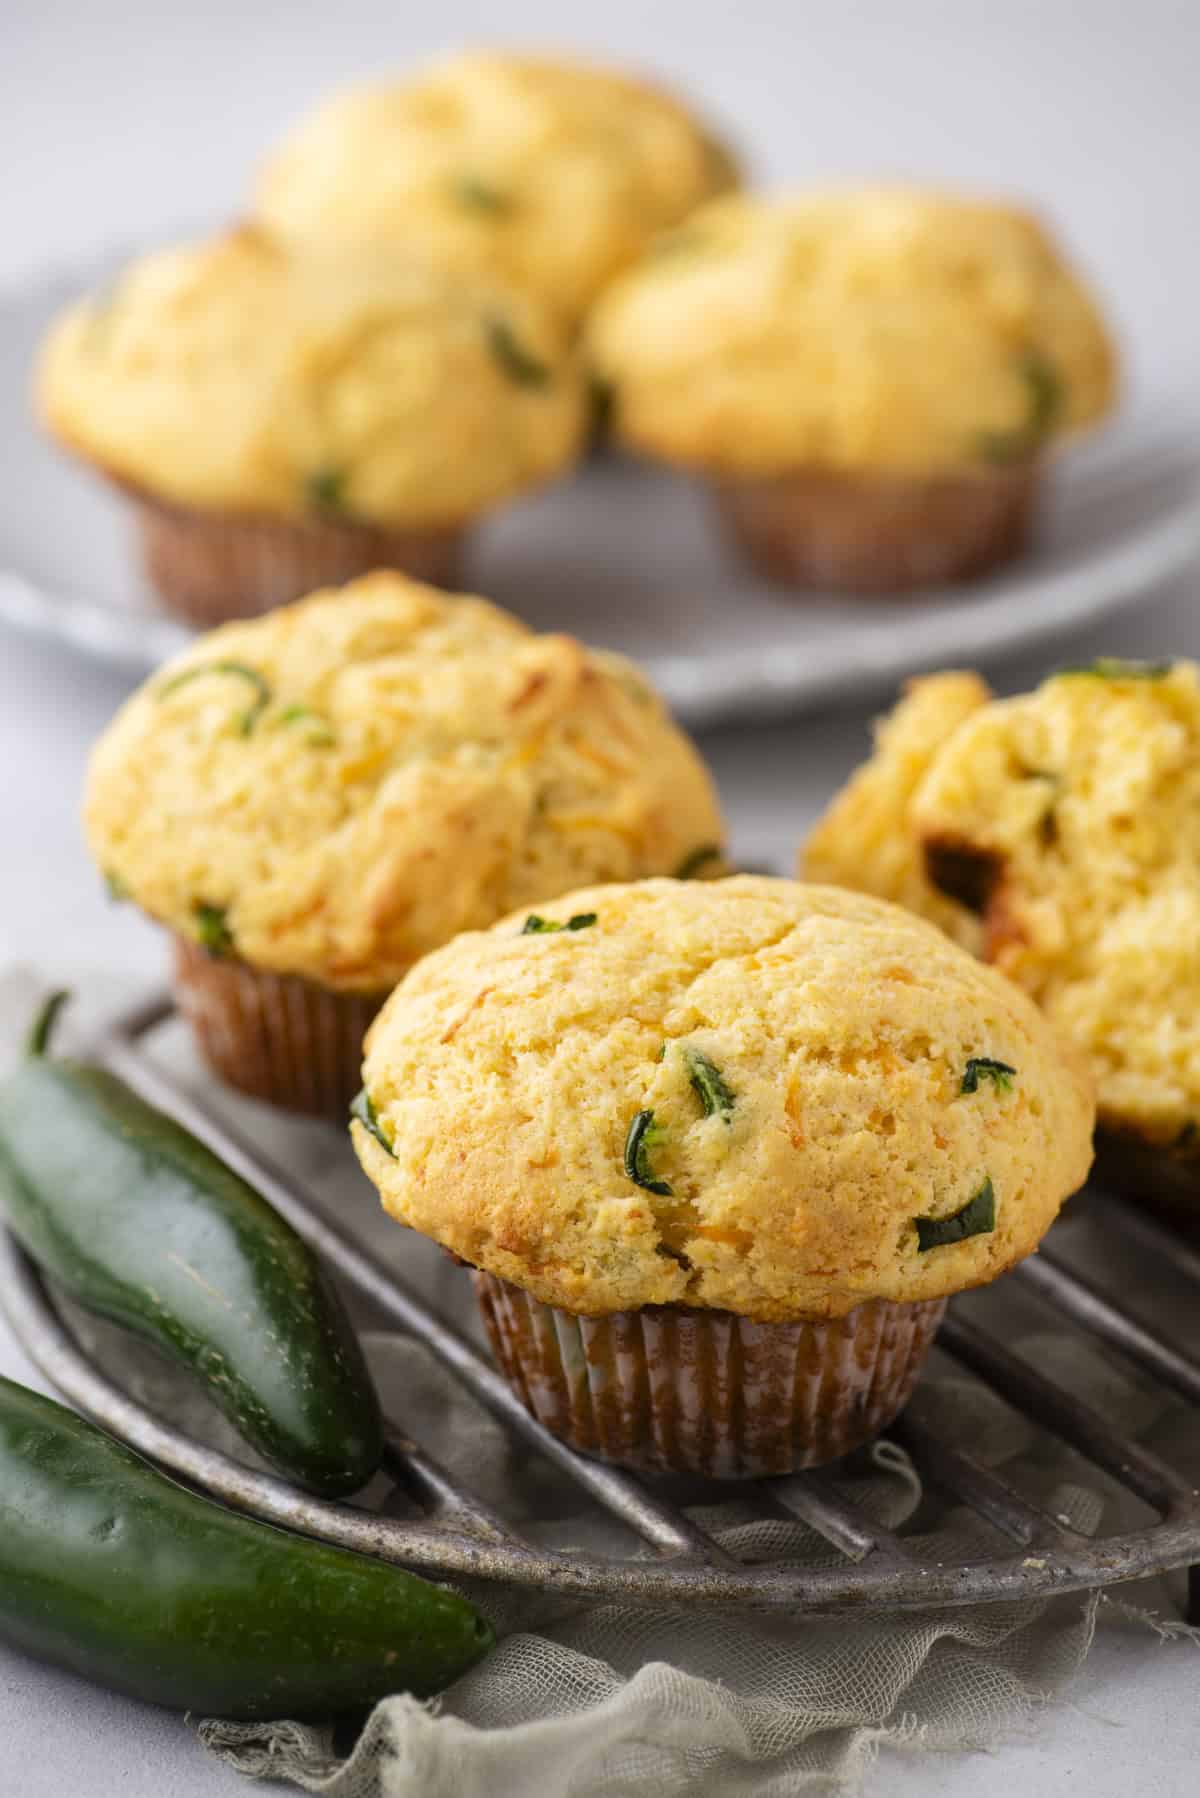
- Cheddar & Jalapeno Cornbread Muffins – For a cheesy, slightly spicy twist, add 1-2 sliced jalapeños (keep the seeds for extra heat) and ¾ cup shredded cheddar cheese to the batter. The jalapeños add a kick, while the cheese melts beautifully into the muffins, creating a rich, savory flavor.
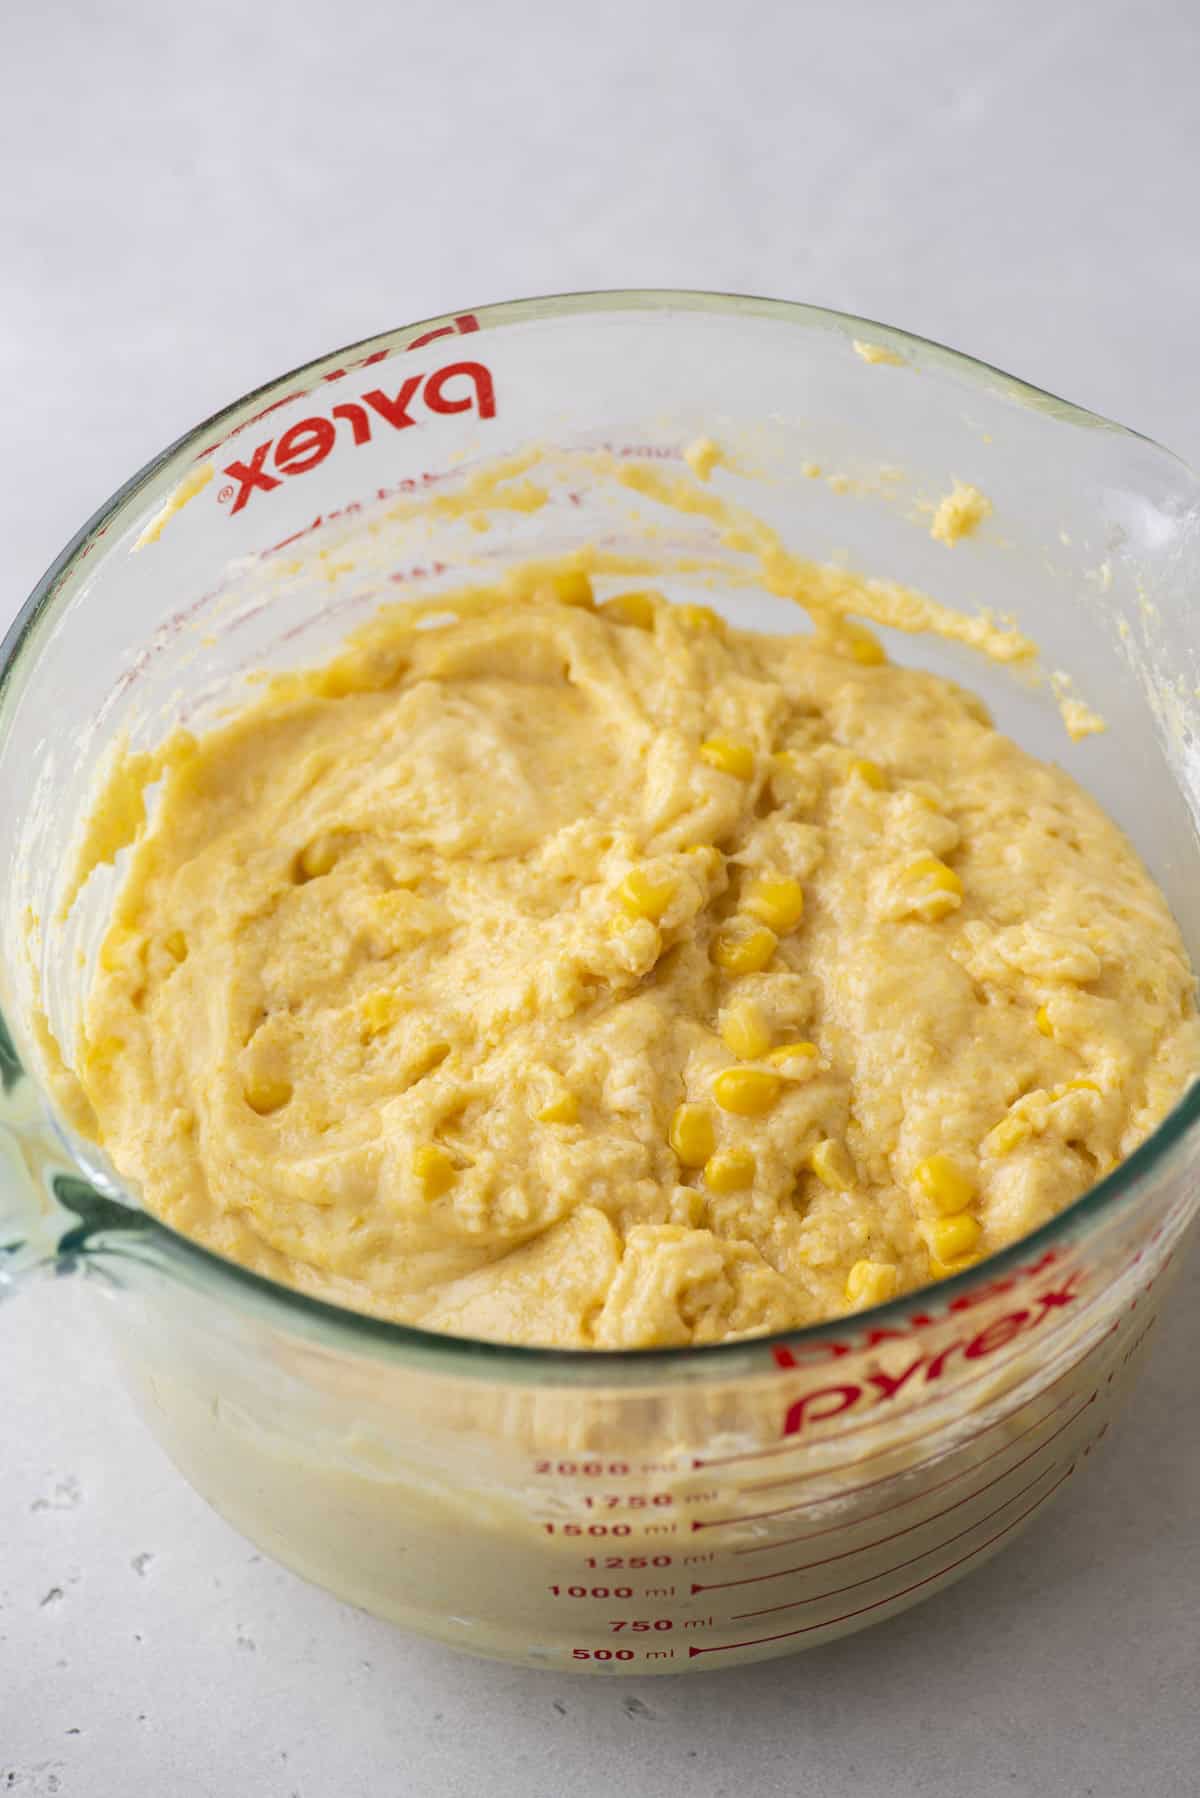
- Cornbread Muffins with Whole Corn Kernels – For extra texture and a little natural sweetness, mix 1 cup of corn into the batter. You can use drained canned corn or thawed frozen corn—both work well! The bursts of corn in each bite make these muffins even more irresistible.
- Bacon Cheddar Cornbread Muffins – Add ½ cup of cooked, crumbled bacon and ¾ cup shredded cheddar cheese for a smoky, savory muffin. The crispy bacon adds great texture and flavor to every bite.
- Chili-Spiced Cornbread Muffins – If you love bold flavors, mix ½ teaspoon of chili powder and ¼ teaspoon of smoked paprika into the batter. This gives the muffins a subtle, smoky heat that pairs perfectly with soups and stews.
Storing and Freezing Muffins
Muffin Storage
If you’ll be eating the muffins within 24 hours of baking, you can leave them uncovered on the counter. The muffins will not dry out while left at room temperature for 1 day.
In fact, muffins are so moist they can become soggy and those crunchy, sugary tops can disappear when stored in an airtight container.
But I have a trick to help that – paper towels.
For longer storage, 2-4 days, line the bottom of an airtight container with paper towels. Place the muffins in a single layer in the container then cover the muffins with any additional layer of paper towels. The paper towels will act like a sponge, absorbing the moisture they release while they are stored.
If the paper towels become too moist around day 2 or day 3, replace them with fresh paper towels.
How To Freeze Muffins
Individually wrap each muffin in plastic wrap. Then place them in a ziploc bag or airtight container and place in the freezer for up to 3 months.
To thaw, leave them at room temperature until defrosted, about 1 hour. Or unwrap them and microwave at 20 second intervals until defrosted.
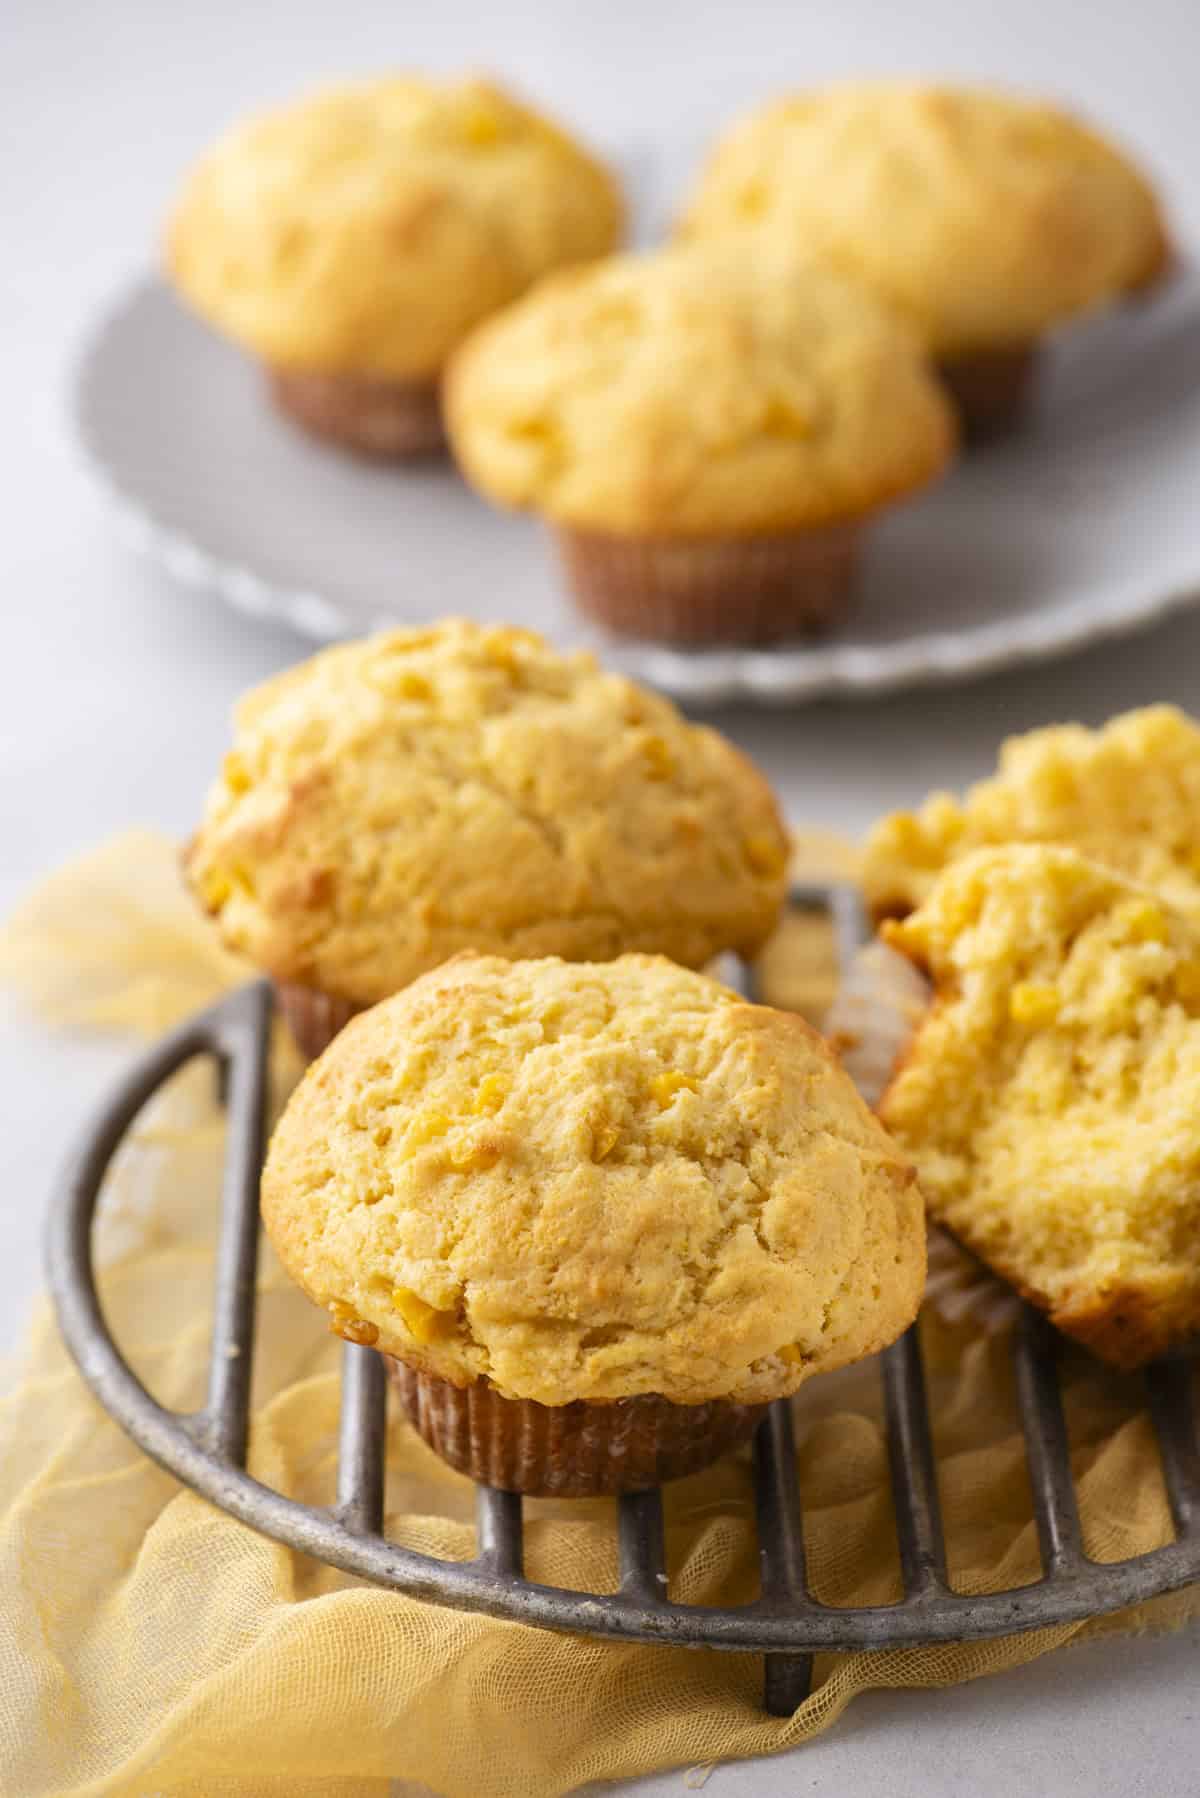
Love these corn muffins!!!! I ran out of honey so I did not make the glaze for the top but I’m sure that would have only made them even better, if that’s possible! They were very moist and perfectly sweetened. I achieved the perfect dome just like recipe, I love when that happens. They were a hit with the family. I can’t wait to try them again with the honey butter glaze. These are a winner!
-Sharon
More Muffin Recipes
- Best Chocolate Chip Muffin Recipe
- White Chocolate Raspberry Muffins
- Orange Muffins
- Coffee Cake Muffins
Tap stars to rate!
Cornbread Muffin Recipe
Equipment
Ingredients
Corn Muffins
- 3 cups (360g) all-purpose flour
- 1 cup (156g) fine ground yellow cornmeal, *see note
- ½ cup (99g) granulated sugar
- 2 Tbsp baking powder
- 1 tsp salt
- 3 large eggs
- 1 cup (240ml) buttermilk
- 8 Tbsp (113g) unsalted butter, melted & cooled
- ½ cup (118ml) neutral oil, can also use olive oil, avocado oil, or canola oil
- ¼ cup honey
Honey Butter Glaze
- 2 Tbsp unsalted butter
- 2 Tbsp honey
- 3 Tbsp milk
- 1 ½ cup (169g) powdered sugar, sifted to avoid a clumpy glaze
Variations
- For a cheesy, slightly spicy twist, add 1-2 sliced jalapeños (keep the seeds for extra heat) and ¾ cup shredded cheddar cheese to the batter.
- For extra texture and a little natural sweetness, mix 1 cup of corn into the batter. You can use drained canned corn or thawed frozen corn—both work well!
- Add ½ cup of cooked, crumbled bacon and ¾ cup shredded cheddar cheese for a smoky, savory muffin.
Video
Instructions
Corn Muffins
- Notes: 1. This recipe requires a 30 minute rest of the batter in the fridge before baking. 2. The most accurate way to measure flour is to use a kitchen scale, weighing it in grams. If you don’t have a kitchen scale, follow this method: Aerate the flour with a whisk or spoon. Flour becomes heavy and compact as it sits. Aerating is the same as fluffing the flour. Use a spoon to sprinkle the flour into the measuring cup. Do not tap the cup against the counter, as this will compact the flour. Use the back of a butter knife to level off the excess. 3. This recipe yields 8 super dome muffins.
- In a mixing bowl combine the flour, cornmeal, granulated sugar, baking powder, and salt. Stir with a spoon to combine, set aside.3 cups (360g) all-purpose flour, 1 cup (156g) fine ground yellow cornmeal, 1/2 cup (99g) granulated sugar, 2 Tbsp baking powder, 1 tsp salt
- In a larger mixing bowl combine the eggs, buttermilk, oil, cooled & melted butter, and honey. Stir to combine.3 large eggs, 1 cup (240ml) buttermilk, 8 Tbsp (113g) unsalted butter, ½ cup (118ml) neutral oil, ¼ cup honey
- Gradually mix the dry ingredients into the wet ingredients, mixing just until combined. The batter will be very thick! If following a variation, add in the sliced jalapeños, cheese or corn, stir to combine.
- Cover the bowl with plastic wrap, place in the fridge to allow the batter to rest for 30 minutes. Preheat the oven to 425ºF / 220ºC when 10 minutes is remaining.
- For bakery style muffins, line a 12 count muffin pan with 6 muffins liners, meaning you’ll only fill every other muffin well with batter. Fill the liners with 6-8 heaping tablespoons of batter. The photos show a heaping ½ cup of batter. Cover the bowl with the remaining batter and return to the fridge.
- Place one pan in the center of the oven and bake for 7 minutes at 425ºF / 220ºC, then keep the muffins in the oven, turn the temperature down to 350ºF and bake for 15-18 minutes or until a toothpick inserted in the center comes out clean. The bake time at 350ºF is variable and will ultimately depend on how much batter you put in each well. Allow the muffins to cool in the pan. Repeat with the remaining batter, bumping the temperature back up to 425ºF.
Honey Butter Glaze, optional
- In a microwave safe bowl, combine the butter, honey and milk. Microwave until the butter is melted, about 30 seconds. Whisk to combine.2 Tbsp unsalted butter, 2 Tbsp honey, 3 Tbsp milk
- Sift the powdered sugar to avoid a clumpy glaze. Whisk the powdered sugar into the mixture.1 ½ cup (169g) powdered sugar
- Add more milk if necessary. You want the glaze to be runny. Dip the muffins into the glaze or drizzle over the tops.
Notes
- Cornmeal: I used 100% fine ground cornmeal, which I personally prefer over medium grind. However, you can use either. Do not use anything that says cornmeal mix, as that contains flour and leavening.
- Gluten Free: I’ve had great success making this recipe with gluten-free flour! I recommend using King Arthur’s Gluten Free Measure for Measure Flour as a direct 1:1 substitute for all-purpose flour.



I don’t have buttermilk, can I use regular milk and add vinegar or lemon juice? if so, how much?
Follow my tutorial for homemade buttermilk!
How would I adjust for mini muffins.
For mini muffins, I suggest baking them at 400ºF for the entire time, which might be 8-12 minutes. It just depends on how full you fill them! I do still recommend doing the every other method when filling the pan!
Amazing hands down !!! The recipe I’ve been looking for
Delicious! easy recipe- they were beautiful and I will be making more!