

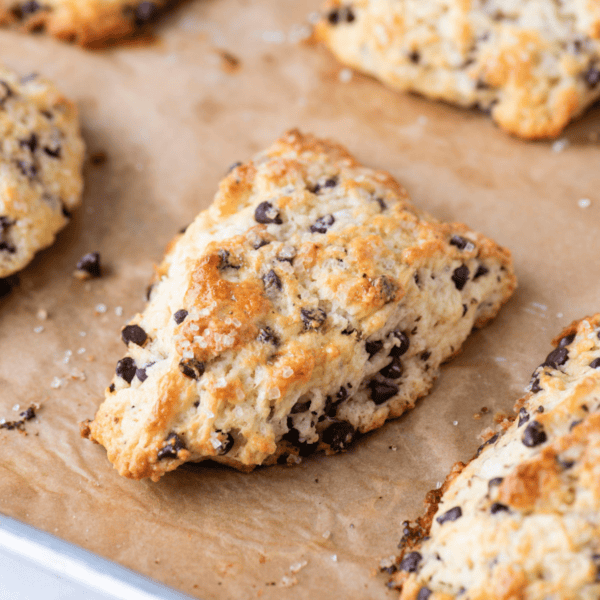
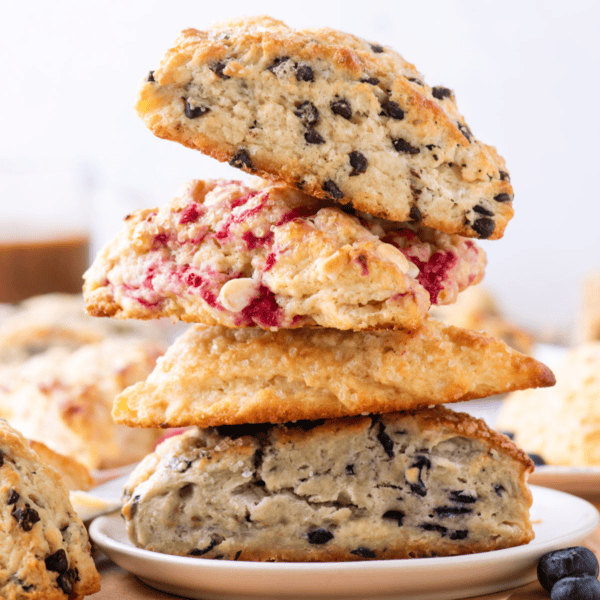
Scones
Our Best Scone Recipes
Quick Scone Success Tips
✅ Use very cold butter — Straight from the fridge or frozen for the flakiest layers.
✅ Handle the dough gently — Mix just until combined to keep the crumb tender.
✅ Chill the dough before baking — Cold dough = taller, neater scones that don’t spread.
✅ Bake at a high temperature — 400ºF gives scones a strong, bakery-style rise.
✅ Fold the dough for flaky layers — A few easy folds create those beautiful, buttery layers.
✅ Use all-purpose flour and buttermilk — The perfect combo for classic texture and flavor.
✅ Limit mix-ins and moisture — Toss mix-ins in flour and don’t overdo liquids like citrus juice.
✅ Cut scones with a sharp edge, no twisting — Helps them rise up tall and proud.
✅ Store properly or freeze for later — Fresh scones are easy to enjoy anytime with the right storage.
✅ Gluten-free? No problem! — A good 1:1 gluten-free flour swap keeps your scones just as delicious.
Breakfast Scones Recipes


These scones are very good!!! Better than many of the scones I’ve made. I used raisin and pecans as a filler. Everyone loved them. Take the time to follow the recipe and refrigerate and freeze as recommended. You will be so happy!! Thanks for sharing.
-Florence
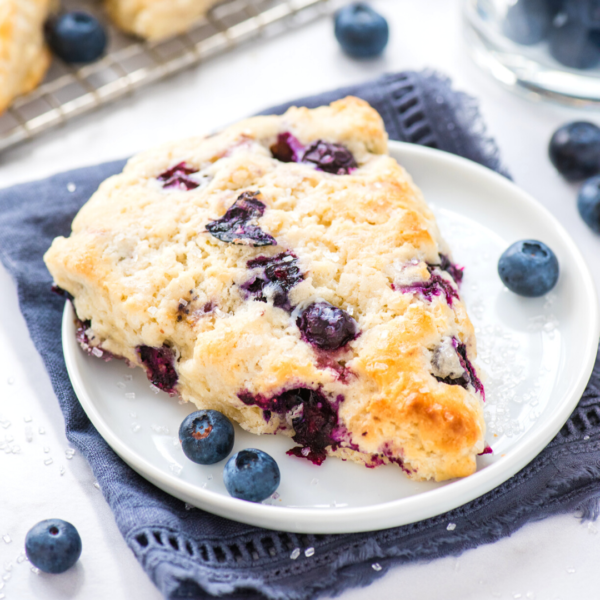
Seasonal Scone Recipes

Scones
Cranberry Orange Scones
Scones
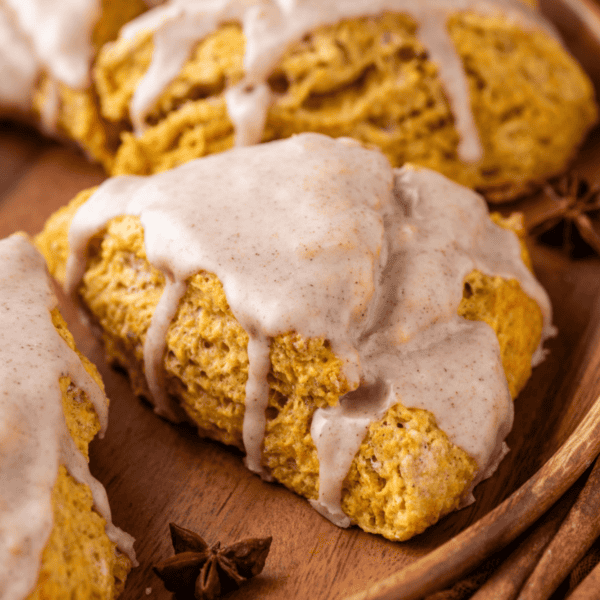
Pumpkin Scones Recipe
Common Scone Mistakes (and How to Avoid Them)
Even the best bakers can run into trouble with scones. Here are some of the most common mistakes—and exactly how to fix them:
- Overmixing the dough
Mix just until the dough barely comes together. Overmixing activates the gluten in the flour, leading to tough, dense scones instead of tender, flaky layers. - Using warm butter
Cold butter is non-negotiable. It’s the key to creating those signature flaky pockets. If your butter starts to melt into the dough before baking, your scones will spread and lose their height. - Skipping the chill time
Think of chilling the dough as building insurance. A quick freeze before baking keeps the butter solid and helps the scones rise taller with crisp edges. - Not folding the dough
A few simple folds (lamination!) create layers of butter and dough. No folding = no flaky layers. It only takes an extra minute and makes a huge difference. - Adding too much flour
It’s easy to overpack your measuring cup. For precision and accuracy (and what I do!) use a kitchen scale to measure the flour in grams to avoid dry, crumbly scones. - Overloading with mix-ins
It’s tempting to pile in fruit, chocolate, or nuts—but too many mix-ins can weigh down the dough, making the scones spread. Stick to the recipe guidelines for best results. - Baking at the wrong temperature
Scones need a hot oven (usually around 400ºF) to get that beautiful, rapid rise. Too low, and they’ll bake flat and pale. - Cutting without a sharp edge
Use a sharp knife or biscuit cutter and press straight down—no twisting! Twisting seals the edges and can prevent the scones from rising properly.
How do I make scones that are tall, flaky, and tender?
The key is using very cold butter, handling the dough gently, and baking at a high temperature (400ºF). Cold butter creates flaky layers, gentle mixing keeps the crumb tender, and a hot oven gives the scones a quick lift. Chilling or freezing the dough before baking also helps the scones hold their shape and rise tall without spreading.
What ingredients are best for bakery-style scones?
Use all-purpose flour for the perfect balance of structure and tenderness, cold butter, and buttermilk for a subtle tang and extra soft crumb. Buttermilk is my go-to because its acidity tenderizes the dough and gives a subtle tang. Heavy cream makes rich, softer scones, while sour cream adds moisture but can make the dough heavier. For bakery-style results, stick with buttermilk.
Need a DIY buttermilk tutorial?
What techniques make the biggest difference when baking scones?
Start with very cold butter—straight from the fridge or briefly frozen—to create flaky layers. Always chill or freeze the dough before baking to prevent spreading. And for tall, layered scones, gently fold the dough a few times and cut straight down with a sharp knife (no twisting!).
How should I store or freeze scones to keep them fresh?
Store baked scones in an airtight container at room temperature for up to 2 days, or freeze them for longer freshness. You can freeze scones before or after baking; if unbaked, bake them straight from frozen with a few extra minutes added. To reheat, warm them gently in the oven or microwave to bring back that fresh-baked texture.
Can I make scones gluten-free without sacrificing texture?
Absolutely! Use a quality 1:1 gluten-free flour blend like King Arthur’s Measure for Measure. I’ve tested it, and you’ll still get tall, tender, bakery-style scones without any complicated adjustments.
All Scones

Scones
Gluten Free Scones
Scones
Lemon Scones
Scones
Cranberry Orange Scones
Scones
Pumpkin Scones Recipe
Scones
Simple Scone Recipe
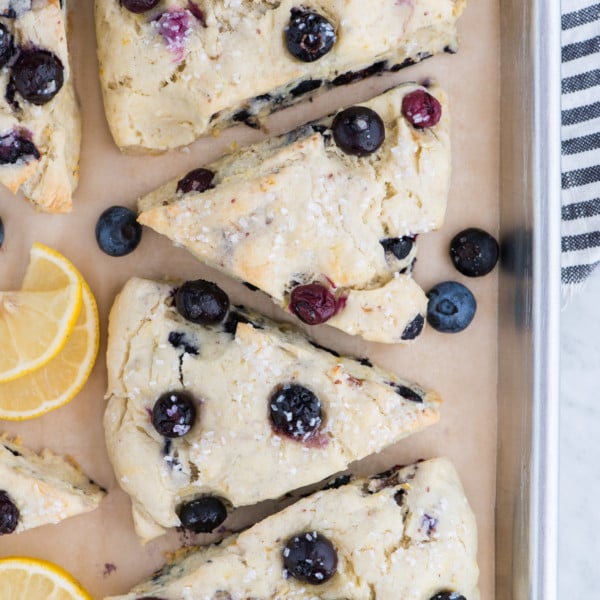
Breakfast
Blueberry Buttermilk Scones
Breakfast


