This post may contain affiliate links. Please read our disclosure policy.
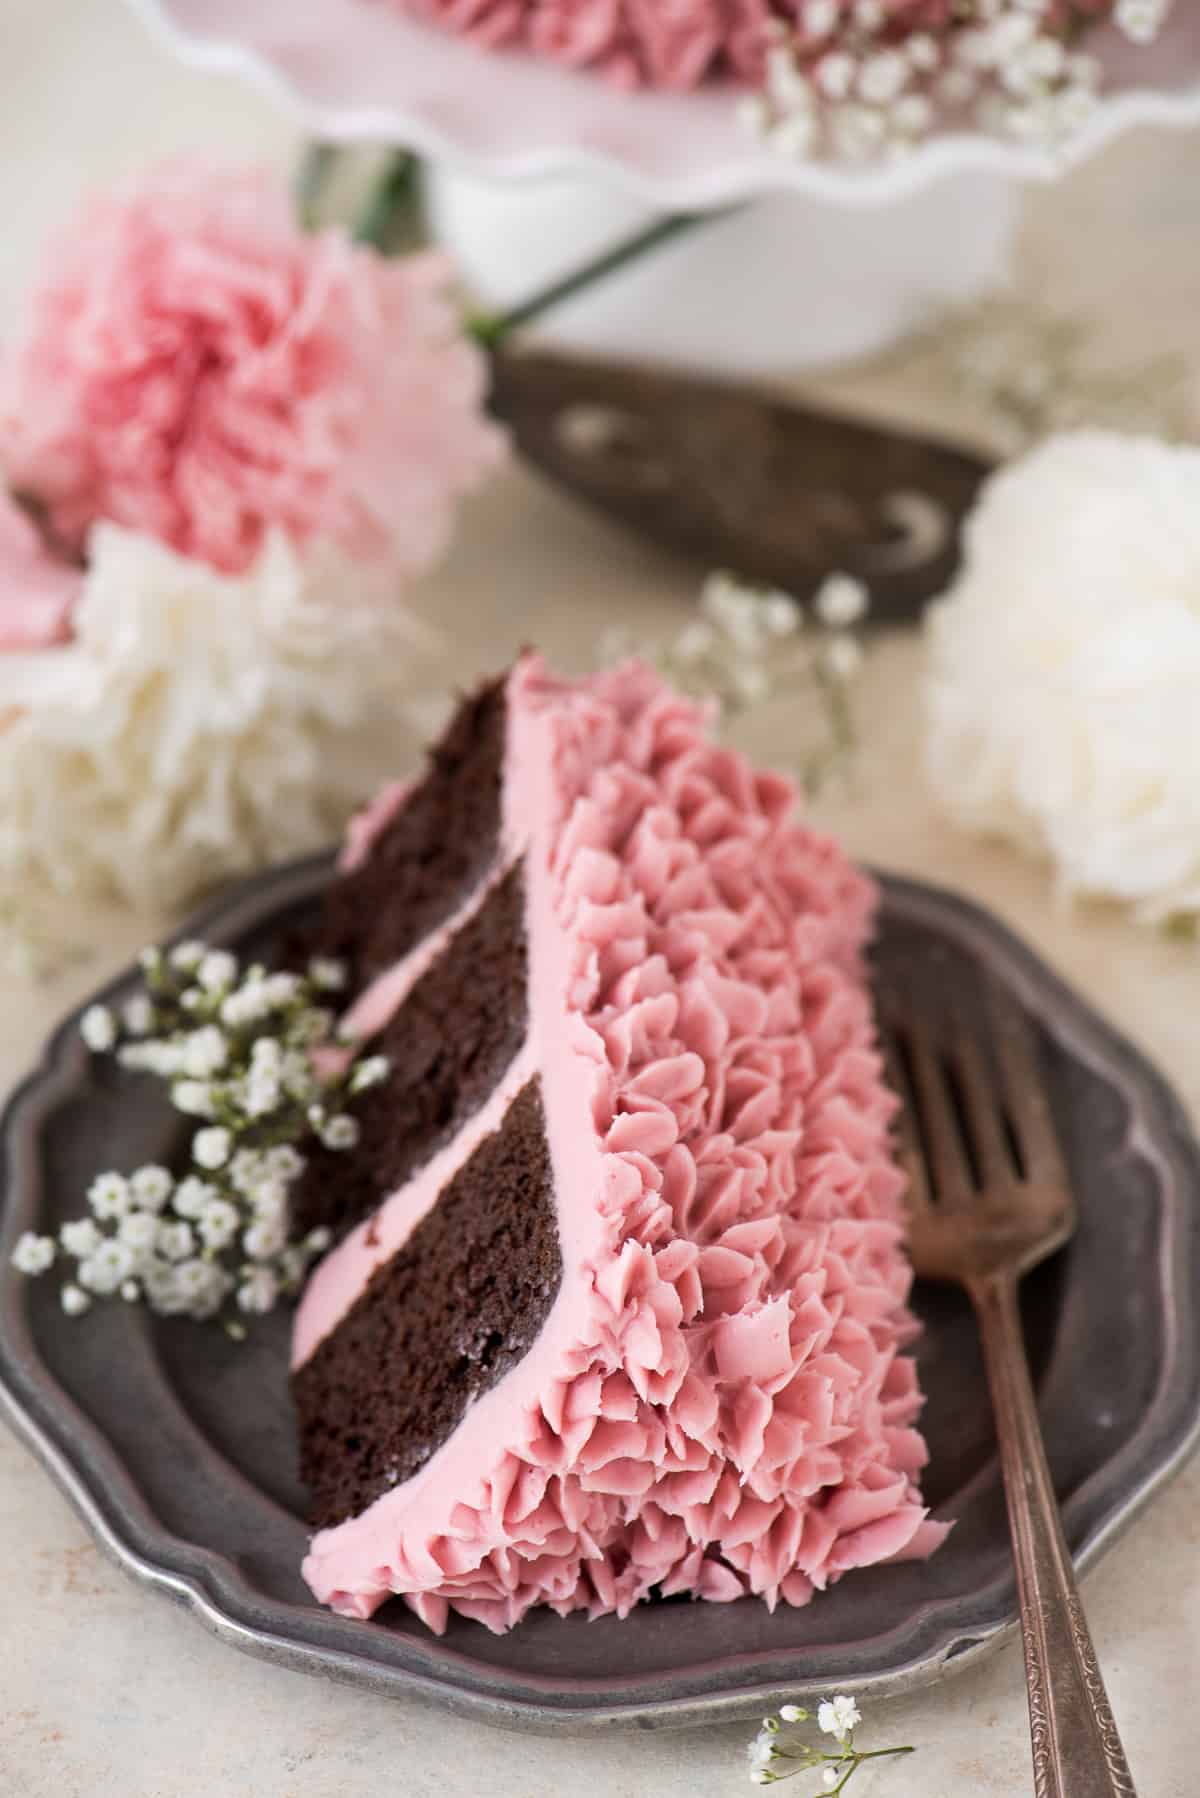
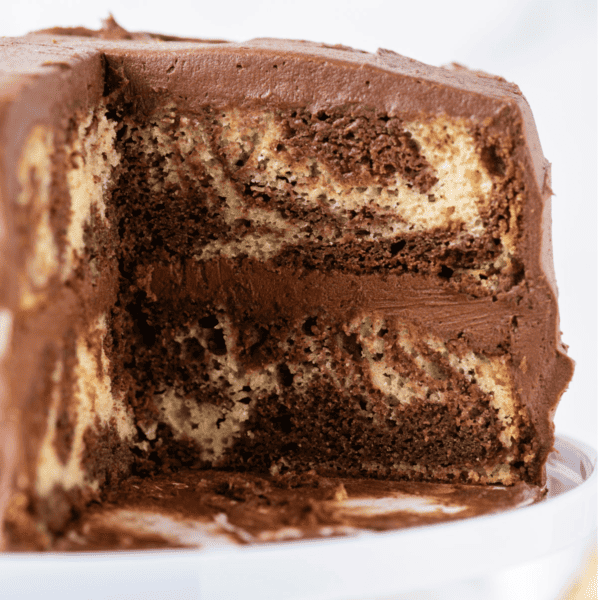
Made from scratch raspberry chocolate cake! Features 3 layers of classic chocolate cake with a raspberry jam buttercream.
I’m making a conscious effort to make more layered cakes. It’s something I really enjoy and I want to get better at – so you might be seeing more cake recipes in the coming months!
Now that it’s February, I have all the Valentine’s flavors on my mind! Chocolate is a necessity (for me at least!) so I decided to use our favorite chocolate cake recipe for the cake layers.

Raspberry Buttercream
A fruit based buttercream is new for me. I really like to stick with chocolate LOL.
I know that you can’t put too much fresh fruit into buttercream because it will become too liquidy and it won’t be pipe-able.
Originally, I wanted to use freeze dried raspberries to make this raspberry buttercream, but I couldn’t find them at my grocery store. So it was down to raspberry jam or fresh/frozen raspberries.
I knew that I’d have to boil down fresh or frozen raspberries, and honestly, I didn’t want to do that, so I skipped those extra steps and tried the raspberry jam and it turned out AWESOME!
I loved that this raspberry buttercream wasn’t too sweet. It got a lot of great compliments and I think you’ll really like it!
Our recipe calls for 6 inch cake pans, but if you have 8 inch or 9 inch round pans, those will do! However, only split the batter into 2 pans if you’re using 8 or 9 inch cakes – you split the batter among 3 pans if you’re using 6 inch pans.
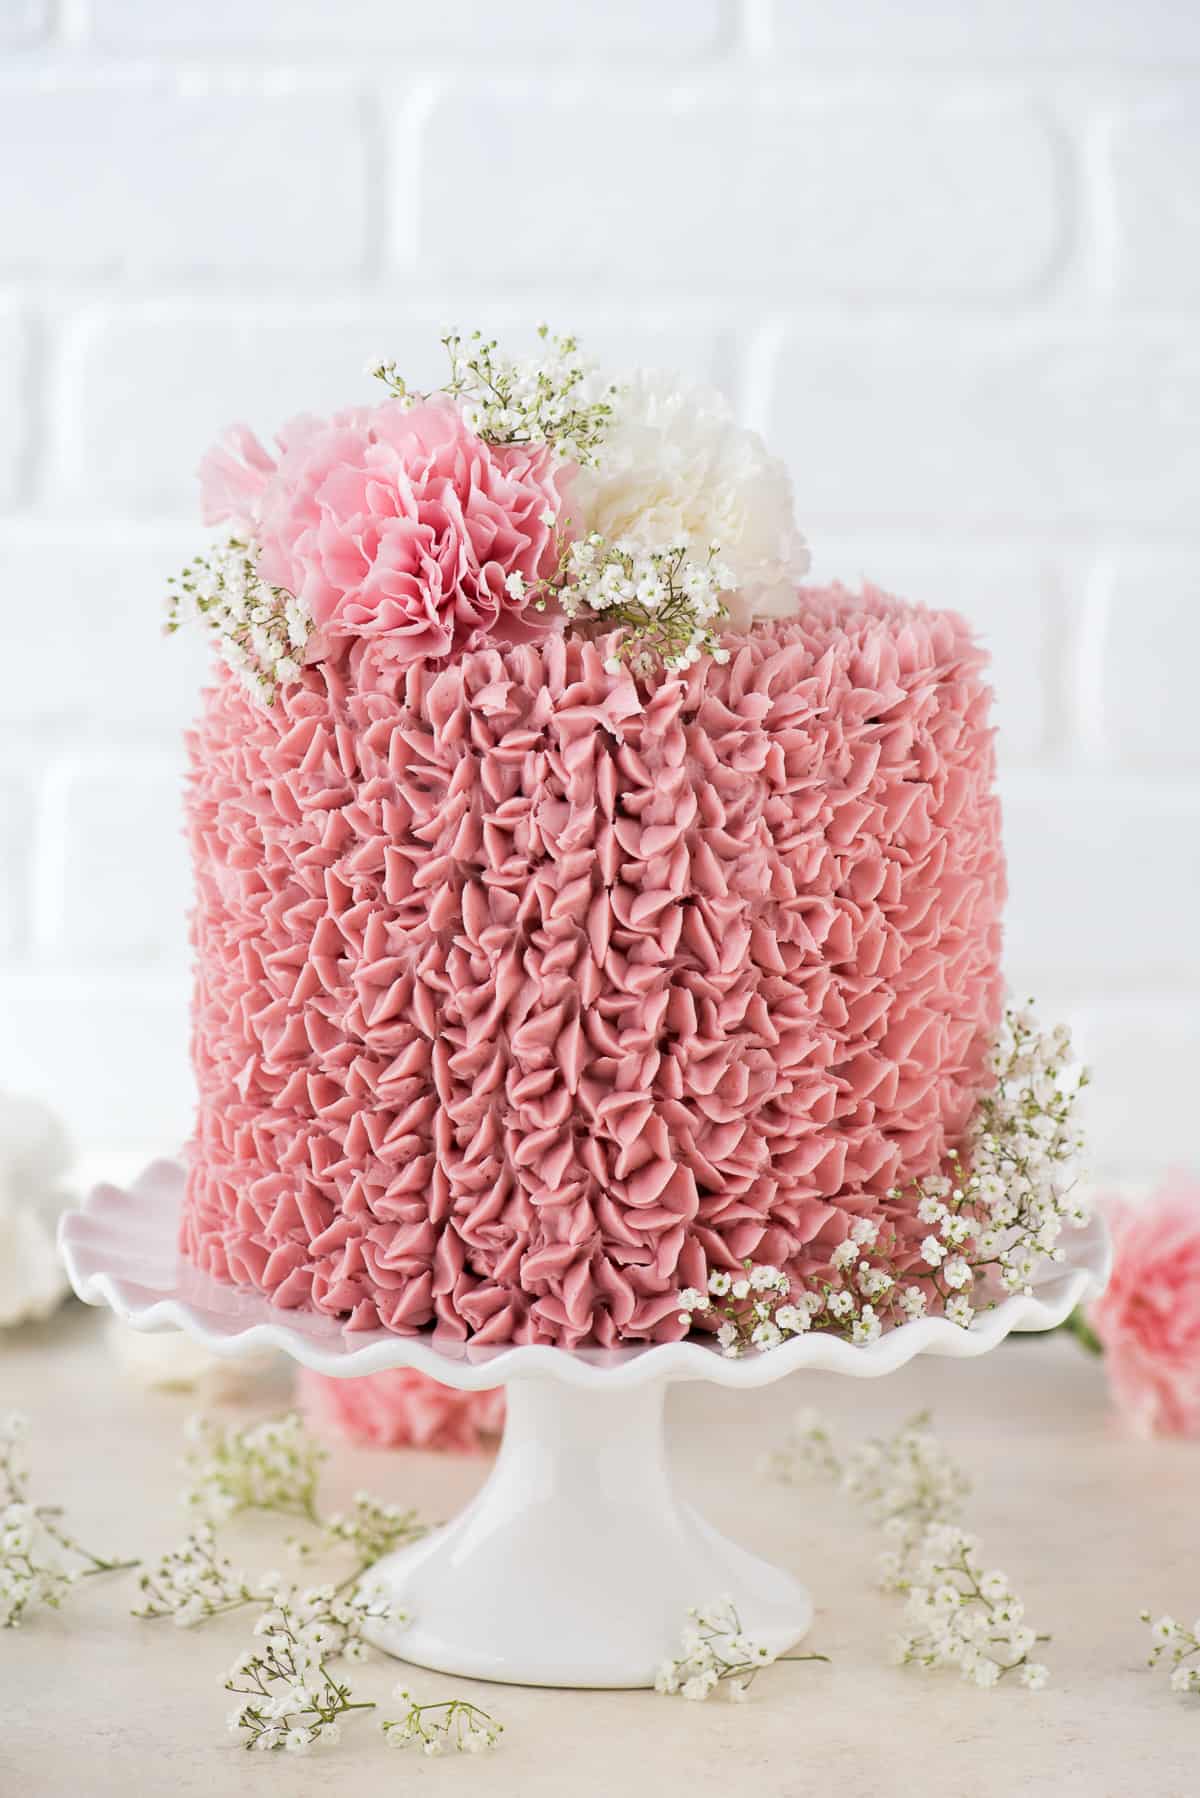
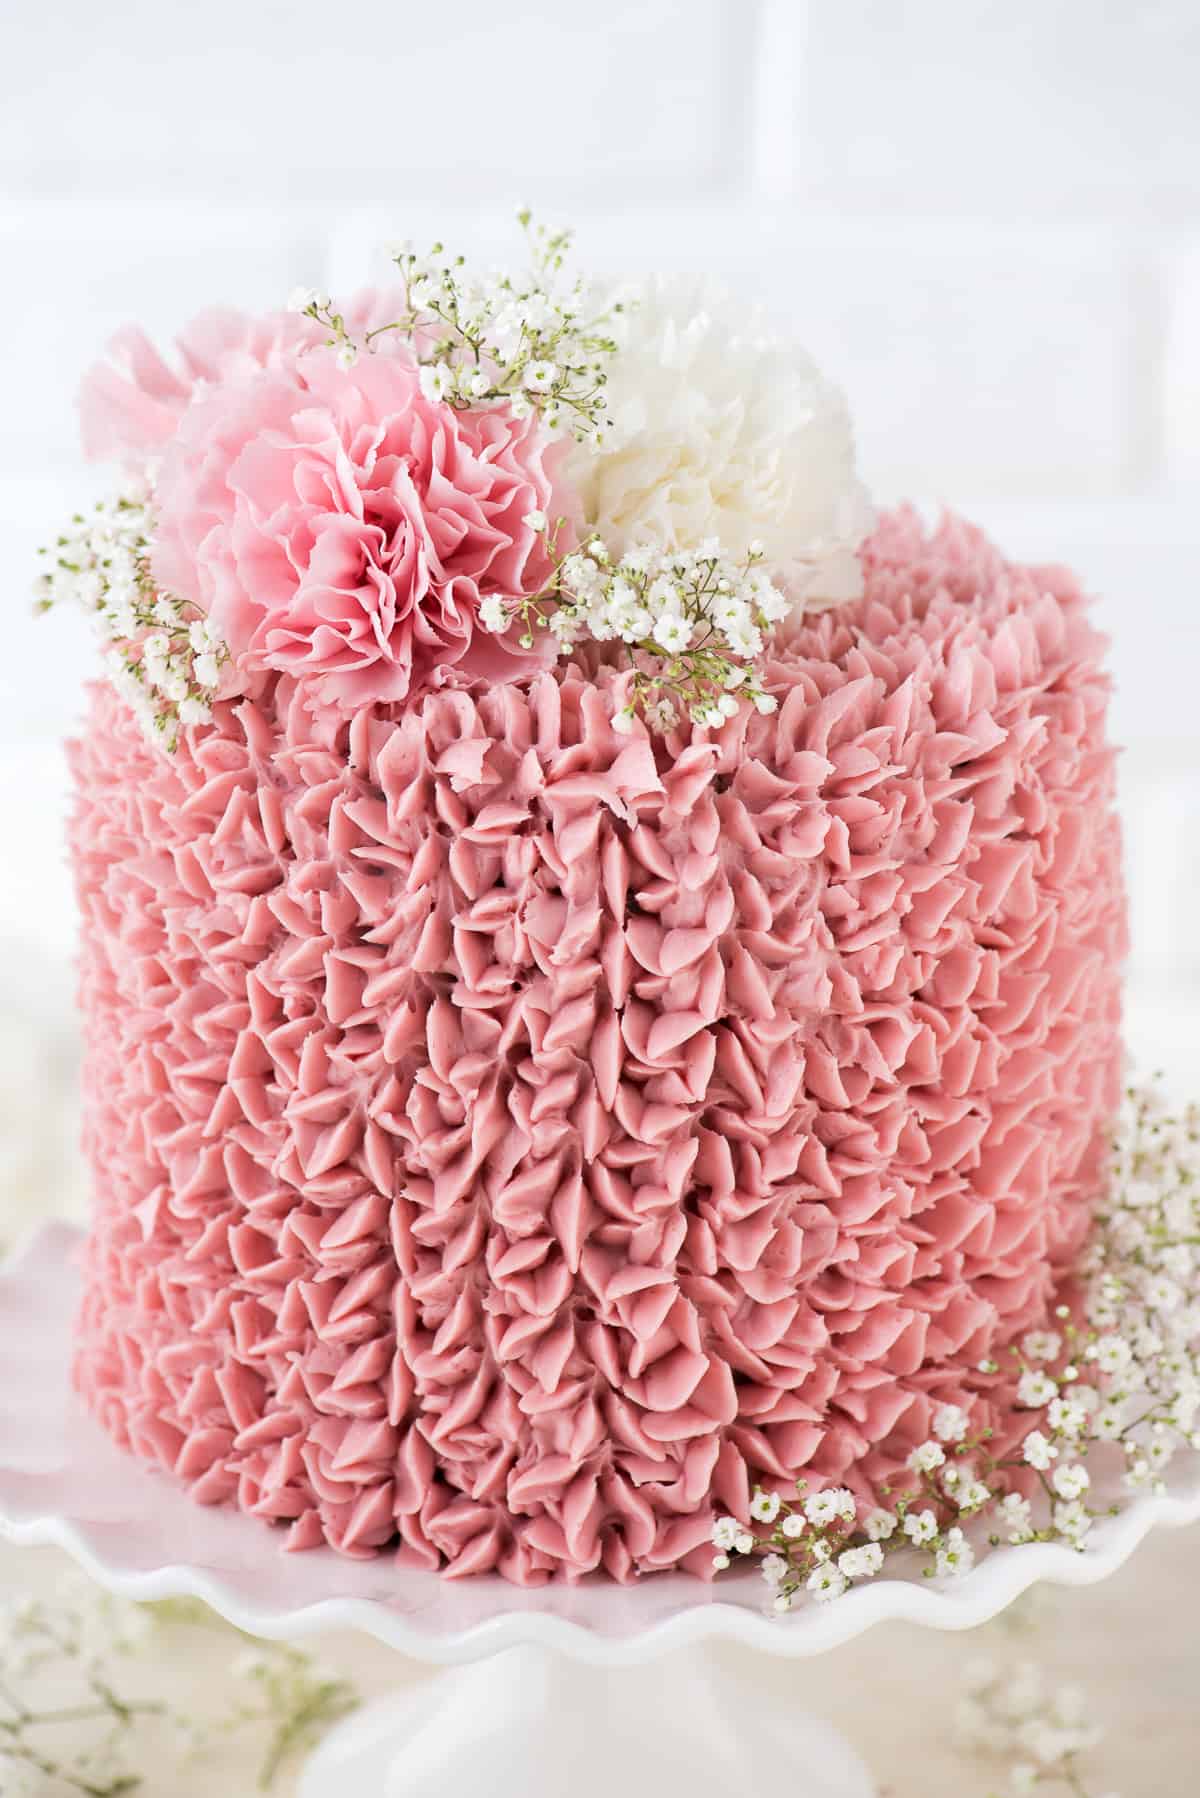
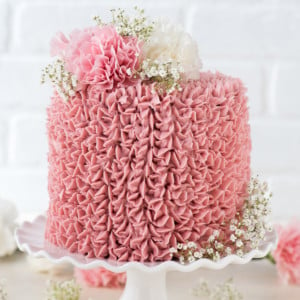
To frost the outside of the cake I used a wilton 1M piping tip to create.. well I’m not sure what to call them, petals? Play the video below to watch it in action!
To make the cake extra gorgeous I used a few blush pink and white carnations along with some baby’s breathe. Fresh flowers always look great on cakes, but remember they are not edible!
How to Properly Measure Flour
- Fluff the flour with a fork
- Use a spoon to scoop the flour into your measuring cup
- Use a butter knife to level off the flour in the measuring cup
Sticking the measuring cup straight into the bag of flour will result in too much flour to be packed into the cup, which can result in dry cake.
How to Prepare a Cake Pan
I recommend greasing your cake pan with butter or shortening, not non-stick cooking spray. Liberally butter the entire pan. I find that butter works better to grease the pan to ensure the cake doesn’t stick.
Place your hand inside a ziplock bag or paper towel, use 1/2 tablespoon of butter or shortening and liberally butter the pan. The bag or paper towel will prevent the butter from getting all over your hands.
For super easy cake removal, cut out a circle of parchment paper that is the same size as your pan and place it in the bottom of the pan after you buttered it. I trace the bottom of my springform pan onto the paper, then cut it out.
How To Bake Even Flat Cakes
I use bake even cake strips around the outside of my springform pans to ensure that my cakes bake with flat even tops. It works every time and a 2 pack is about $10 on Amazon!
You can also use a cake leveler or serrated knife to level your cakes before assembling them.
More Cake Recipes
Raspberry chocolate cake video
Tap stars to rate!
Raspberry Chocolate Cake
Ingredients
CHOCOLATE CAKE (THIS RECIPE MAKES THREE 6 INCH CAKES or TWO 8 INCH CAKES)
- ½ cup cocoa powder
- 1 ½ cups all purpose flour
- 1 ½ tsp baking powder
- 1 tsp baking soda
- ½ tsp salt
- 1 ½ sticks butter, room temperature (3/4 cup)
- 1 cup + 2 tbsp sugar
- 3 large eggs
- 1 ½ tsp vanilla
- ⅔ cup + 1/4 cup sour cream
- 3 tbsp semi-sweet chocolate chips, melted with a little bit of vegetable oil
Raspberry Buttercream
- 3 sticks unsalted butter, 1 1/2 cups
- ½ cup vegetable shortening, can be substituted for butter
- ½ cup seedless raspberry jam
- 3 cups powdered sugar
Instructions
CHOCOLATE CAKE
- Preheat the oven to 350º F.
- Using butter grease the bottom and sides of three 6 inch round cake pans or springform pans and line the bottoms with a round piece of parchment paper. To ensure even baking, place a bake even strip around each pan. You can make your own homemade bake even strip by cutting a towel or shirt to fit the size of your pan. Get the fabric really wet, then squeeze out the dripping water but do not squeeze it too dry. Secure the fabric around the pan with a safety pin. Set aside.
- In a small mixing bowl, combine the cocoa powder, flour, baking powder, baking soda and salt. Gently mix using a spoon.
- In a larger mixing bowl, combine the butter and sugar, beat using an electric mixer until fluffy. Add in the eggs and vanilla, lightly beat.
- Add in the sour cream and melted chocolate, mix by hand using a spatula.
- Add half of the flour mixture to the wet ingredients, do not dump it in, rather take spoonfuls of the flour mixture and gently shake it over the wet ingredients. Fold in the mixture until no flour remains. Repeat with the other half of the flour, folding it in and scraping the sides and bottom of the bowl to incorporate everything.
- Evenly divide the batter between the 3 pans, with about 1 & 1/3 cups to 1 & 1/2 cups in each pan.
- Bake for 22 minutes. Then loosely cover the pans with foil. Continue to bake for 7-10 minutes or until a toothpick inserted in the center comes out clean.
- Once the cake is done baking, allow it to cool in the pan on a cooling rack for 10 minutes. After 10 minutes, carefully remove the cake from the pan. If using a springform pan, remove the sides and bottom. Allow the cake to cool completely on a cooling rack. Once cool, remove the parchment paper round from the bottom of the cake. If you need to level the top of your cake, do so now using either a cake lever or knife.
- If you’ll be assembling the cake later, wrap the cake layers really good in plastic wrap and place them in the refrigerator. They will be good for up to 5 days.
Raspberry BUTTERCREAM
- In a mixing large bowl, combine the butter and vegetable shortening, beat using an electric mixer until fluffy, 1-2 minutes.
- Add in the raspberry jam, beat using electric mixer.
- Begin to add the powdered sugar, 1 cup at a time, mixing by hand first, then with the electric mixer. Continue adding powdered sugar until the frosting isn’t too wet and tastes good to you.
HOW TO ASSEMBLE THE CAKE
- Spread a small amount of buttercream on a 6 inch round cardboard cake circle. Place your first layer of cake on top of the cardboard. Put buttercream on top of the first layer and spread it as even as possible with an offset spatula. Decide how much or how little frosting you want in-between each layer, you can measure the frosting, I use 1/3 to 1/2 cup in between each layer.
- Repeat this process for each layer of cake.
- Next, it’s time to do a crumb coat. The crumb coat will help seal the crumbs in. Using your offset spatula, spread a thin layer of buttercream around the sides and the top of the cake. It’s easiest to start off with more frosting on the cake and remove some as needed.
- Place the entire cake in the freezer for 20 minutes to harden the crumb coat.
- Transfer the buttercream into a piping bag fit with a Wilton 1M tip. Remove the cake from the freezer, place it on your desired serving plate, and begin to add the piping decoration to the side of the cake first, then the top. Squeeze the bag firmly to let frosting out, and lift the bag away. Watch the video recipe to get a better idea of how to frost the cake.
- Top the cake with blush pink and white carnations and baby’s breathe. Slice and serve!


Looks amazing
Thank you!
Do you think I could double the recipe to make a 3 layer 9in rounds?
Yes, I would recommend doubling the batter!